Many tools are available to resize the images online. But you should employ the best one, which fulfills your image transformation requirements. Here is a write-up that explains the details of Shrink.media by PixelBin.io and online image resizer by BeFunky. Learn about the two and let us know which one suits you the best.
The inclination of users is for visual content over stagnant text-based content. Promotional strategies are so much more productive at attracting your intended audience when a graphic is included in the content. Increase in traffic, more revenues, and growing consumer trust all depend on strong visuals.
Poor advertising has the capability of damaging the reputation of any company. It is absolutely necessary to choose stunning, high-quality images that are adequate for your official site and your social media accounts. Visuals of your business are very important for obtaining the trust of customers and increasing profitability.
As per one survey, 91% of consumers stated they better prefer graphical content to information that is static and text-based. For this reason, it's important to choose the appropriate, gorgeous, high-quality photographs that are the proper size for your website and social media accounts.
When you have to fit a photograph to exact dimensions down to the last pixel, scaling an image could seem burdensome. Most of the online tools are often portrayed as being dubious, and softwares like Adobe Photoshop look daunting. Shrink.media and BeFunky's Resize tool are the best in this particular genre. This article is going to focus on the comparison between these two above-mentioned tools.
What Size Picture File Should You Use on Your Website?
There are far too many factors that come into play to determine a single "optimal" file size. For example, a photograph with a bright background along with plenty of vivid details will almost always appear bigger than one with a white backdrop and black lettering.
The basic rule of thumb states that you would like your photographs to be as small in size as they can be without significantly jeopardising user experience. Basically, you would like to have your website get loaded as quickly as possible along with making sure that your pictures appear attractive to human visitors. A delicate balance needs to be struck.
This may be 20 KB for certain photographs while 200 KB would be needed for others. By using the guidelines in this article, you may make sure that each picture is as compact as feasible without degrading your visitors' experience.
Benefits of Compressing Your Images:
1. By making the files that save your photographs smaller in size, you might be able to free up a significant amount of space on your iPhone. Naturally, in order to save space, remove the original photos and then empty the folder containing the deleted images.
The quality of a photograph will also degrade as you reduce the file size of the image, so keep that in mind as well. These three photos were shrunk in size and then resized in one case, as shown below: Originally 2.3 MB in size, photo 1 is now 155 KB. Previously 2.2 MB, Photo 2 is now 293 KB. Photo 3 was originally 1.7 MB, but is now 207 KB.
2. Facebook, Twitter, and Instagram usage are all quite common. To some degree, we are all familiar with it. Sometimes we have to upload both individual and group photos on social media. Compressing the images will make it easier for us to upload at that time.
3. Our library of photo-editing applications is extensive. We occasionally actually do need to edit our photos. When we reduce the size of images, it makes it simpler to modify them with image-editing tools.
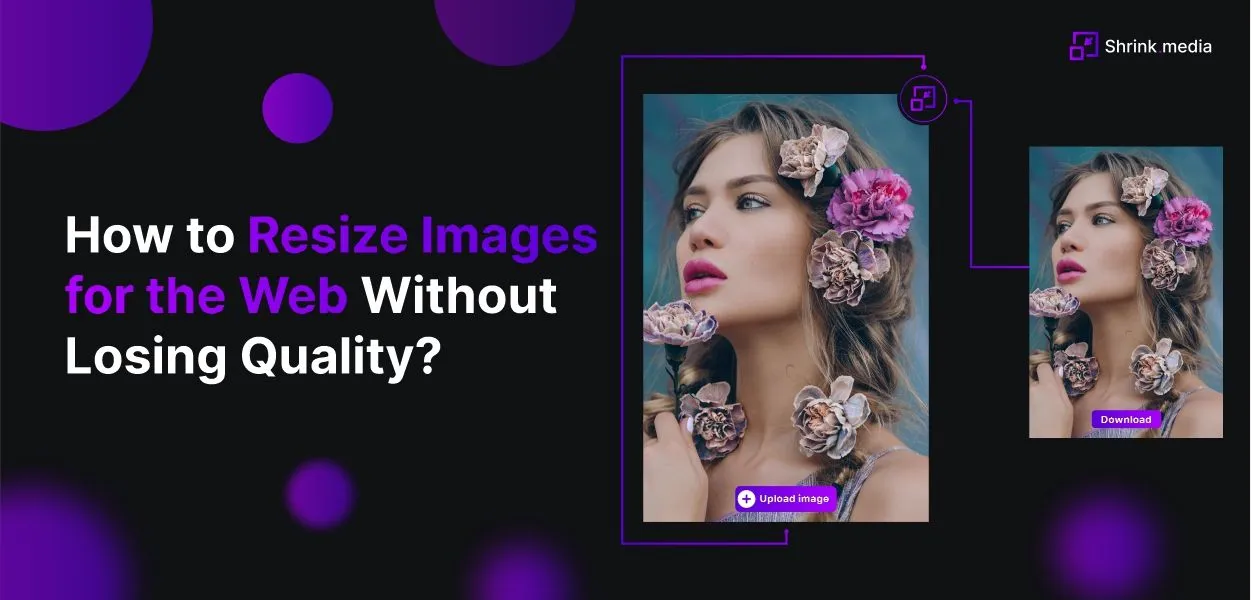
Shrink.media
On Android, How to Reduce Picture Size
Shrink.media is a great alternative whenever you need to quickly compress Pictures on your Android device. Using this application, you may easily and without sacrificing the quality shrink the size of Image files. Resized images are automatically stored for you in a different folder, so you don't really need to manually save them.
Step 1 - On your device, download and install the Shrink.media Resizer app.
Step 2 - By using the Upload image or Take a photo buttons, you may either open an image or take a snapshot.
Step 3 - Choose one or all of the pictures you would really like to resize.
Step 4 - In the box titled "Select dimensions," choose a dimension. Although you have the option of choosing Custom, it is advised that you choose one of the suggested dimension alterations.
How To Shrink the Size of Photos Using Shrink.media on Your iPhone
Prior to the actual beginning, it is important to keep in mind that Shrink.media will cut the actual size of your pics and that it can also shrink the original dimensions of the photos, however it is not Shrink.media's primary objective. If shrinking the size of an iPhone photo is really what you're after, you can learn how to do this by going through the below mentioned steps.
Step 1 - Freely download Shrink.media from the Apple App Store.
Strep 2 - Launch the application, then from the menu, select "Upload Image." Your whole iPhone's photo library will be visible. It is recommended that you load the image or images you wish to compress in an album before selecting Next.
Step 3 - At this phase, you can adjust how much content is shrunk. There seem to be two types of compression that are typically presented to you: picture quality & picture size. As a picture file size is reduced, the quality easily gets compromised.
Step 4 - Press the icon provided at the bottom to choose Compress. By deploying its "magic," the application will drastically reduce the size of your photos. Because there has been so much to do, processing more photographs will take much more time. Although your results may differ, in my opinion, the application compressed each photo quite swiftly.
Step 5 - As soon as the application is done processing the photographs, your iPhone will automatically download them to your Camera Roll. Then, they would be neatly added to the newly constructed, automatically generated album called Shrink.media.
Step 6 - In addition, you have the option of erasing actual photographs to free up space on your iPhone. Depending on the demands, you may now choose between this alternative and the option of maintaining the real photo.
How to Use Shrink.media to Compress a Variety of Images on an iPhone or iPad
Users may shrink as many photographs as they want with the aid of Shrink.media, just like they can with a single photo file. Simply import the pics as stated above, and then carry out all of these standard operating procedures to reduce the file size of the photograph files.
Step 1 - Run the Shrink.media app and then select the appropriate photographs from the camera roll.
Step 2 - Click on the thumbnail of the chosen photograph to drag up the scale ratio options for your photo.
Step 3 - When all of your photographs are done getting shrunk, select the editing tab in the Shrink.media tool.
Step 4 - The picture's dimensions should be set in step 4 so that it may be shrunk to a certain size.
Step 5 - In step five, just touch "Ok" after opening the custom length and width for your photo.
Step 6 - On the user interface, click Ok once more.
Step 7 - Click the icon at the bottom of the application to evaluate the changes that have been made.
BeFunky's Resize tool
How to change the size of your picture online using BeFunky
Any desktop web browser running on Windows, macOS, or ChromeOS can visit the free BeFunky.com website. It provides free and simple file resizing with the feature to save your finished work as a.jpg,.png, or.pdf. It also offers free and quick file type conversion.
It's not nearly as flexible and feature-rich as Photoshop, but it can handle the overwhelming number of basic picture scaling chores without any trouble, for free, with no need to download any other software. For Chromebook users who have little alternatives for any type of locally installed software, this is very beneficial.
Using the Picture Resizing Interface is Method One.
This can be the preferable "free approach" alternative for you if you don't need to alter the width and height of your image independently.
1. Open your picture on BeFunky.com
Browse the BeFunky official website, click Open in the top-right corner of the page, and then choose your preferred source from the drop-down menu. If "Computer" was your selection, click Open after finding the file you wish to resize.
2. Configure the resizing settings
A Resize option will slide out through the left as soon as you click open, and your image will then show. The intended length and width of the final picture can be entered in the corresponding fields here.
The resizing method is by default locked to the picture's actual aspect ratio, thus modifying one field will simultaneously modify the other to preserve that aspect ratio. By choosing an X-Scale or Y-Scale option that is expressed as a percentage of the image's original size, you may also resize your image. This maintains the original aspect ratio, just like the pixel settings above.
The "Lock Aspect Ratio" option should be deselected if you would like to alter the width or height separately. Be advised that this will alter your image and might not be appropriate for the majority of jobs.
3. Apply your parameters
Click Apply when your settings are in the preferred destination. Your photo will be immediately scaled to your chosen requirements, and you'll be granted access to all of the various image changes and improvements that BeFunky can perform.
4. Your photo should be saved.
Choose a location to store your photo by clicking Save at the top of the page. You will get a pop-up with an area for a filename and a choice of three formats, including JPG, PNG, and PDF, if you select "Computer."
Additionally, you may adjust the final image's quality to reduce the file size. We advise leaving it at 100. Once you've selected all of your settings, click save.
5. Save the image you've resized
The box where you may go to the folder where you want to save the file on your computer will display when you click Save. Then click Save after choosing the desired location.
Using the Crop tool in BeFunky as Method Two
This approach resembles Photoshop's tool quite closely.
1. Navigate to BeFunky.com and select your image.
Tap on Open at the very top of the window after accessing the linked link, simply select your preferred source from the drop-down menu. Open the file you would like to resize if you selected "Computer," then browse to it.
2. Start the Crop tool
An "Edit" menu will slide out from the left as soon as you click Open, bringing up your image. In the "Essentials" menu, select Crop, which is the first choice. You may slide out the Crop menu.
3. Set the Crop tool's settings
The top drop-down menu's default setting will be "Freeform," which gives you complete control over all of the settings, after the menu slides out. It is also possible to use other typical aspect ratios.
Regardless of the drop-down option you select, you will be given a Portrait/Landscape toggle that will flip the width and height values in the "Width" and "Height" fields, the two fields in which you can insert your preferred length and width, and a "Lock Aspect Ratio" check box that helps determine whether the length and width can be set totally independent. Set the final photo you're aiming to produce intended width and height.
4. Configure the Crop tool drop-down menu
The white choice box that emerges on top of your image may then be adjusted to choose which part of the photo will be kept and which should get eliminated. Whatever else is included within it will also be kept and scaled to the specifications you chose, while whatever is outside will be tossed away.
When you select "Lock Aspect Ratio," the aspect ratio you picked in the top drop-down will be automatically retained in the box. When you're satisfied with your choice, click Apply.
5. Save your photo
Select a location to store your photograph by clicking Save at the top of the page. A pop-up window with a filename field and the selections of JPG, PNG, or PDF will popup if you select "Computer."
The quality of the final photograph may also be adjusted to reduce the size of the file. Keeping this at 100 is advised. Click save once you have finalised all of your options.
6. Save the image you've resized
The box where you may go to the folder where you want to save the file on your computer will appear when you click Save. Then click Save after choosing the desired location.
Wrapping Up
One of the most crucial aspects of developing your internet presence is making sure a picture is the proper size and quality, despite how simple it is to miss. A good first impression of your firm is created through high-quality images. Sometimes the difference between a new user and someone who quits your website right away can be attributed to the photographs.
Difficulty resizing photos online is made possible by a plethora of free programmes. You may locate an easy picture resizer that will do the task in a few clicks even if you have no prior knowledge.
In this article, we have compared two of the best image resizer tools in the market currently and you can see that Shrink.media edges this battle for being simple, easy to use and for always delivering as per users’ expectations. So, go and install the Shrink.media application now.
Here, we have listed some of the commonly asked questions from the community. If you do not find the information you need, feel free to reach out to us at support@pixelbin.io
What is an image's aspect ratio?
The proportionate connection between the width and height of a picture is shown by the aspect ratio of the image. As in 8:9, it is often represented by two integers separated by a colon.
How Important Is Image Resolution?
PPI, or pixels per inch, is a common unit of measurement for describing an image's resolution. PPI stands for pixels per inch, and higher resolutions indicate that there are many more pixels per inch (PPI) than lesser resolutions, which can frequently seem stretched after scaling.
What aspect ratio would indeed be ideal for my picture?
The ideal aspect ratio will differ depending on the social networking platform you choose to share the image. Although other websites and Instagram's original square photographs utilised a 1:1 ratio, various ratios are also supported, including 4:5, 2:1, and other proportions for portraits and landscapes.
Finally, utilise the aspect ratio of the framing size if you're printing your photo. As a result, an aspect ratio of 8:10 is required for an 8x10 frame, 16:9 for a 16x9 frame, and so on.
Is it possible to enlarge my photograph to make it seem better?
Sadly, most of the time, the response to this question is no. One particular image can only have a fixed number of pixels. 1.44 million pixels, for instance, make up a 1600x900 picture.
That image will have 5.76 million more pixels if you increase its size to 3200 x 1800. Accordingly, 4.32 million additional pixels must be generated by the programme to complete the new image.
Each solitary pixel in the original image is multiplied into many pixels to create those pixels. As a result of each individual pixel in our aforementioned example being around four times larger, enlarged photos frequently seem "pixelated."
How do I resize an image without losing quality?
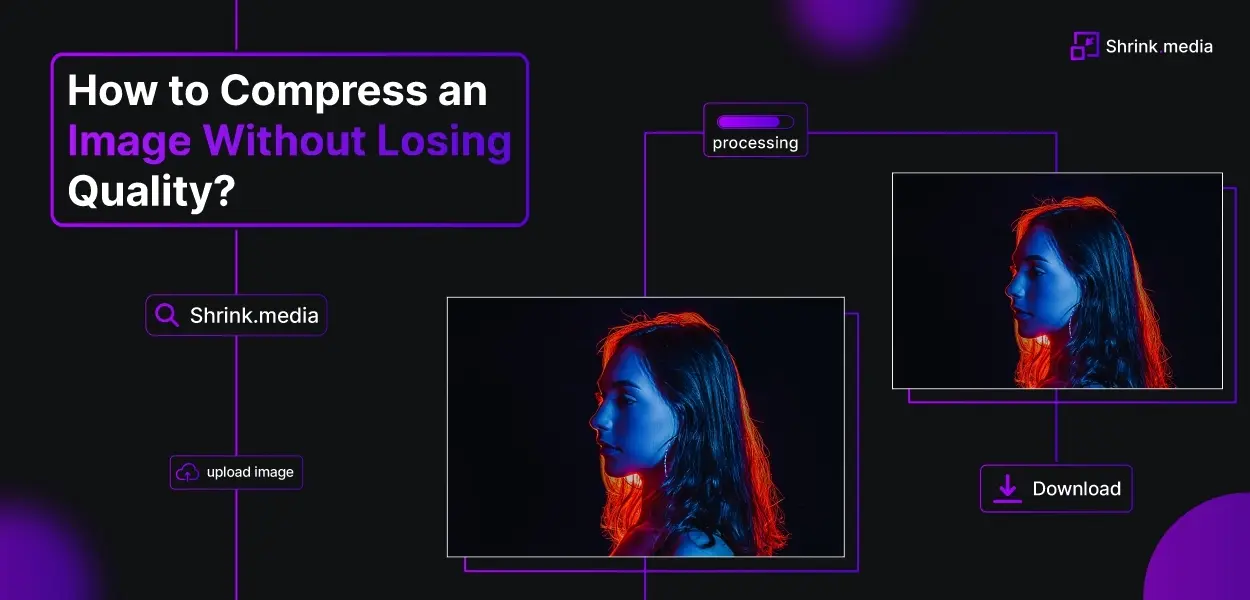
You can use Shrink.media, a dedicated image compression tool, to reduce an image without losing quality. Simply upload the image to Shrink.media, choose the dimensions and quality, and click "Compress" to reduce the image size while preserving its original quality. Then click on download to download the image.
Which tool is used to shrink the size of an image?
Shrink.media is a popular tool used to shrink the size of images. It provides efficient image compression capabilities that reduce the file size of images while maintaining their quality.