
How to Resize Images for the Web Without Losing Quality?


In today's digital landscape, images capture users' attention and enhance the overall appeal of websites, blog posts, banner ads, and emails. However, if not properly optimized, these images can significantly impact your website's performance, resulting in slower loading times and potential adverse effects on user experience and search engine rankings.
Learning how to resize images for the web without compromising quality is essential to overcome this challenge. This blog post will explore various methods and online software programs, such as Create, to help you resize images effectively. When it comes to website speed, every second counts.
Studies show that nearly half of the users expect a page to load within 2 seconds or less. Images, a significant contributor to page load times, present a prime opportunity for optimization. By ensuring your images are optimized for the web, you can significantly improve your website's speed and overall performance.
However, finding the right balance between image quality and file size is crucial. This blog post will guide you through different techniques and approaches to resizing images correctly, enabling you to strike the perfect balance and create a visually appealing yet fast-loading website.
Whether you're struggling with your website's rankings or seeking better user engagement, optimizing image sizes is a critical step towards enhancing user experience, reducing bounce rates, and improving search engine optimization (SEO).
With over a decade of experience building photography websites, I understand the importance of delivering an impressive visual impact while maintaining a fast and user-friendly website experience. Let's dive into the world of image resizing and optimization.
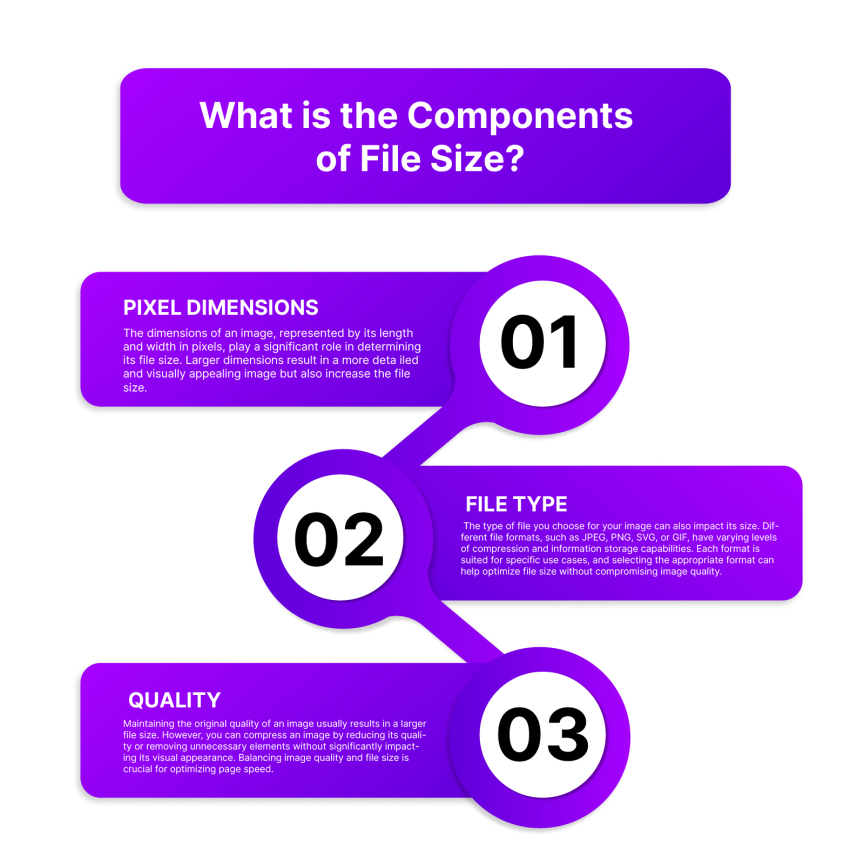
What is the Components of File Size?
One of the key factors that can cause your image files to load slowly is the size of the files themselves. Larger file sizes require more processing and take longer to transfer, resulting in slower loading times for your web pages.
Understanding the components that contribute to file size can help you optimize your images for faster loading. Three main factors affect the overall file size of an image:
1. Pixel Dimensions: The dimensions of an image, represented by its length and width in pixels, play a significant role in determining its file size. Larger dimensions result in a more detailed and visually appealing image but also increase the file size. For example, an image with dimensions of 2000 x 1500 pixels will look impressive but consume more storage space.
2. File Type: The type of file you choose for your image can also impact its size. Different file formats, such as JPEG, PNG, SVG, or GIF, have varying levels of compression and information storage capabilities. Each format is suited for specific use cases, and selecting the appropriate format can help optimize file size without compromising image quality.
3. Quality: Maintaining the original quality of an image usually results in a larger file size. However, you can compress an image by reducing its quality or removing unnecessary elements without significantly impacting its visual appearance. Balancing image quality and file size is crucial for optimizing page speed.
By adjusting these components effectively, you can ensure that your web pages load quickly and provide a seamless user experience. Optimizing image file sizes is fundamental to improving page speed and overall website performance.
Benefits of Compressing Images
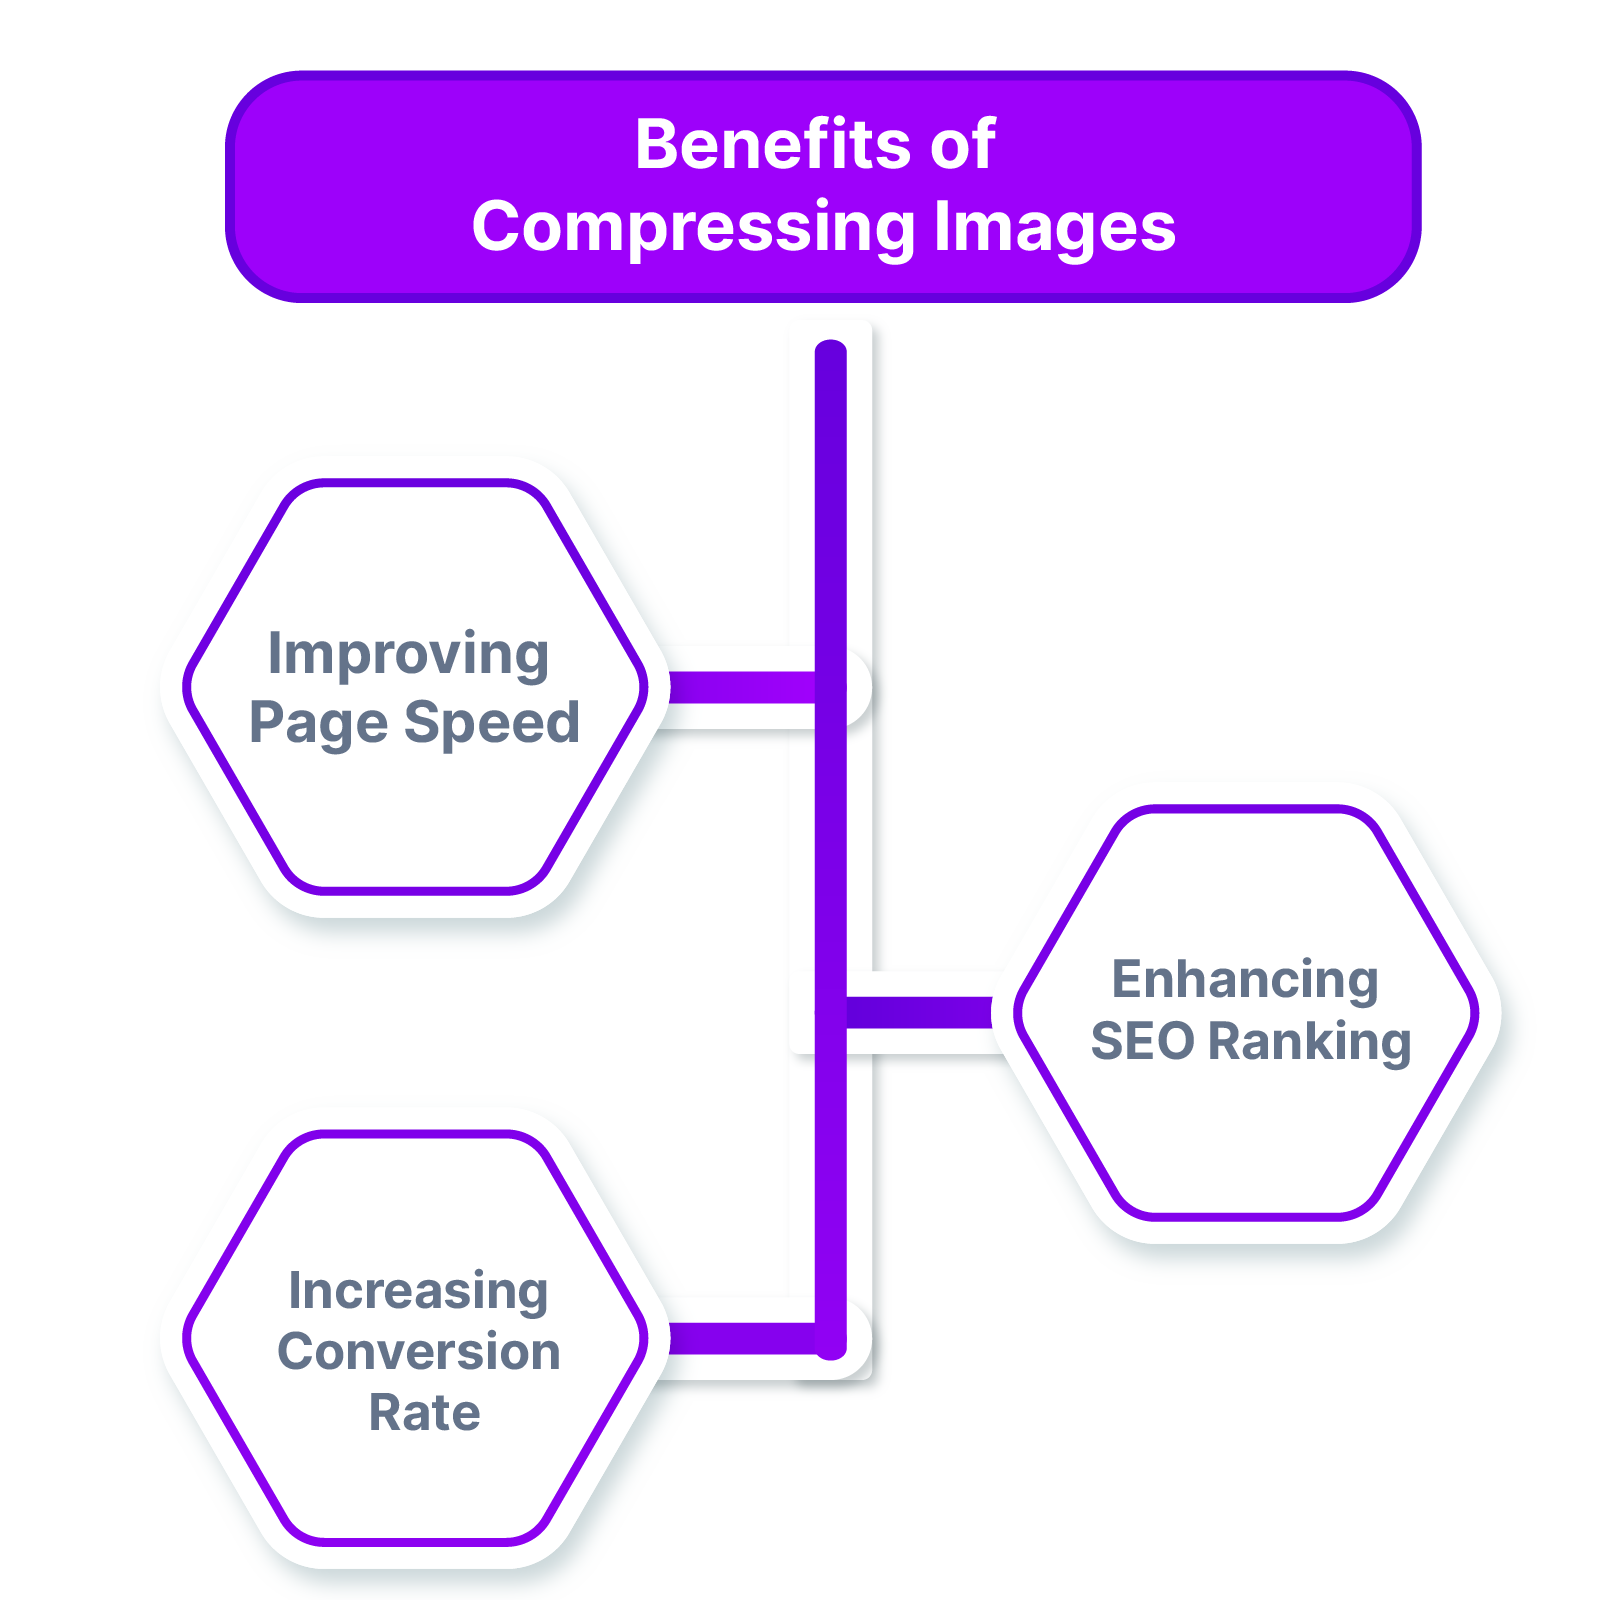
Compressing images offers several benefits for website owners and businesses. By reducing the file size of images, you can significantly improve your page speed, enhance your SEO ranking, and increase your conversion rate. This article will explore the advantages of compressing images and why it is crucial for optimizing your website's performance.
Improving Page Speed
When it comes to website loading times, every second counts. Large image files can significantly slow down your website's loading speed, resulting in a poor user experience. Compressing images helps reduce file sizes, allowing your web pages to load faster and providing a seamless browsing experience for your visitors.
Enhancing SEO Ranking
Page speed is a critical factor that search engines like Google consider when ranking websites. A slow-loading website can negatively impact your SEO ranking and visibility in search results. By compressing images and optimizing your page speed, you can improve your chances of ranking higher in search engine results and attracting more organic traffic to your site.
Increasing Conversion Rate
The speed at which your website loads directly influences user engagement and conversion rates. Studies have shown that visitors are more likely to leave a website if it takes too long to load, leading to higher bounce rates.
Compressed images help ensure faster page load times, enhancing user satisfaction and increasing the likelihood of visitors staying on your site and converting into customers. Image compression is crucial in improving page speed, optimizing SEO rankings, and increasing conversion rates.
By implementing image compression techniques, you can create a better user experience, boost your website's performance, and achieve your business goals.
Why do you Need to Resize your Image?
Resizing images is a crucial step in optimizing their appearance and performance. Whether it's for a website, social media, or printing, resizing images ensures they are properly displayed and efficiently managed.
There are several reasons why you may need to resize your images:
- Optimizing Website Performance: Large images can significantly slow down your website's loading speed, leading to a poor user experience. By resizing your images to an appropriate size, you can reduce file sizes and improve page load times, ensuring a faster and smoother browsing experience for your visitors.
- Saving Storage Space: Large image files can consume a significant amount of storage space on your devices or servers. Resizing images helps reduce their file sizes, allowing you to save storage space and optimize your storage resources.
- Faster File Transfers: When sharing or sending images via email or other platforms, large file sizes can cause delays in uploading or downloading. Resizing images to smaller dimensions reduces file sizes, making it quicker and easier to transfer them over the internet.
- Optimizing Social Media Posts: Different social media platforms have specific image size requirements for optimal display. By resizing your images to meet these requirements, you ensure that your posts and images appear correctly without getting cropped or distorted.
- Print and Presentation Purposes:When printing images or creating presentations, it's important to have the right dimensions and resolution. Resizing images ensures they fit properly and maintain their quality in different print or presentation formats.
- Conserving Bandwidth: If you have a website or an online platform with limited bandwidth, resizing images can help conserve bandwidth usage. Smaller file sizes reduce the amount of data transferred, allowing your website to load faster and consume less bandwidth.
Overall, resizing images offers numerous benefits, including improved website performance, efficient file transfers, optimized social media posts, and better resource management. It allows you to tailor your images to specific requirements while maintaining their quality and ensuring a seamless user experience.
What is Page Speed?
Page speed refers to the amount of time it takes for a web page to fully load and display its content. It is a crucial aspect of website performance and user experience. A fast-loading website provides a seamless browsing experience, while a slow-loading website can lead to frustration and increased bounce rates.
Page speed is influenced by various factors, including the size and complexity of the web page, server response time, network conditions, and the optimization of the website's code and resources. Optimizing page speed is important for improving user engagement, search engine rankings, and overall website success.
When you visit a website page, your browser retrieves data from that page in bytes, which are units of digital information. Every element on the page, including images, text, animations, and navigation menus, occupies a specific amount of disk space measured in bytes.
How to Improve your Page Speed?
Improving your page speed is crucial for providing a better user experience and optimizing your website's performance. One effective way to achieve this is by reducing image file sizes through image compression.
By compressing images, you can decrease the amount of data they occupy, resulting in faster loading times. This process, also known as image optimization or resizing, is particularly important for web usage.
In addition to image compression, there are other strategies to enhance page speed. Minimizing redirects, utilizing web fonts efficiently, and removing unnecessary code like comments or extra spaces can also contribute to faster loading times.
However, it is important to note that image compression offers significant results in improving page speed. By implementing these optimization techniques, you can create a faster and more efficient website, delivering a seamless user experience and potentially boosting your search engine rankings.
Why Is Page Speed Important for SEO?
Page speed is a critical factor that impacts both user experience and search engine optimization (SEO). A fast-loading website not only provides a better browsing experience for users but also plays a crucial role in determining your website's ranking on search engines like Google. In this article, we will explore why page speed is important for SEO and how it can benefit your website's performance.
1. Faster Page Speed = Better User Experience:
A fast-loading website ensures that visitors can quickly access the information they are seeking, leading to a positive user experience. Users are more likely to stay on a website that loads quickly and navigate through its pages seamlessly. A slow-loading website, on the other hand, frustrates users and increases the chances of them leaving, resulting in a higher bounce rate.
2. Faster Page Speed = Better Google Ranking:
Google considers page speed as a ranking factor in its search algorithm. Websites that load faster are more likely to be rewarded with higher search engine rankings. Google's primary goal is to deliver the best possible search results to its users, and a fast-loading website aligns with this objective.
By optimizing your website's page speed, you increase your chances of ranking higher in search engine results, leading to increased visibility and organic traffic. Optimizing your website for faster page speed not only enhances the user experience but also improves your website's SEO performance.
By delivering a fast-loading website, you can keep visitors engaged, reduce bounce rates, and potentially increase your organic search rankings, ultimately driving more traffic and achieving your online goals.
How to Resize Images for Web?
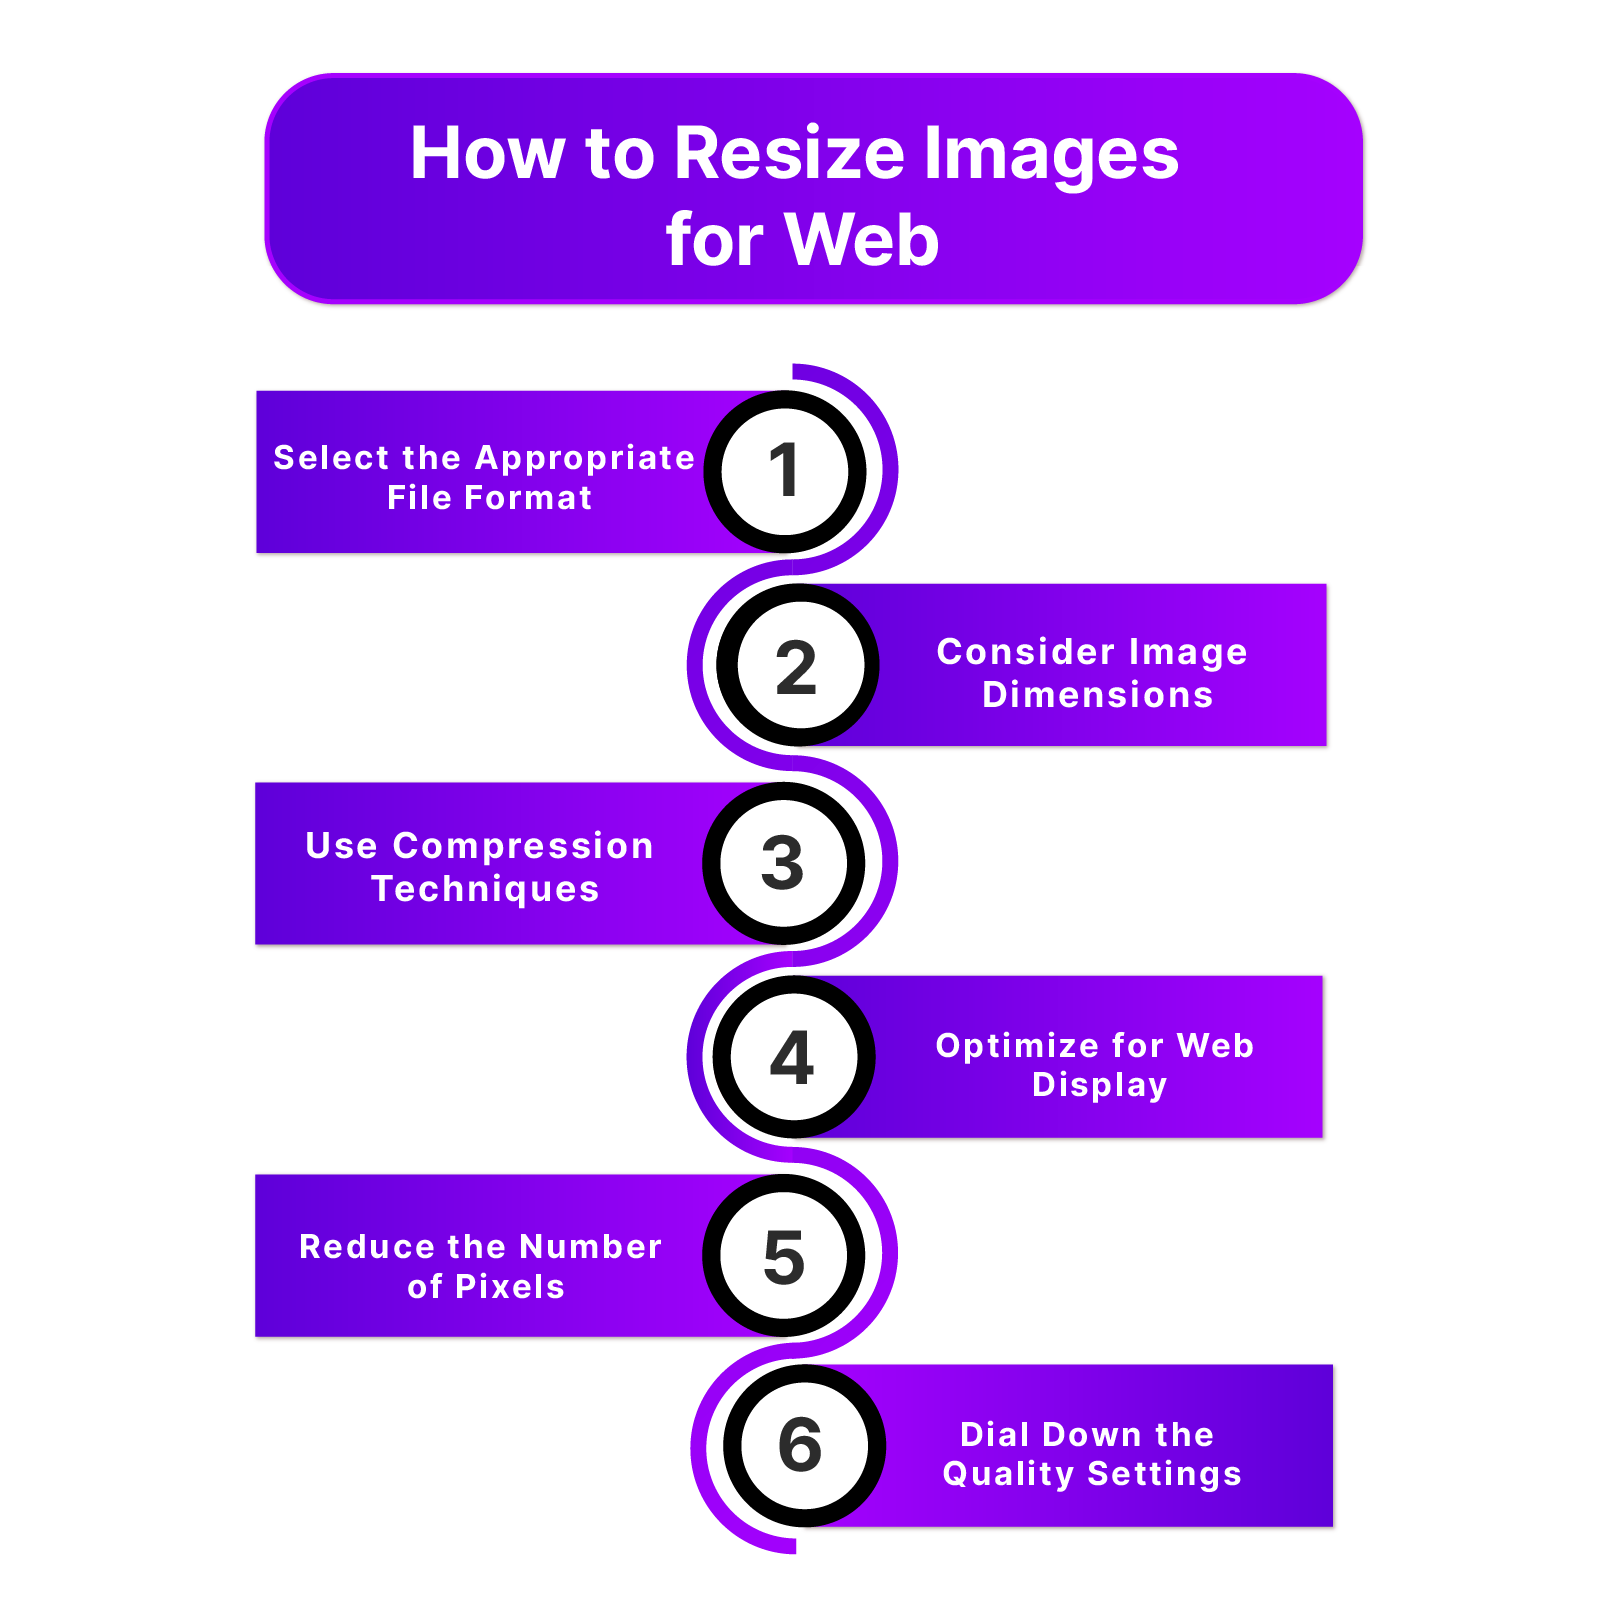
1. Select the Appropriate File Format:
When resizing images for the web, it's crucial to choose the right file format. There are three commonly used formats to consider:
1. JPEG: Ideal for photographs and most images, JPEGs utilize lossy compression, sacrificing some image data to reduce file size. Adjusting the quality settings allows you to find a balance between image quality and file size.
2. PNG: Recommended for images with sharp geometric shapes, PNGs use lossless compression to retain all image data. However, they typically result in larger file sizes compared to other formats.
3. GIF: Reserved for animations, GIFs are not suitable for still images as they limit the number of colors displayed.
2. Consider Image Dimensions:
When resizing images for the web, it's important to consider the dimensions that best suit your webpage. Reduce the image dimensions to match the maximum display size on your website, ensuring optimal loading times and efficient use of space.
Optimizing image dimensions is a key aspect of resizing images for the web. By adjusting the dimensions, you can ensure that the images fit perfectly within the layout of your webpage, resulting in improved loading times and a better user experience.
1. Maximum Display Size: Determine the maximum display size for images on your webpage. This could be based on the width of your content area, the dimensions of your slideshow, or any other specific requirements. Resizing the images to fit these dimensions ensures that they are neither too large, causing unnecessary load times, nor too small, resulting in pixelation.
2. Aspect Ratio: Maintain the original aspect ratio of the image while resizing. This ensures that the image doesn't appear stretched or distorted. By preserving the aspect ratio, the image will scale proportionally, maintaining its visual integrity.
3. Responsive Design: Implement responsive design techniques to adapt the image dimensions based on the user's device. Use CSS media queries or responsive image solutions to deliver the appropriate image size for different screen sizes, such as desktops, tablets, and mobile devices. This helps to optimize the viewing experience across various devices and ensures that images are not unnecessarily large for smaller screens.
By considering image dimensions during the resizing process, you can tailor the images to fit seamlessly into your webpage's layout, resulting in faster loading times, improved visual aesthetics, and an enhanced user experience.
3. Use Compression Techniques:
Utilize compression techniques to further reduce the file size of your images. Various online tools and software offer image compression options that help maintain a balance between image quality and file size. Experiment with different compression settings to find the optimal result.
When resizing images for the web, employing compression techniques is crucial to reduce file sizes without compromising image quality. Here's why compression is important and how you can utilize it effectively, including the use of the online image compression tool, Shrink.media:
Compression techniques play a vital role in optimizing images for the web. By reducing the file size, you can enhance webpage loading speed and overall performance while maintaining visual quality. Shrink.media is an online image compression tool that simplifies the process and helps you achieve optimal results.
1. Lossless Compression: Shrink.media employs lossless compression techniques to reduce image file sizes without compromising quality. This technique removes unnecessary metadata and optimizes the image data while preserving all the visual details and information.
2. Lossy Compression: In cases where further reduction in file size is needed, Shrink.media also offers lossy compression options. This method selectively discards some image data to achieve higher compression ratios. However, it's important to find the right balance between file size reduction and maintaining an acceptable level of image quality.
3. Customization and Control: With Shrink.media, you can customize compression settings according to your specific requirements. Adjust parameters such as compression level, image format, and resolution to achieve the desired balance between file size and quality.
4. Batch Compression: Shrink.media allows you to compress multiple images simultaneously, saving time and effort. You can upload a batch of images and apply compression techniques in one go, making it a convenient solution for optimizing multiple images for the web.
By utilizing compression techniques and leveraging tools like Shrink.media, you can effectively reduce image file sizes while maintaining the desired level of quality. This ensures faster webpage loading, improved user experience, and optimized performance for your website.
4. Optimize for Web Display:
To enhance the loading speed of your web pages, optimize your resized images for web display. This involves optimizing image metadata, removing unnecessary data, and utilizing responsive image techniques to deliver the most appropriate image size based on the user's device.
Optimizing images for web display is essential to ensure fast loading times and optimal visual presentation. By following these guidelines and utilizing tools like Shrink.media, you can effectively optimize your images for web display.
Optimizing images for the web involves preparing them in a way that strikes a balance between file size and visual quality. With Shrink.media, an online image optimization tool, you can simplify the optimization process and achieve optimal results.
1. Image Format Selection: Choose the appropriate file format based on the type of image and desired visual quality. JPEG is suitable for photographs and complex images, while PNG works well for graphics and images with transparent backgrounds. Shrink.media supports various image formats, allowing you to optimize images based on their specific requirements.
2. Resize and Crop: Adjust the dimensions of your images to the optimal size for web display. Remove any unnecessary parts of the image through cropping to reduce file size. Shrink.media provides resizing and cropping options, making it easier to customize your images for web display.
3. Compression: Utilize compression techniques, such as lossless and lossy compression, to reduce file sizes while maintaining acceptable visual quality. Shrink.media offers both options, allowing you to find the right balance between file size reduction and image quality preservation.
4. Image Metadata: Remove unnecessary metadata from your images to further reduce file size. Shrink.media automatically removes excess metadata during the optimization process, ensuring efficient and streamlined images for web display.
5. Batch Optimization: Save time and effort by optimizing multiple images simultaneously with Shrink.media's batch optimization feature. Upload a batch of images and apply optimization techniques in one go, streamlining the process for a large number of images.
By optimizing your images for web display using tools like Shrink.media and following these guidelines, you can significantly improve website performance, enhance user experience, and ensure faster loading times for your web pages.
5. Reduce the Number of Pixels:
Reducing the number of pixels in your images is an effective way to reduce file size and optimize them for web display. By following these guidelines and utilizing appropriate resizing techniques, you can achieve smaller file sizes without sacrificing image quality.
Resizing images to an appropriate size for web display can significantly reduce file size and improve website performance. By carefully considering the intended display size and resizing images accordingly, you can eliminate unnecessary pixels and optimize your images for the web.
1. Determine Display Size: Identify the intended display size of your images on your website or web application. This could be the maximum width or height allowed within the design or the recommended size for optimal viewing. Understanding the required dimensions will guide you in resizing your images effectively.
2. Resize Proportionally: When resizing images, it's essential to maintain the aspect ratio to avoid distortion. By resizing images proportionally, you can reduce the number of pixels without compromising image quality. Tools like Shrink.media offer resizing options that preserve the aspect ratio and ensure consistent visual presentation.
3. Eliminate Unnecessary Pixels: Avoid uploading images with dimensions significantly larger than the intended display size. Resizing images to match the required display dimensions removes unnecessary pixels, resulting in smaller file sizes. This optimization technique helps improve loading times and reduces bandwidth usage.
4. Quality Considerations: While reducing the number of pixels, it's crucial to monitor the image quality. Adjust the compression settings or utilize tools like Shrink.media to find the right balance between file size reduction and preserving visual clarity. Aim to maintain an optimal level of image quality while achieving smaller file sizes.
5. Batch Resizing: If you have multiple images to resize, consider using batch resizing tools or features provided by image optimization platforms like Shrink.media. Batch resizing allows you to efficiently process multiple images simultaneously, saving time and effort.
By reducing the number of pixels in your images and resizing them to the appropriate dimensions for web display, you can optimize file sizes, enhance website performance, and ensure a better user experience.
6. Dial Down the Quality Settings:
Adjusting the quality settings when saving images can significantly impact the file size without compromising the visual appearance. By finding the right balance between image quality and file size, you can optimize your images for web display effectively.
When saving images, you have the option to adjust the quality settings, which control the level of compression applied to the image. By understanding how these settings work and making informed choices, you can reduce file sizes while maintaining acceptable image quality.
1. Quality vs. File Size: The quality settings determine the level of compression applied to the image. Higher quality settings result in larger file sizes, while lower settings reduce file size but may introduce some loss of image detail. Consider the intended use of the image and prioritize the areas where higher quality is essential.
2. JPEG Compression: JPEG images often provide flexibility in adjusting the quality settings without significant visual degradation. Experiment with different quality levels to find the sweet spot where the file size reduction is noticeable but the visual impact is minimal. For many images, a quality setting of 60% or even lower can result in significant file size reduction without noticeable loss of quality.
3. Image Importance: Identify the images that require the highest level of clarity and detail, such as those featured on landing pages or the homepage. Allocate a higher quality setting for these critical images to ensure they retain their visual impact. For other images, such as those used in blog posts, you can dial down the quality settings to achieve smaller file sizes.
4. Visual Evaluation: When adjusting the quality settings, carefully assess the visual impact on the image. Pay attention to areas with subtle gradients or fine details, as these can be more susceptible to compression artifacts. Find the optimal balance between file size reduction and maintaining acceptable image quality for each specific image.
5. Test and Iterate: It's recommended to test the impact of different quality settings on a variety of images and evaluate the results. Fine-tune the settings based on your specific requirements, considering factors such as image complexity, intended use, and target audience. Regularly reviewing and adjusting the quality settings will help optimize file sizes while ensuring visual integrity.
By dialing down the quality settings, you can achieve significant reductions in file size while maintaining acceptable image quality for various web applications. Experimentation, careful evaluation, and finding the right balance will enable you to optimize your images effectively.
What is Image Compression?
Image compression refers to the process of reducing the file size of an image without significantly affecting its visual quality. It involves applying various algorithms and techniques to eliminate redundant or unnecessary data in the image, resulting in a smaller file size that is more suitable for storage, transmission, and web display.
During compression, the image data is analyzed and encoded in a way that allows for efficient storage and transmission. Different compression methods, such as lossless and lossy compression, are utilized depending on the specific requirements and constraints. Lossless compression preserves all the original image data, while lossy compression selectively removes certain details that are less noticeable to the human eye.
The primary goal of image compression is to achieve a balance between file size reduction and maintaining an acceptable level of image quality. By reducing the file size, image compression improves the efficiency of data storage, speeds up data transmission over networks, and enhances the performance of websites by reducing loading times.
Image compression finds wide application in various fields, including web design, digital photography, multimedia, and graphic design. It allows for the effective management and sharing of images, enabling faster downloads, optimized storage, and improved user experiences. Overall, image compression plays a crucial role in optimizing image files for different purposes while ensuring an optimal balance between file size and visual quality.
Ideal Image Size for the Web
When it comes to resizing images for the web, determining the ideal file size can vary depending on the specific context and purpose of the image. It's important to strike a balance between the pixel dimensions and the file size to optimize web performance.
Example:
For full-width images that span the entire screen, aim for pixel dimensions of 2400 x 1600 pixels. Inside-content images, such as those in galleries or blog posts, should have a maximum width of 1500 pixels for horizontal images and a width of 1000 pixels or less for vertical images.
Benefits:
Resizing images to the appropriate dimensions for the web offers several benefits. It helps improve page loading speed, enhances user experience, reduces bandwidth usage, and ensures compatibility across different devices and screen sizes.
How it's Helpful:
By resizing images, you can significantly reduce the file size without compromising the overall visual quality. This optimization allows web pages to load faster, leading to better user engagement, lower bounce rates, and improved search engine rankings.
Why you should do it:
Resizing images for the web is essential for maintaining an optimal balance between image quality and file size. It helps optimize website performance, reduces bandwidth consumption, and ensures faster loading times, which are critical factors for delivering a seamless browsing experience to your visitors.
How significant should your web page be?
As web page sizes continue to increase, it's crucial to keep your web page's size in check. The average page weight is around 2 MB, with Google recommending a maximum size of 500 KB per page.
By resizing and compressing images effectively, you can help keep your web page size within the recommended limits, resulting in faster page load times and improved overall website performance.
Best Tools for Image Compression
When it comes to compressing images for optimal web performance, there are various tools available that can help reduce file sizes without compromising image quality. These image compression tools employ advanced algorithms and techniques to efficiently reduce the size of images, making them load faster and consume less bandwidth. Whether you're a web developer, designer, or content creator, utilizing these tools can greatly improve your website's speed, user experience, and overall performance.
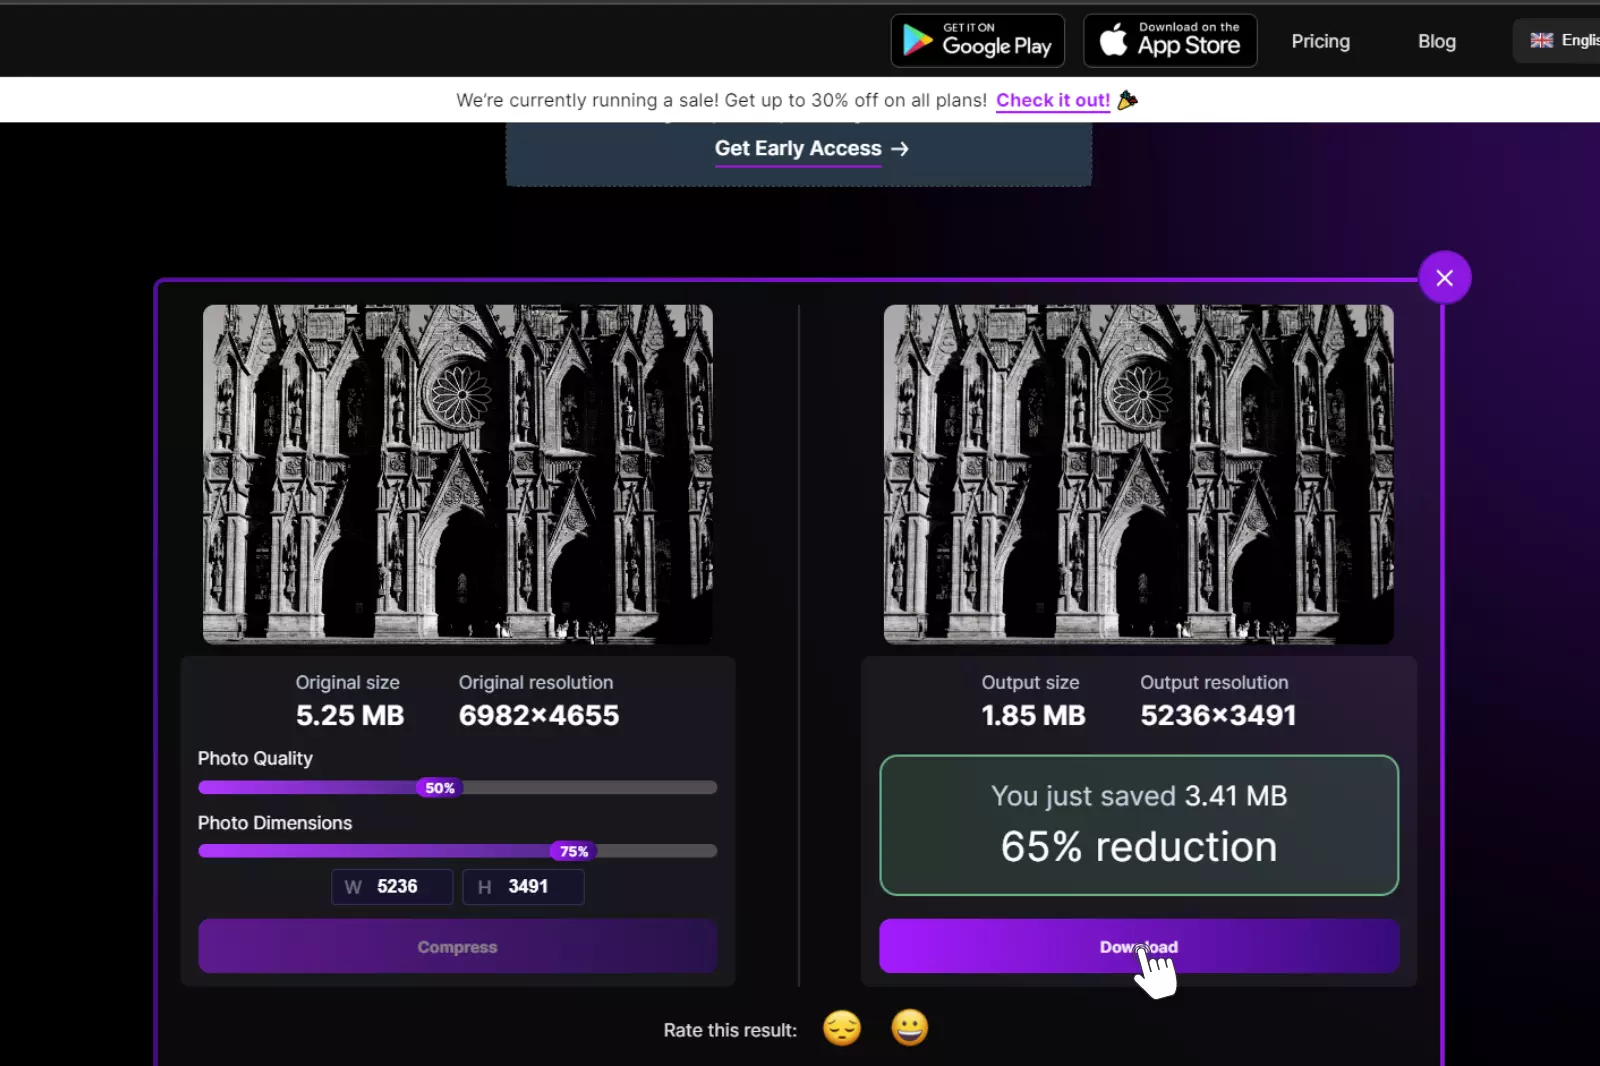
1. Shrink.Media
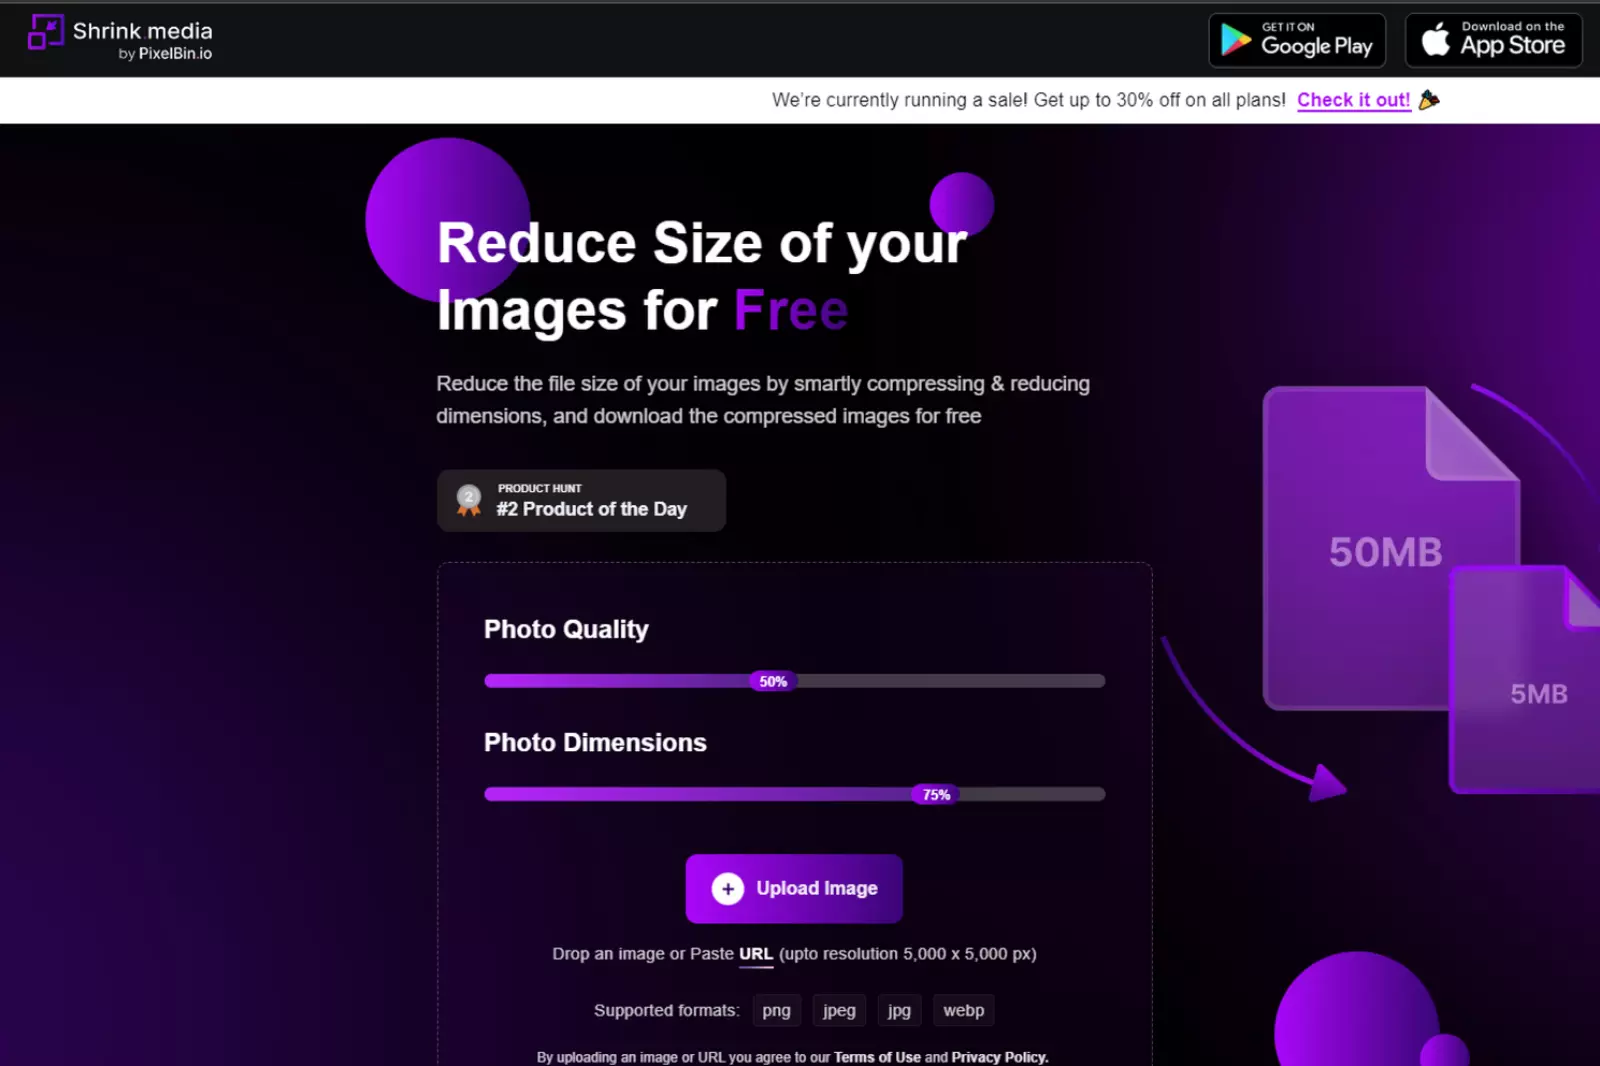
Shrink.Media is a reliable and user-friendly online tool that specializes in image compression. It offers an efficient way to reduce image file sizes without compromising quality, allowing your website to load faster and perform better. With its intuitive interface and powerful compression algorithms, Shrink.Media is an ideal solution for optimizing your images for the web.
How to Use Shrink.Media:
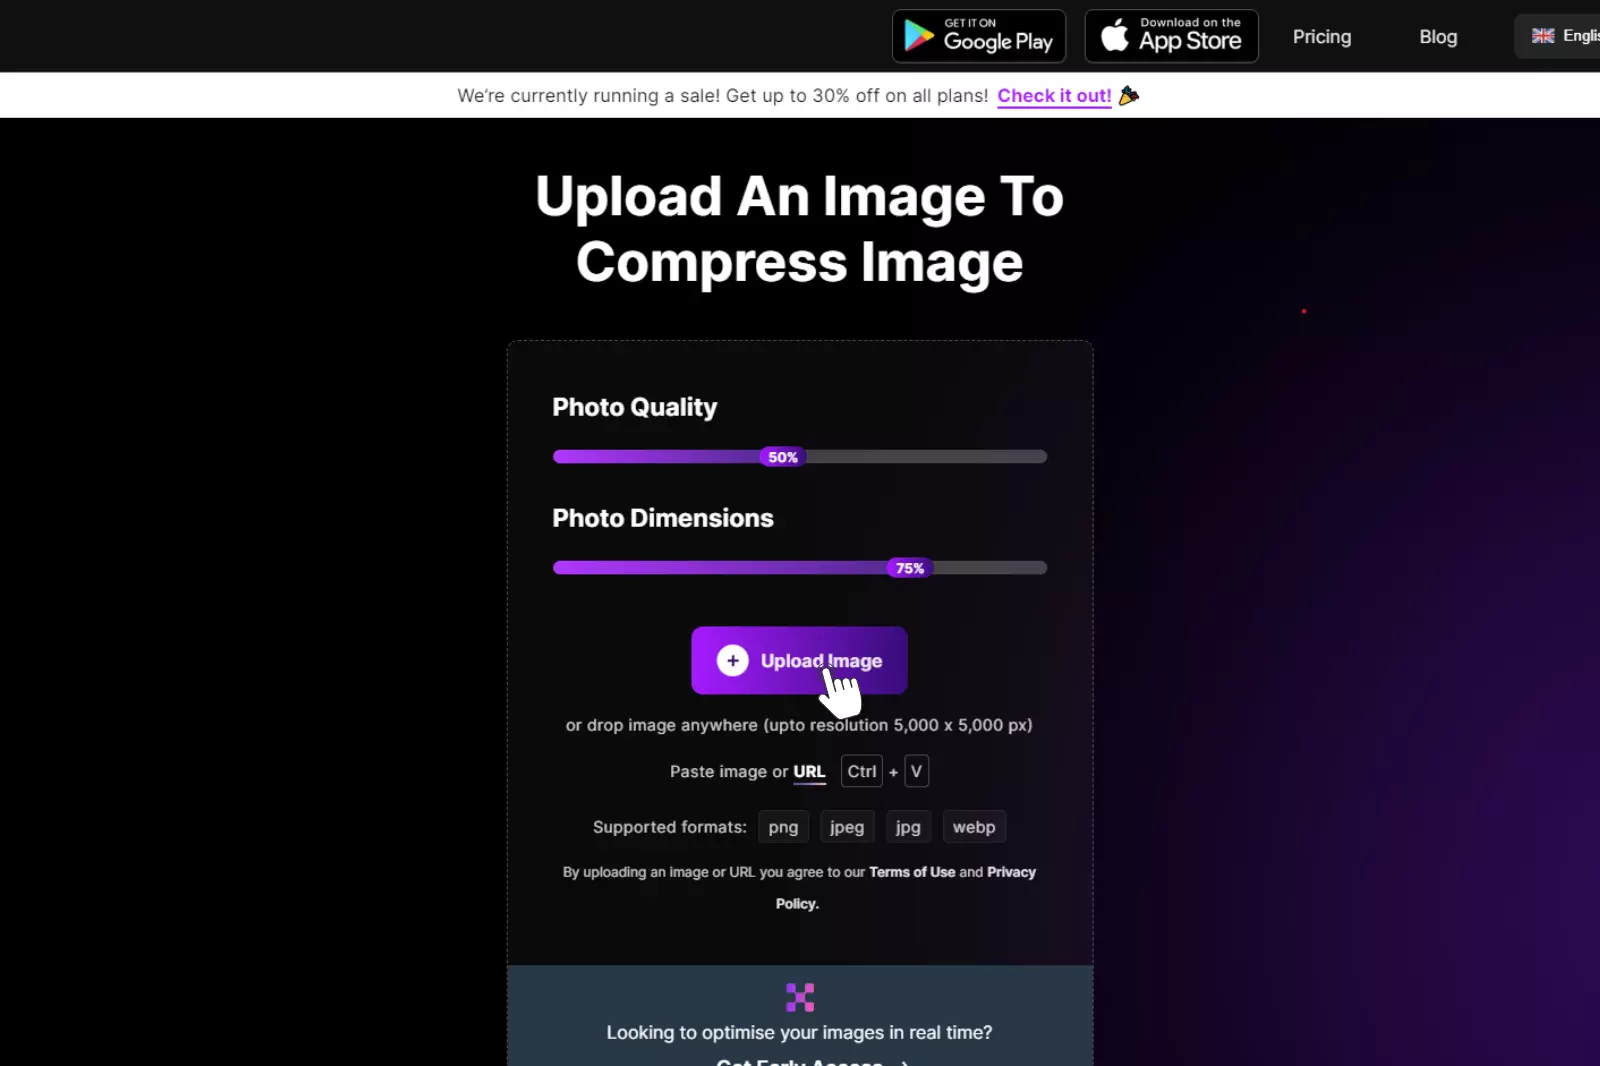
Step 1 - Upload Your Image:
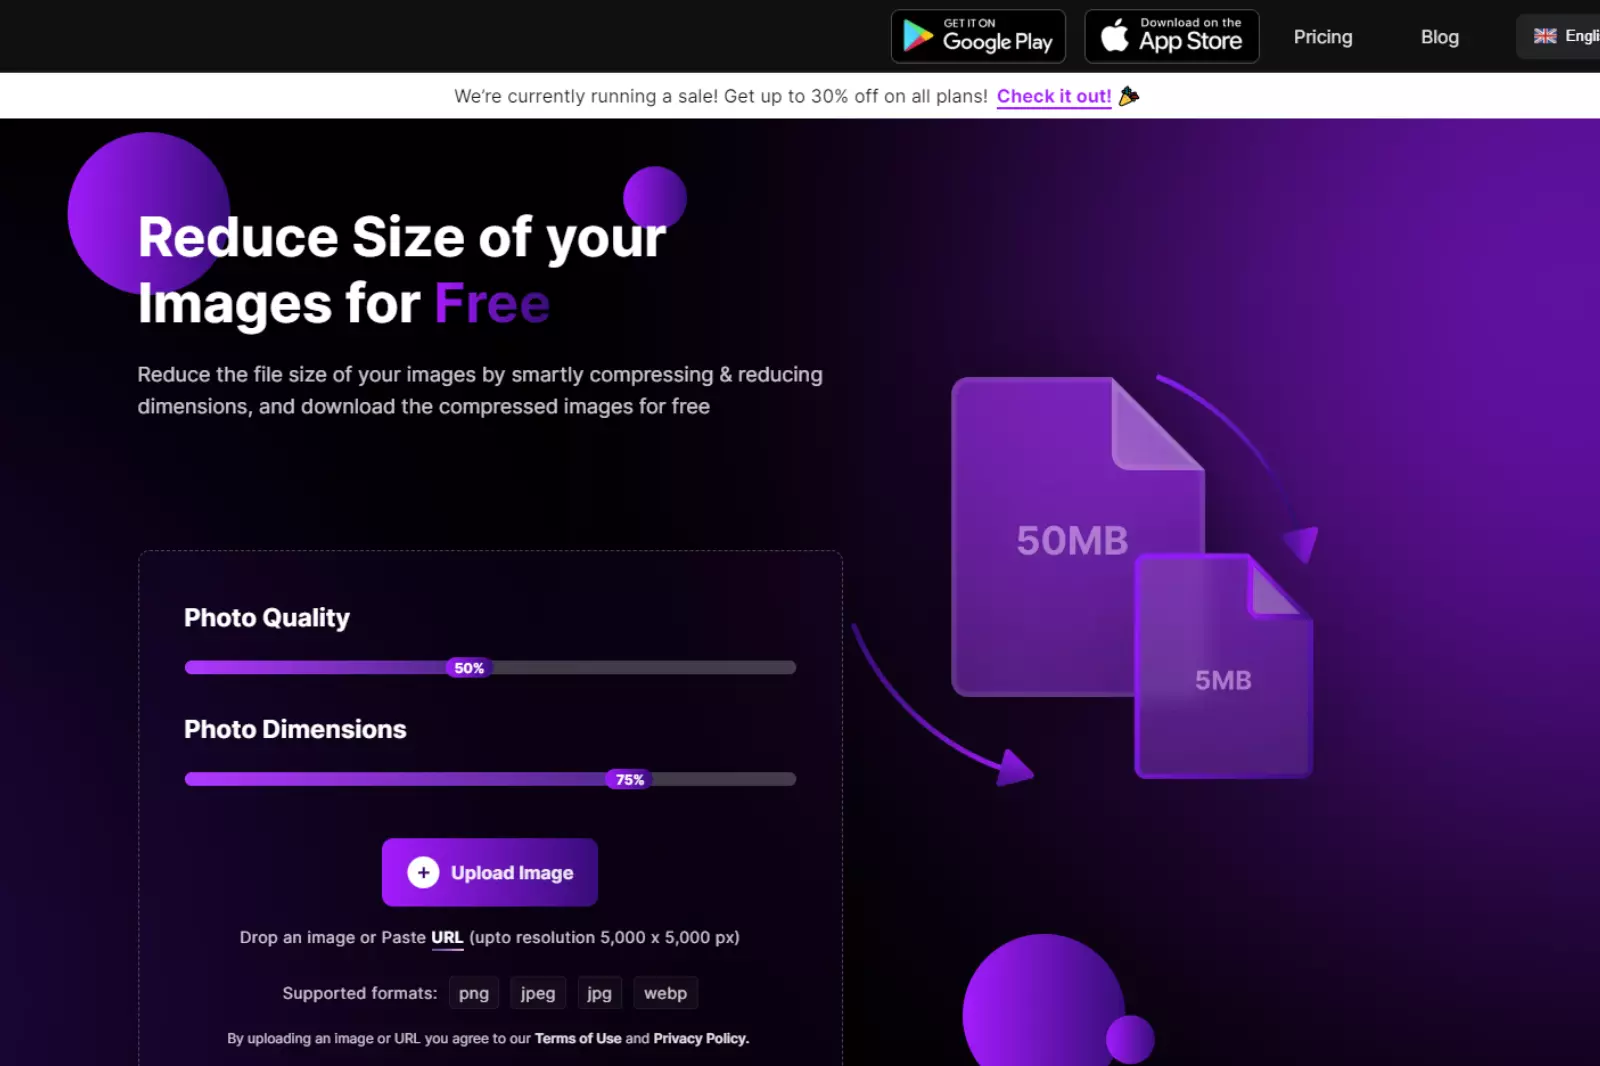
- Visit the Shrink.Media website.
- Click on the "Upload Image" button.
- Select the image you want to compress from your computer.
Step 2 - Customize Compression Settings:
- Choose the desired compression level (High, Medium, or Low).
- Optionally, adjust the image dimensions if needed.
- Click on the "Compress Image" button to initiate the compression process.
Step 3 - Download the Compressed Image:
- Once the compression is complete, a preview of the compressed image will be displayed.
- Click on the "Download" button to save the compressed image to your computer.
Step 4 - Additional Features:
- Shrink.Media offers additional features such as batch compression and image format conversion.
- Explore these options to further optimize your images and meet your specific requirements.
By using Shrink.Media, you can effortlessly compress your images, enhance your website's performance, and deliver a seamless user experience.
2. Shutterstock’s Image Resizer
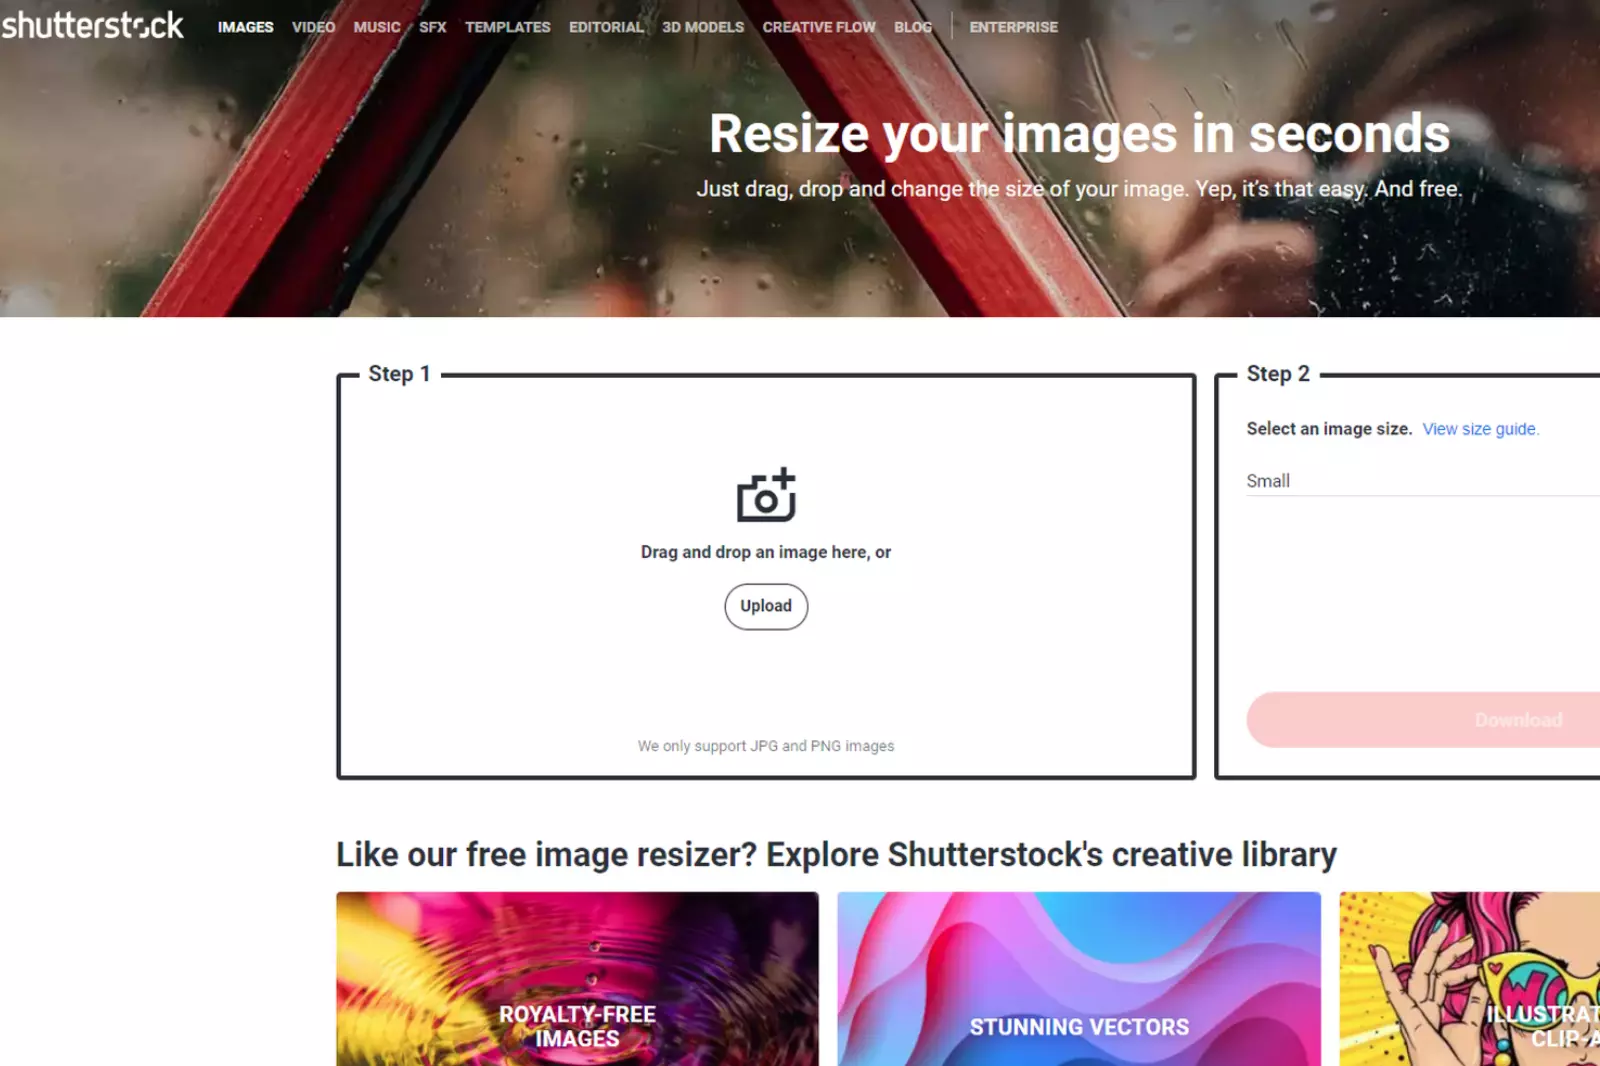
Shutterstock's Image Resizer is a powerful online tool designed to help you resize and optimize images for various purposes. Whether you need images for social media posts, websites, or print materials, Shutterstock's Image Resizer offers a convenient and efficient solution.
With its user-friendly interface and advanced resizing capabilities, this tool allows you to customize your images to fit specific dimensions while maintaining optimal quality.
How to Use Shutterstock's Image Resizer?:
Step 1 - Upload Your Image:
- Visit the Shutterstock's Image Resizer website.
- Click on the "Upload Image" button.
- Select the image you want to resize from your computer.
Step 2 - Choose Resize Options:
- Select the desired resize dimensions or enter custom dimensions.
- Choose the aspect ratio and alignment options if needed.
- Preview how the resized image will look.
Step 3 - Apply Edits and Download:
- Make any additional adjustments such as crop, rotate, or enhance the image.
- Click on the "Download" button to save the resized image to your computer.
Step 4 - Explore Additional Features:
- Shutterstock's Image Resizer offers various additional features, including filters, effects, and text overlays.
- Experiment with these features to further enhance and customize your resized images.
With Shutterstock's Image Resizer, you can easily resize and optimize your images to fit different platforms and purposes, ensuring that your visuals always look their best.
3. ShutterStok’s Create
Shutterstock Create is a versatile online tool that allows you to resize, edit, and customize your images to meet your specific design needs. With a wide range of features and options, Shutterstock Create empowers you to create stunning visuals for websites, social media, presentations, and more. Whether you're a professional designer or a casual user, this tool offers intuitive controls and a vast library of assets to bring your creative vision to life.
How to Use Shutterstock Create?:
Step 1 - Choose Your Canvas:
- Visit the Shutterstock Create website.
- Select the canvas size or choose a custom dimension for your design project.
Step 2 - Upload or Choose Images:
- Upload your own images or browse the extensive Shutterstock library for high-quality visuals.
- Use the search function to find specific images that match your creative concept.
Step 3 - Customize and Edit:
- Apply various editing tools to enhance your images, including cropping, rotating, and adjusting brightness or contrast.
- Experiment with filters, effects, and overlays to add unique styles and visual appeal to your designs.
Step 4 - Add Text and Graphics:
- Utilize the text tool to add captions, headlines, or other textual elements to your design.
- Explore the graphic library to find icons, shapes, and illustrations to enhance your visuals.
Step 5 - Save and Download:
- Once you're satisfied with your design, click on the "Save" or "Download" button to save the final image to your device.
Shutterstock Create provides an all-in-one platform for resizing, editing, and customizing images, empowering you to unleash your creativity and produce professional-quality designs. With its extensive features and user-friendly interface, this tool offers a seamless and enjoyable design experience for users of all skill levels.
4. TinyPNG
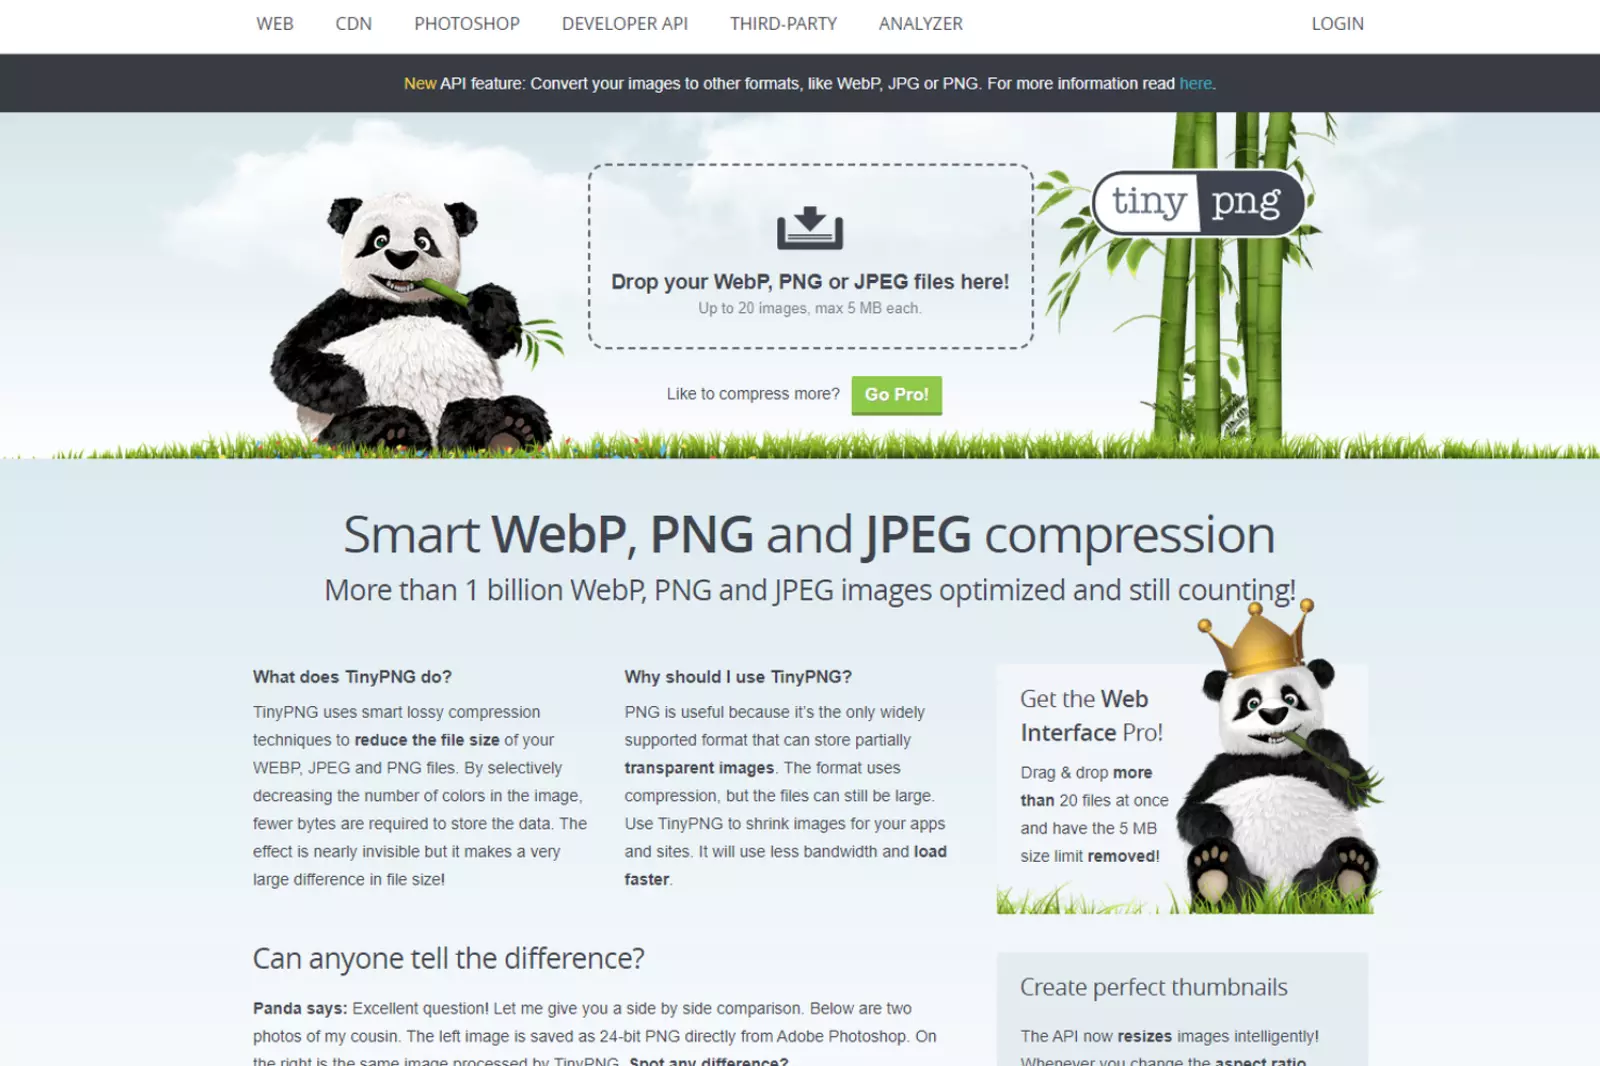
TinyPNG is a popular online image compression tool that allows you to reduce the file size of your images without compromising on quality. With its powerful compression algorithms, TinyPNG can significantly optimize your images, making them smaller and more suitable for web use. Whether you're a web developer, designer, or blogger, TinyPNG offers a simple and efficient solution to optimize your images and improve your website's performance.
How to Use TinyPNG?:
Step 1 - Visit the TinyPNG website:
- Open your preferred web browser and navigate to the TinyPNG website.
Step 2 - Upload your images:
- Click on the "Choose Images" button to select the images you want to compress.
- You can upload multiple images at once for batch compression.
Step 3 - Start the compression process:
- Once your images are uploaded, TinyPNG will automatically start compressing them.
- The compression process may take a few moments, depending on the size and number of images.
Step 4 - Download the compressed images:
- After the compression is complete, TinyPNG will provide you with the option to download the compressed images.
- Click on the "Download All" button to save the optimized images to your device.
TinyPNG's efficient compression techniques ensure that your images retain their visual quality while significantly reducing their file size. By using TinyPNG, you can enhance your website's loading speed, improve user experience, and save valuable server space. Whether you have a single image or a large collection, TinyPNG offers a reliable and user-friendly solution for image compression.
5. Kraken.io
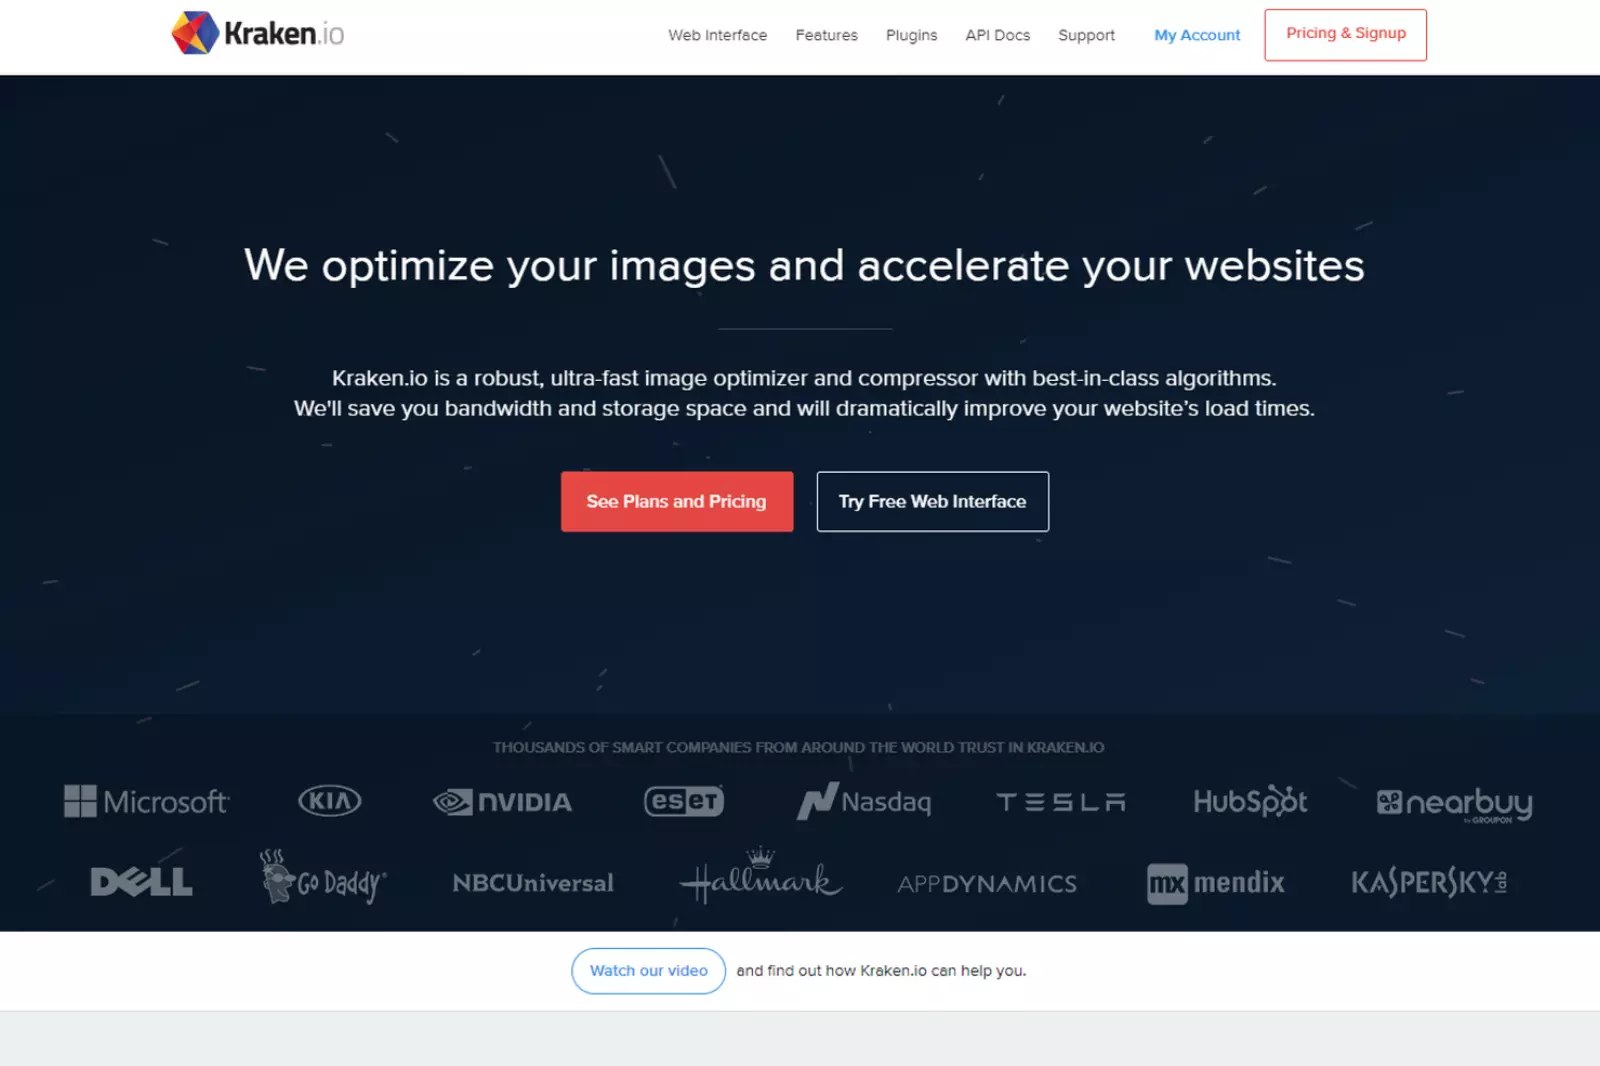
Kraken.io is a powerful online image optimization tool that helps you reduce the file size of your images without compromising their quality. With its advanced compression algorithms and optimization techniques, Kraken.io can significantly improve your website's performance by reducing the load time of your images. Whether you're a photographer, web developer, or business owner, Kraken.io provides an efficient solution to optimize your images and enhance your online presence.
How to Use Kraken.io?:
Step 1 - Access the Kraken.io website:
- Open your web browser and visit the Kraken.io website.
Step 2 - Upload your images:
- Click on the "Upload" button to select the images you want to optimize.
- You can upload multiple images at once for batch optimization.
Step 3 - Choose the optimization settings:
- Kraken.io provides various optimization settings to customize the compression process.
- You can adjust parameters such as image quality, resizing options, and optimization level.
Step 4 - Start the optimization process:
- Once you've selected your desired settings, click on the "Optimize" button to begin the optimization process.
- Kraken.io will analyze and compress your images, reducing their file size while maintaining visual quality.
Step 5 - Download the optimized images:
- After the optimization is complete, Kraken.io will provide you with the option to download the optimized images.
- Click on the "Download" button to save the optimized images to your device.
Kraken.io offers a reliable and efficient solution for image optimization, allowing you to reduce the file size of your images and improve your website's performance. By using Kraken.io, you can enhance your website's loading speed, reduce bandwidth usage, and provide a better user experience. Whether you have a single image or a large collection, Kraken.io provides the tools you need to optimize your images effectively.
Mobile Apps for Image Reduction
When it comes to compressing images on your mobile devices, there are two reliable apps that offer convenient solutions. Bulk Image Compressor is an excellent choice for Android users, providing an easy-to-use interface and the ability to compress multiple photos in bulk.
On the other hand, Photo Compress - Shrink Pics is a top pick for iPhone and iPad users, offering a hassle-free way to reduce the file size of images without compromising quality. With these mobile apps, you can free up valuable storage space on your device and optimize your images for sharing on popular platforms like Facebook, Instagram, and WhatsApp.
Bulk Image Compressor (Android):
- This efficient app allows Android users to compress a batch of photos quickly and easily.
- With its user-friendly interface, you can select multiple images and apply compression settings with just a few taps.
- Bulk Image Compressor helps you reduce the file size of your photos while maintaining satisfactory image quality.
- It's a great tool for freeing up storage space on your Android device and optimizing images for various purposes.
Photo Compress - Shrink Pics (iOS):
- Designed for iPhone and iPad users, this app offers a simple and straightforward way to compress images.
- With Photo Compress - Shrink Pics, you can shrink the file size of your images without sacrificing their quality.
- It's an ideal solution for optimizing photos for sharing on social media platforms like Facebook, Instagram, and WhatsApp.
- The app allows you to easily select and compress images from your device's photo library, making it convenient to use on the go.
With Bulk Image Compressor and Photo Compress - Shrink Pics, you have powerful tools at your disposal to compress and optimize images directly from your mobile devices. Whether you're an Android or iOS user, these apps provide efficient ways to reduce file sizes and make your images more manageable for various purposes.
Shrink.Media
Shrink.media is another notable tool for image compression that offers a user-friendly experience across various devices. With Shrink.media, you can easily compress your images without compromising on quality. It provides a simple and intuitive interface that allows you to upload and compress images in just a few clicks.
The tool employs powerful compression algorithms to reduce file sizes while maintaining the visual integrity of your images. Whether you're working on a desktop or mobile device, Shrink.media offers a convenient solution for optimizing your images for web use, faster loading times, and reduced storage requirements. Give Shrink.media a try to efficiently compress your images and enhance the performance of your website or online platforms.
Common Image Resizing Challenges
Resizing images is a common task that many people encounter when working with digital media. However, it can come with its fair share of challenges. Whether you're resizing images for web use, social media, or printing, there are certain issues that can arise during the process. Understanding these challenges can help you overcome them and achieve the desired results.
1. Aspect Ratio: Resizing an image without maintaining the original aspect ratio can result in distorted or stretched images. It's important to preserve the original proportions of the image to ensure it looks visually appealing.
2. Loss of Image Quality: When resizing an image, there is a risk of losing image quality. Enlarging a small image too much or compressing a large image too aggressively can lead to pixelation, blurriness, or artifacts. Finding the right balance between size reduction and maintaining image quality is crucial.
3. Compression Artifacts: Image compression, especially when done excessively, can introduce compression artifacts. These are unwanted visual distortions that occur when the image data is compressed. It's important to use proper compression techniques and tools to minimize these artifacts.
4. Content Preservation: Resizing an image may affect the overall composition and details of the content. Fine details, text, or intricate patterns may become less legible or lose their impact when resized. Careful consideration should be given to preserving important elements of the image during the resizing process.
5. File Format Compatibility: Resizing an image may require converting it to a different file format. It's important to choose the appropriate file format that supports the desired resizing and ensures compatibility with the intended use, such as web display or printing.
By being aware of these common challenges and implementing proper techniques and tools, you can successfully resize images while minimizing any potential issues and achieving the desired results.
Why Care about Image Sizes & Website Performance?
Website performance plays a crucial role in providing a positive user experience. One aspect that significantly impacts website performance is the size of the images used. Understanding why image sizes matter and how they affect website performance is essential for website owners and developers.
1. Page Load Speed: Large image sizes can significantly slow down the loading speed of web pages. When visitors access a website, they expect it to load quickly. If the images are too large, it can lead to longer loading times, causing frustration and potentially driving users away from your site.
2. User Experience: Slow-loading websites negatively impact user experience. Visitors are more likely to abandon a site if it takes too long to load. By optimizing image sizes, you can enhance the overall user experience and increase engagement on your website.
3. Mobile Responsiveness: With the increasing use of mobile devices for browsing the web, it's crucial to ensure that your website is mobile-responsive. Mobile users often have limited bandwidth, and large image sizes can consume excessive data, leading to slower loading times. Optimizing image sizes improves the mobile responsiveness of your website, catering to a wider audience.
4. Search Engine Optimization (SEO): Website performance, including page load speed, is a ranking factor in search engine algorithms. Search engines prioritize websites that provide a better user experience, including faster loading times. By optimizing image sizes, you can improve your website's performance and potentially enhance its search engine rankings.
5. Bandwidth and Hosting Costs: Large image sizes consume more bandwidth and storage space on your hosting server. This can lead to increased hosting costs, especially if you have a high-traffic website or limited hosting resources. By reducing image sizes, you can save bandwidth and reduce hosting expenses.
By caring about image sizes and website performance, you can create a faster, more user-friendly website, improve search engine visibility, and optimize your hosting resources. It ultimately contributes to a better overall online presence and ensures a positive experience for your website visitors.
FAQ's
Are there other image shrink tools besides "Shrink.media" that preserve image quality?
Yes, there are other image shrink tools that provide lossless compression, such as TinyPNG, Kraken.io, or Compressor.io. These tools aim to maintain image quality while reducing file sizes for better web performance.
Why do I need to resize images for the web?
Resizing images for the web is essential to optimize website performance. Smaller image sizes load faster, reduce bandwidth usage, and improve user experience, leading to better search engine rankings and lower bounce rates.
What is "Shrink.media," and how does it help resize images without losing quality?
"Shrink.media" is an image shrink tool designed to reduce image file sizes without sacrificing quality. It uses advanced compression algorithms to maintain image clarity while optimizing the image for faster web loading.
Is "Shrink.media" free to use for image resizing?
"Shrink.media" typically offers both free and paid plans. The free version may have limitations, such as a restricted number of image compressions per month or lower resolution outputs. Upgrading to a paid plan unlocks additional features and higher-quality outputs.
How does image resizing without losing quality work?
Image resizing without losing quality involves employing lossless compression techniques that eliminate unnecessary data without affecting image details or clarity. This ensures the image maintains its visual integrity despite being smaller in file size.
Can I resize multiple images at once using "Shrink.media" or other tools?
Batch processing, which allows resizing multiple images at once, is a common feature offered by image shrink tools like "Shrink.media" and other similar software. This saves time when optimizing multiple images for the web.
Are there other image shrink tools besides "Shrink.media" that preserve image quality?
Yes, there are other image shrink tools that provide lossless compression, such as TinyPNG, Kraken.io, or Compressor.io. These tools aim to maintain image quality while reducing file sizes for better web performance.


