
How to Resize Multiple Images Together in Windows 11


Photography and cameras are readily available to members of today's society without any barriers. If you are a professional photographer, you most likely take many photographs to use in an advertising campaign or publish on various social networking websites.
As more and more photos like these accumulate over time, you could find that you need to downsize them all at once before publishing them to other social media sites. Users of the internet with slow or unreliable connections may enjoy smaller picture sizes because it will take less time for a page heavy on images to load.
In these kinds of scenarios, many people find themselves getting frustrated and would rather switch platforms. Submitting images of a suitable size is essential to cut down on this bounce rate.
Professional photographers typically take these kinds of images with a specific kind of digital camera known as a large-format camera. To use these accumulated photographs in a project or promotional push, they must first have their dimensions adjusted according to the standards.
The procedure of converting each image can be time-consuming and laborious. But now, there is no longer any reason for you to be concerned about it. In this article, we will demonstrate how to resize numerous photographs rapidly and effectively in Windows 11.
If you've ever lost pictures for any reason, reading this post is definitely something you should do since it describes how to recover pictures in a matter of minutes using Remo Recover.
Why Would you Want to Resize your Images?
There are several reasons why you might want to resize your images:
- File Size: Large images take up more storage space and can slow down website loading times, so resizing them can reduce file size for more efficient storage and faster loading.
- Compatibility: Some devices or platforms may not support large image sizes, so resizing them can ensure compatibility and prevent issues.
- Printing: If you plan to print your images, resizing them to the appropriate dimensions can ensure they print at the desired quality and size.
- Social Media: Different social media platforms have different image size requirements, so resizing your images can help ensure they display properly on each platform.
- Email Attachments: Large image files can make email attachments difficult to send or receive, so resizing them can make it easier to share images via email.
Knowing how to resize an image correctly is essential because most photographs do not come in the precise dimensions we need them to be in.
When an image is scaled, the pixels inside the image are modified to accommodate the new dimensions. When you use an image editing tool to reduce the size of a photograph, the program will delete any pixels that are no longer needed.
When a photograph is enlarged, the editor must generate and add more pixel details. Because of this, having a solid understanding of how pixels function is essential. In the following paragraphs, we will explain how you can resize many photographs simultaneously rather than doing so one at a time.
How to Resize Multiple Images in Windows 11?
You can avoid resizing each image individually by using the batch processing capabilities of PowerToys. The following are some instructions for resizing multiple images at the same time. Let’s learn about them.
PowerToys:
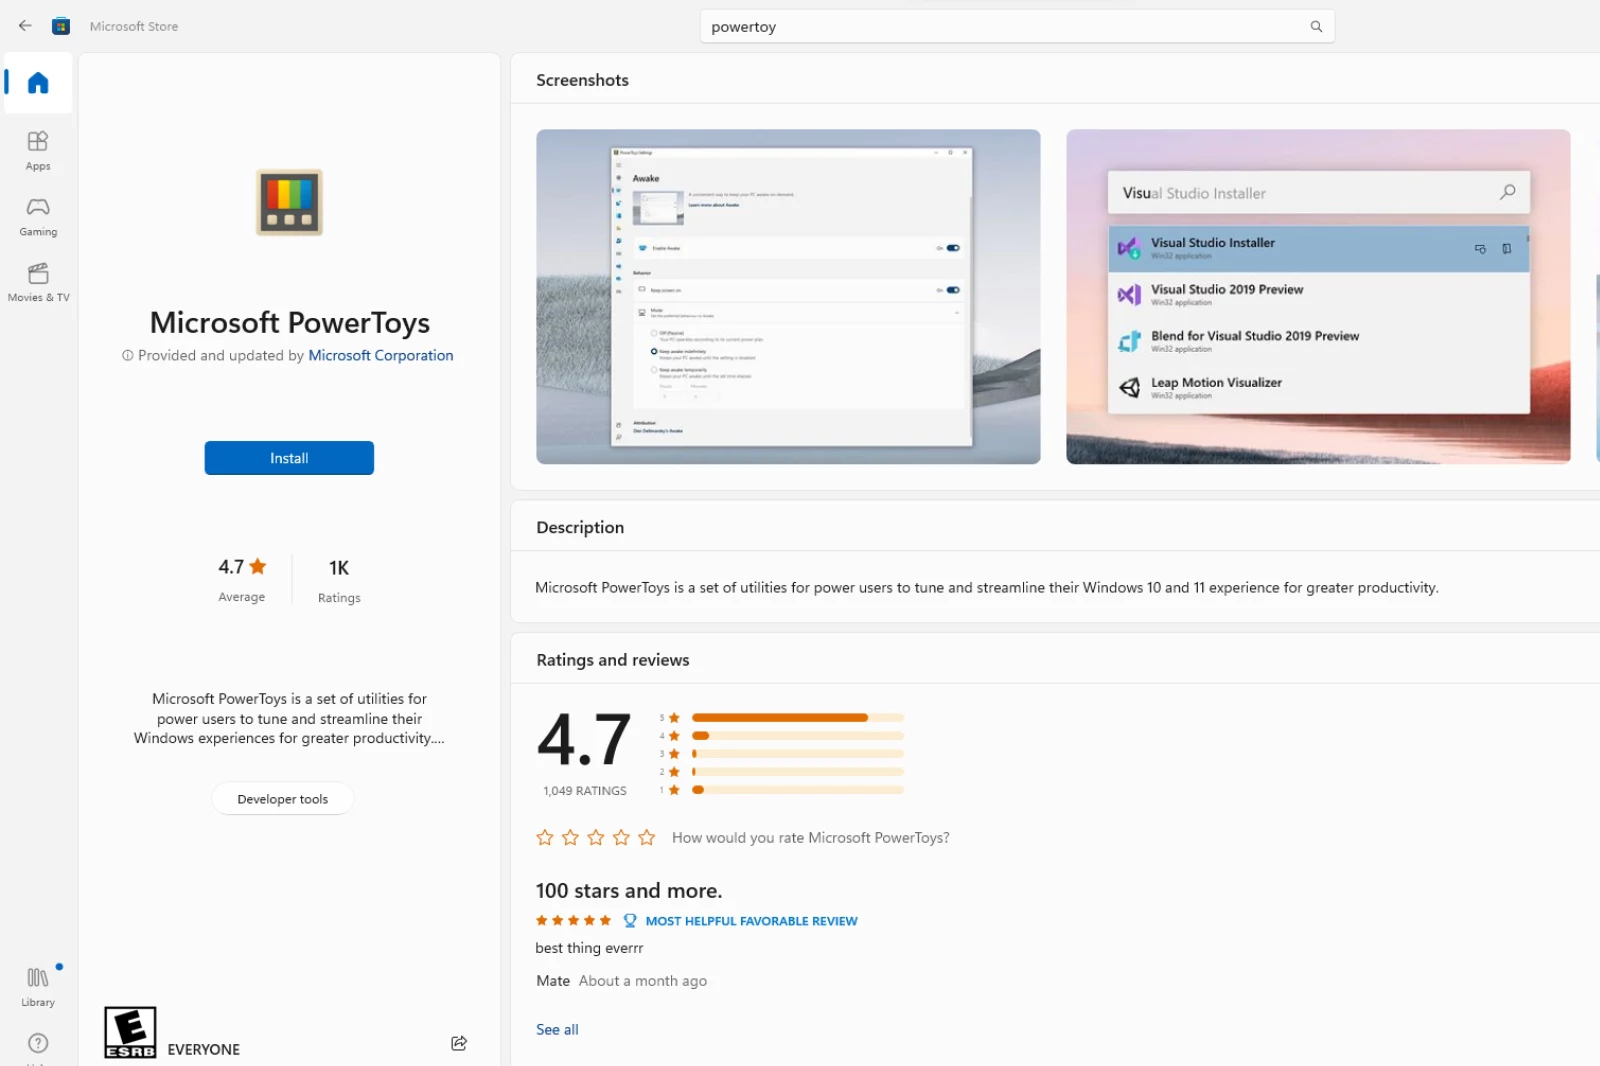
Step 1: Install PowerToys
All users of Windows 11 can download and utilise the open-source software known as PowerToys. You can get the PowerToys application from the Microsoft website and then download and install it.
- Launch the application, navigate the Image Resizer menu, and select Enable the Image Resizer option.
- You are now able to resize the photographs accordingly using the options that have been provided below.
Step 2: Resize Multiple Images
Follow the steps outlined below to resize numerous photos in Windows 11 at once.
- Launch File Explorer and navigate to the photographs you wish to modify the dimensions.
- Right-click the photos you wish to resize, then select the "Resize Images" option from the context menu.
- Choose the size from the drop-down menu, select the "Custom" option and modify the image size and dimensions as desired.
- You will be prompted to choose the resize type if you choose the custom size option.
Fit: This expands or contracts the width of the picture so that it fills the screen.
Fit: This makes the photo taller or shorter so it can be displayed properly on the screen.
Stretch: This reduces the size of the photos so that they can be displayed across the entire screen.
Step 3: Additional Settings on PowerToys
PowerToys allows you to modify several images' file formats, quality, or names simultaneously. This is possible because of the program's batch-processing capabilities.
How to do it:
- Launch the application, and navigate to the Image Resizer menu option.
- Under picture size, select Add new size from the drop-down menu.
- Simply add a size that works for you by clicking the Edit button.
Shrink.media
Shrink.media is an online image compressor tool that allows users to reduce the size of their images without sacrificing quality. This tool is particularly useful for individuals and businesses who need to optimize their image files for web use or sharing. Large image files can be slow to load and difficult to manage.
With Shrink.media, users can easily compress their images to a smaller size while maintaining their original quality, making it an ideal solution for everyone. With its simple and intuitive interface, Shrink.media is a popular choice for anyone looking to streamline their image compression process.
Shrink.media is created by PixelBin, which also offers a variety of other useful image editing tools. Along with Shrink.media, PixelBin provides tools such as a background remover, image upscaler, and watermark remover.
How to resize images using Shrink.media?
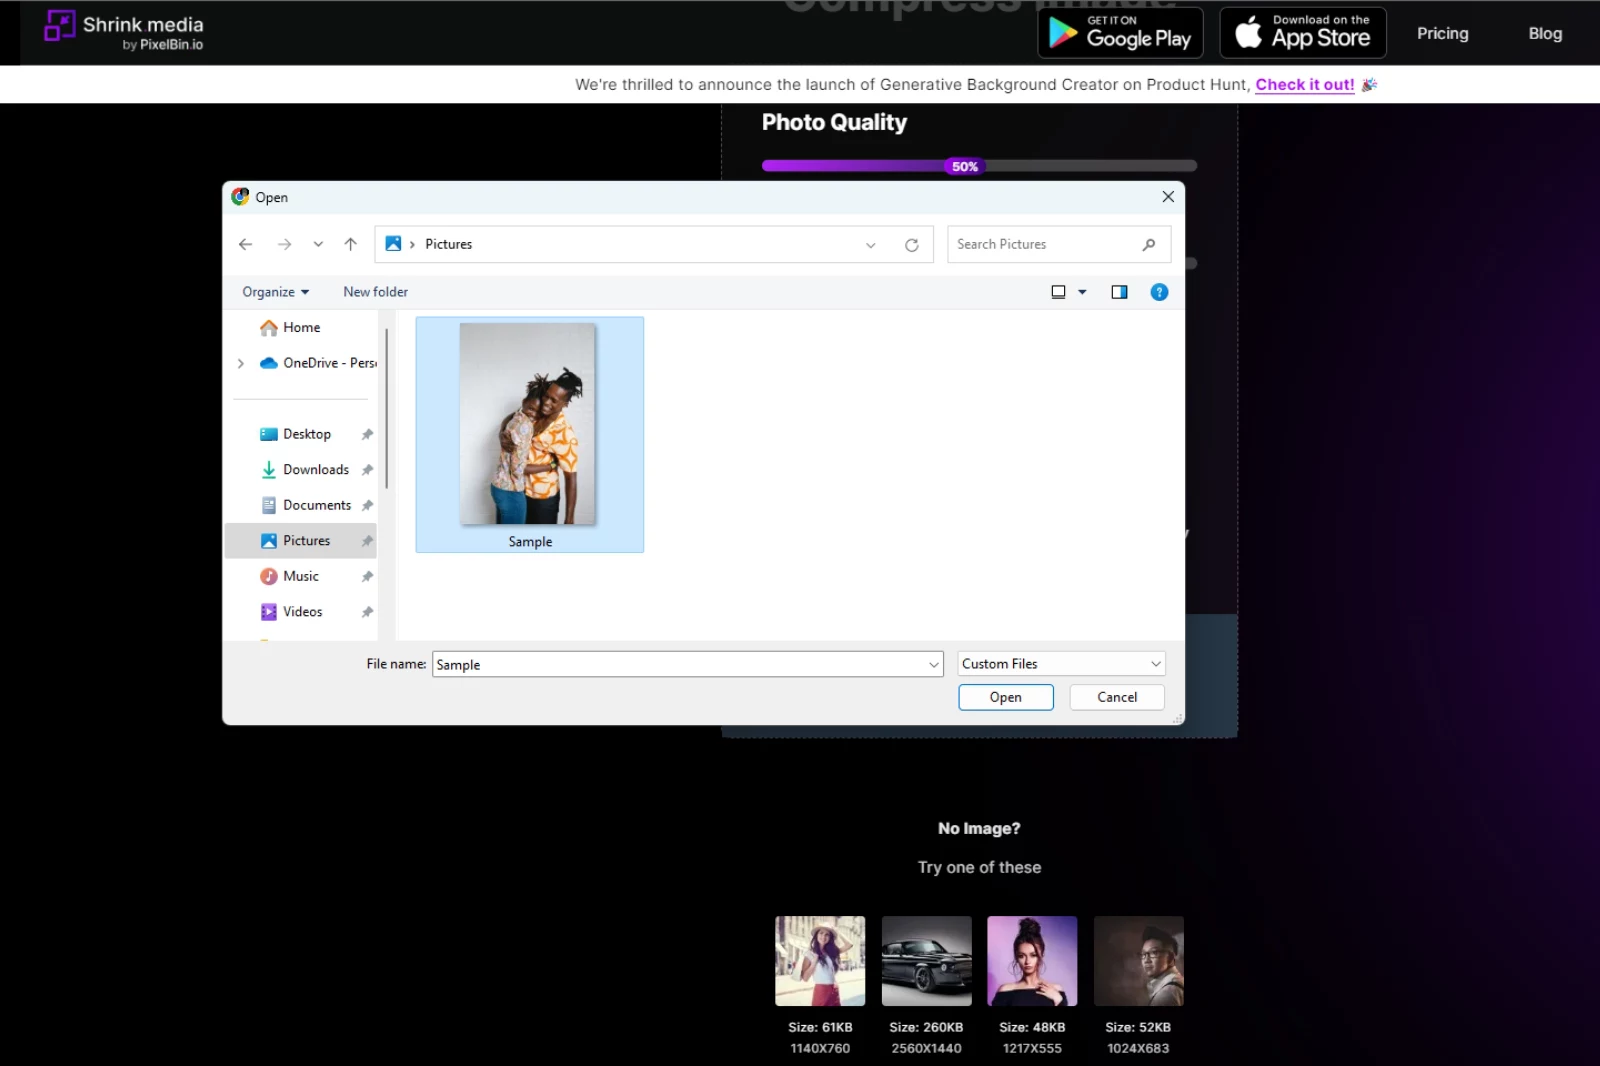
Step 1 - Open the Shrink.media official website.

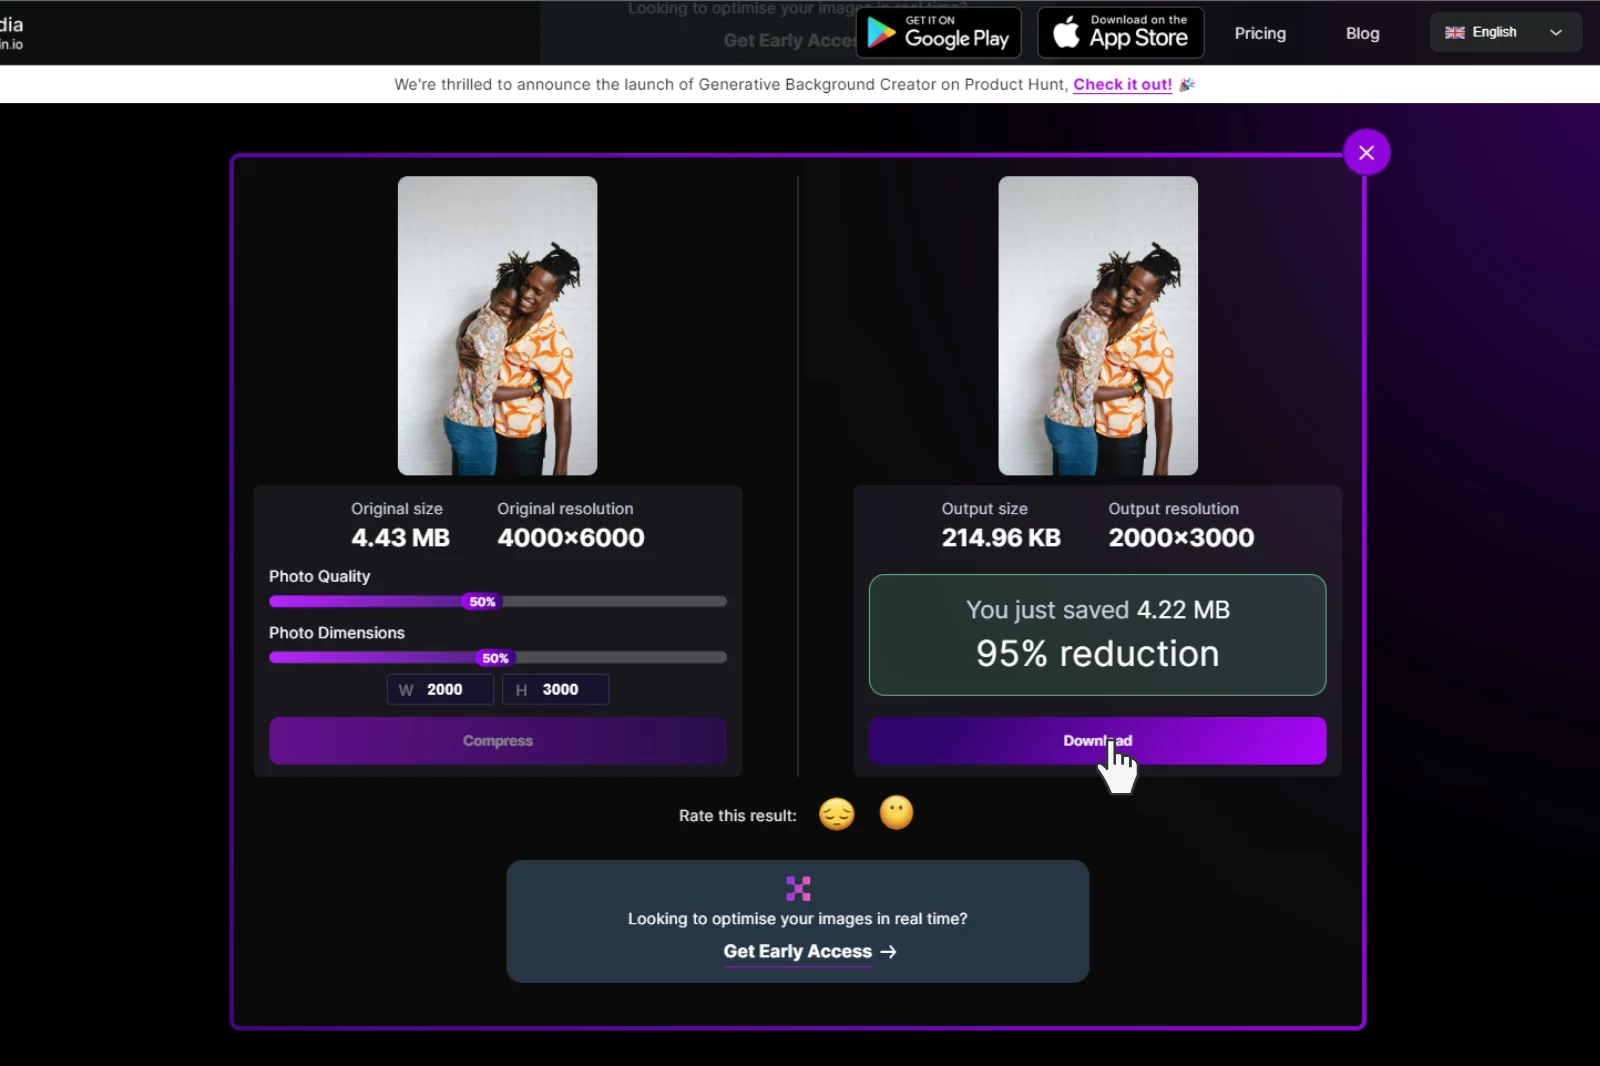
Step 2 - Change the ‘Photo Quality’ and ‘Photo Dimensions’ according to your requirements.
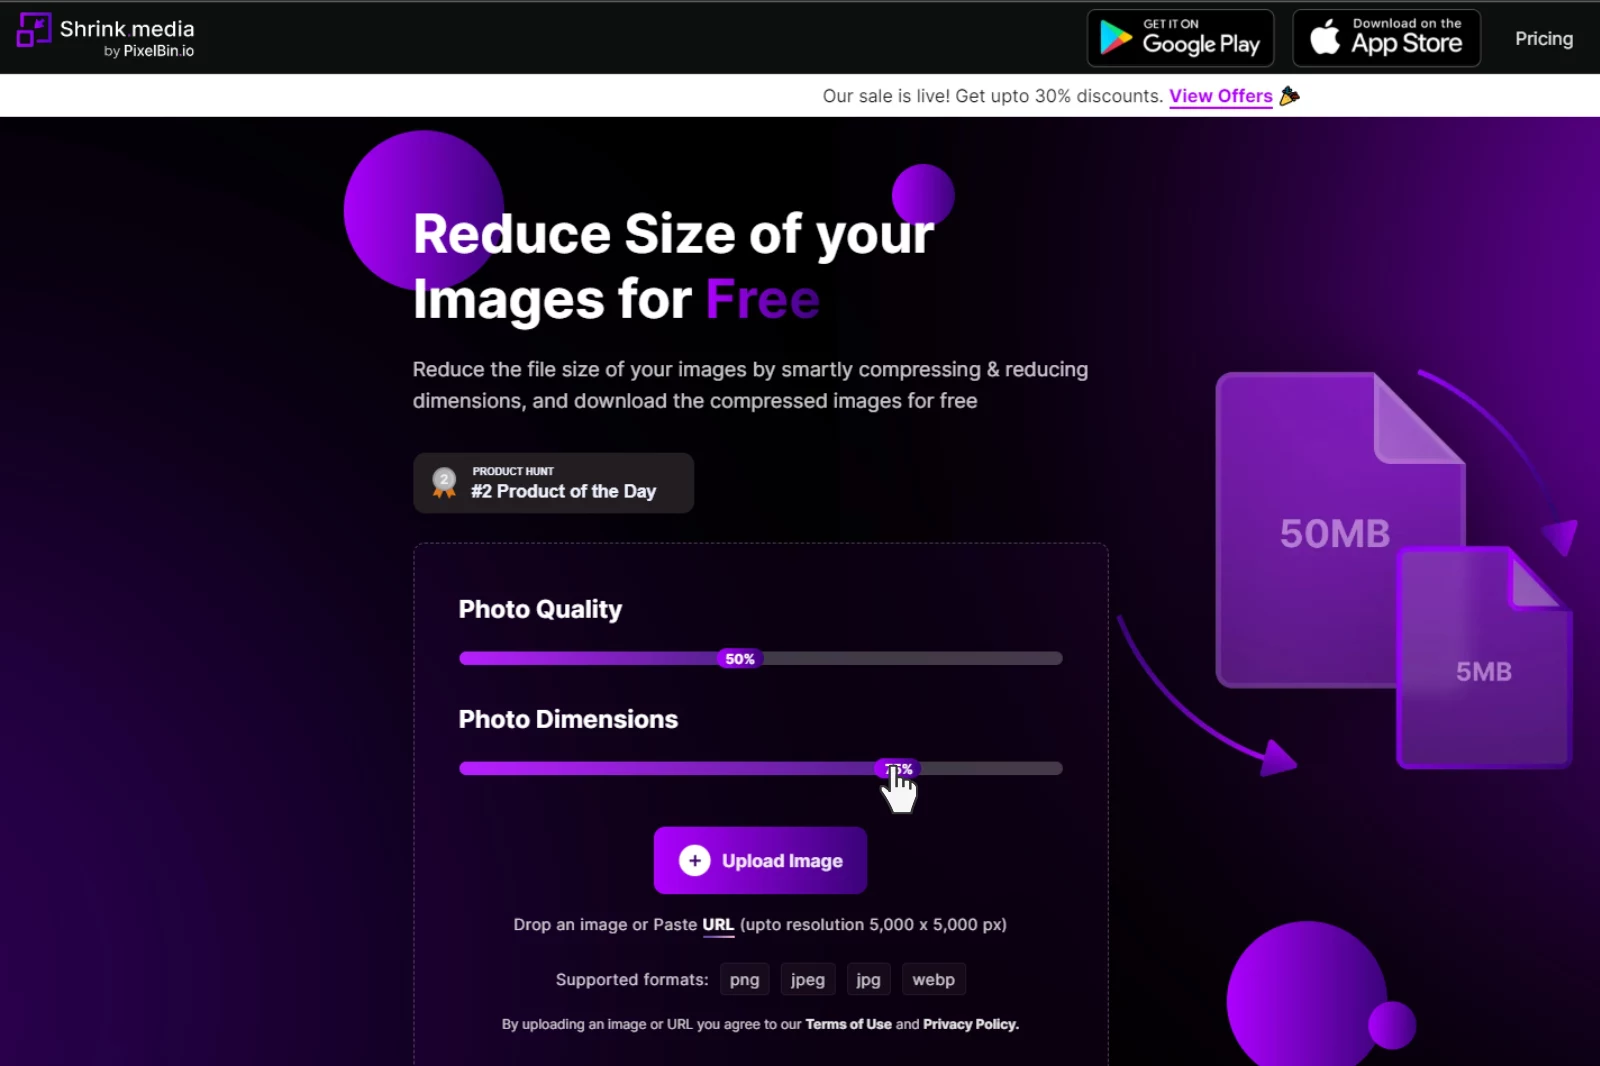
Step 3 - Click on the button ‘Upload Image’
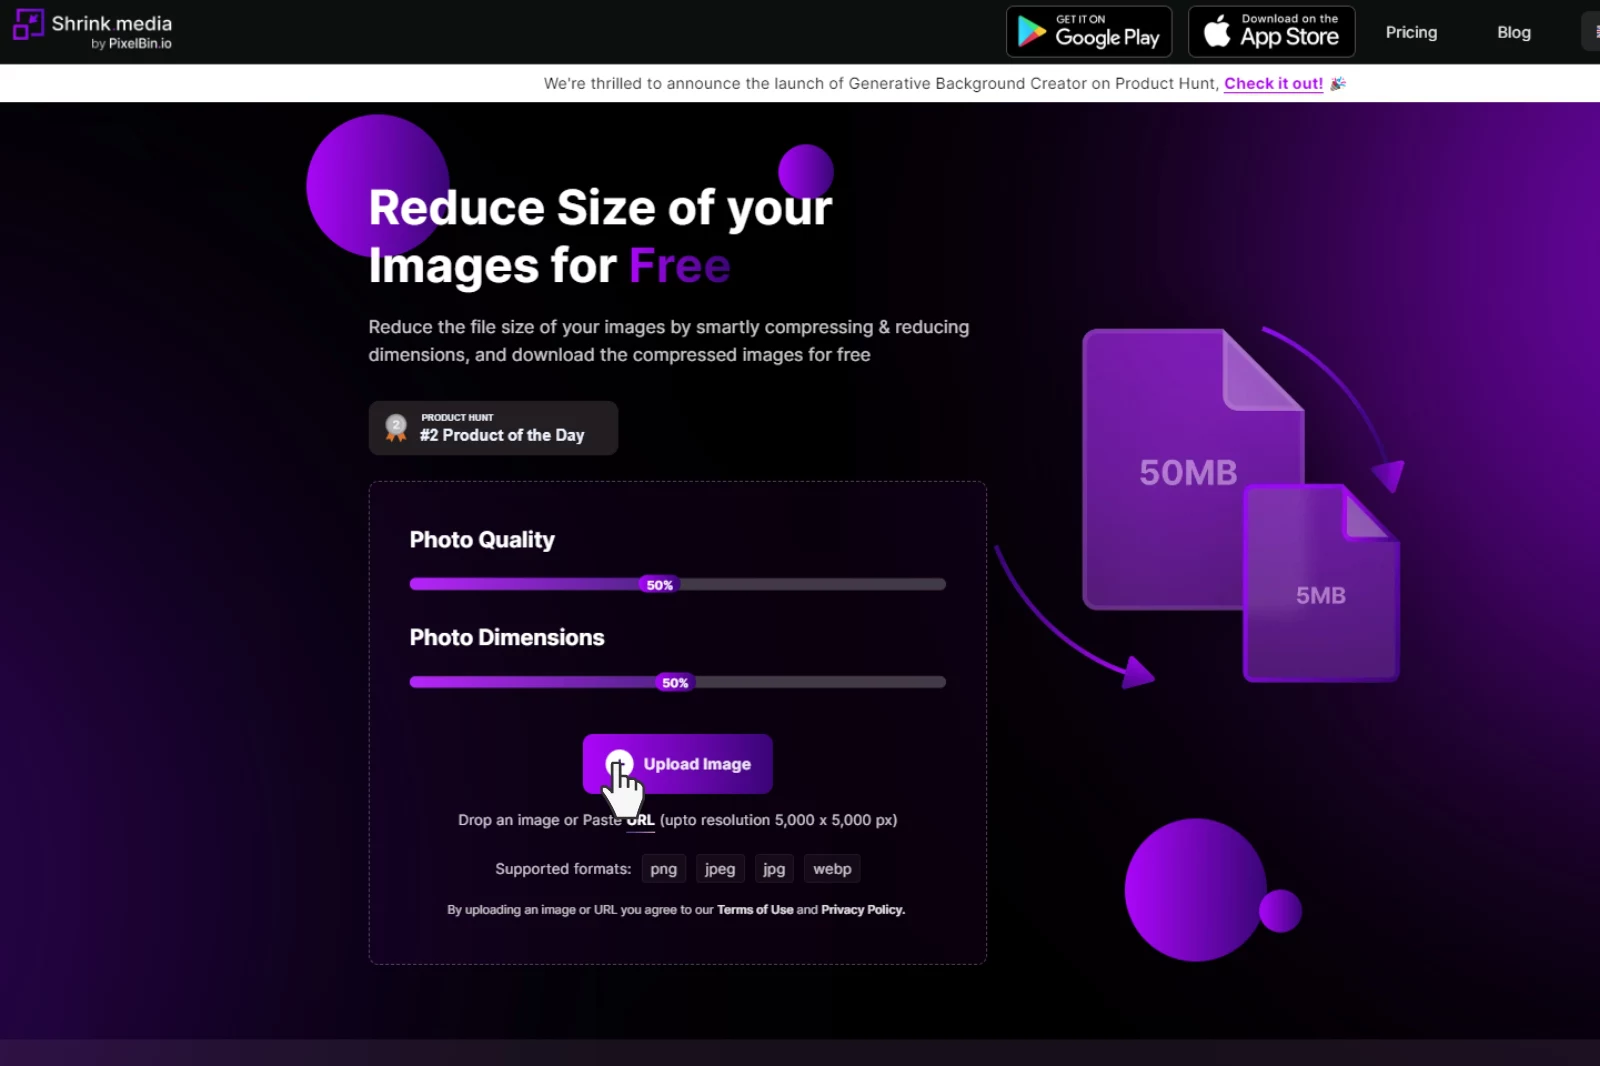
Step 4 - Now, upload the image that you want to resize.
Step 5 - After uploading, the image will take 2-3 seconds to be processed.
Step 6 - Once satisfied with the results, you can download the compressed file.
Although we provided a step-by-step guide for reducing image size using Shrink.media, doing this one image at a time can be time-consuming. However, Shrink.media also offers a bulk image size reduction feature, allowing users to simultaneously reduce the size of multiple images.
Users can visit the pricing page on the Shrink.media website for more information on this feature and other options available.
How to Recover Deleted Photos?
You must back up the original files before making any modifications to the size of the images, as the quality of the images may suffer during the resizing process. Reducing the size of your images to an excessively small size will cause them to lose their sharpness, which is only adding salt to injury.
Changing the proportions of the image results in the irreversible deletion of the source file. As a result, there is a chance that the images you take will turn out to be of little use.
Aside from that, try not to worry too much if you accidentally erase or lose any photographs while altering or resizing them. With the assistance of the dependable Remo Recover software, it is possible to retrieve deleted photographs from a personal computer, memory card, solid-state drive, or an external hard disc.
This application supports over 300 file types, including various popular image formats such as NEF, PNG, JPEG, SVG, CR2, CRW, CR3, and K25. Recovering any of these file kinds is a breeze thanks to this utility.
Follow the methods below to restore photos that have been deleted:
- You should download Remo Recover and then install it on your computer.
- Simply select "Recover Photos" from the menu on the main screen.
- Click the Scan button after you have chosen the drive that contains the photos you wish to retrieve, and then choose it.
- After the scanning procedure has been finished, a list of the recovered files will be shown in File Type View and Data View, respectively.
- Select the Preview option from the menu to examine how well the software will work for you.
- Select the Save option to restore the files to your chosen location.
Conclusion
In conclusion, resizing multiple images in Windows 11 has become easier than ever, thanks to Powertoys. With just a few clicks, you can resize all your images in one go. However, if you're looking for a quick and hassle-free way to reduce image size online, Shrink.media is an excellent option.
With its user-friendly interface and efficient compression algorithm, Shrink.media can significantly reduce the size of your images without compromising their quality. So whether you need to resize multiple images on your computer or reduce their size online, these tools can help you achieve your goals quickly and efficiently.
FAQ's
How can I resize multiple images simultaneously in Windows 11?
In Windows 11, you can use the built-in Photos app. Simply select all the images you want to resize, right-click, choose "Open with," select "Photos," click on the "..." menu, and select "Resize."
Will resizing multiple images in Windows 11 affect the original files?
By default, the Photos app creates new copies of the resized images while keeping the original files untouched. This ensures that the original images remain unchanged.
Can I batch-resize images to specific file sizes in Windows 11?
The Photos app does not have the option to resize images to a specific file size directly. However, you can use third-party software like IrfanView to set a specific file size during batch resizing.
Can I undo the resizing changes for multiple images in Windows 11?
Unfortunately, the resizing changes made to multiple images in Windows 11 using the Photos app are not reversible. It's advisable to back up the original images before batch resizing to ensure you can revert to the originals if needed.
Can I resize multiple images to a percentage of their original size in Windows 11?
Unfortunately, the Photos app in Windows 11 does not provide a direct option to resize images by a percentage of their original size. However, you can achieve this by calculating the desired pixel dimensions based on the percentage and manually entering those values in the resize tool.
How can I resize multiple images at once in Windows 11?
You can use the built-in Photos app in Windows 11 to resize multiple images simultaneously. Select all the images you want to resize, open them in the Photos app, go to the Edit & Create menu, choose Resize, and specify the desired dimensions.
How can I resize multiple images simultaneously in Windows 11?
In Windows 11, you can use the built-in Photos app. Simply select all the images you want to resize, right-click, choose "Open with," select "Photos," click on the "..." menu, and select "Resize."


