
How to Reduce Kb of an Image Online for Free - In Few Clicks


Is the large size of the image file restricting you from sharing it? That's a common problem that we all frequently deal with. However, there are several techniques to reduce the file size of your images.
Users demand standard-size, high-quality photos, whether you're building a website, writing a blog post, or managing a social media account for your firm. By resizing photos without compromising quality, you can make your business appear more reputable to users and help build user trust.
To reduce the file size, you can compress your photos, adjust their resolution, or remove their metadata. In this blog, we will discuss Shrink.media and 5 other useful online tools you can frequently use to reduce your image size without compromising your pic quality.
How to Compress Images?
It's easy to compress an image. Depending on which images you want to make smaller, what you plan to do with them, what kind of device you have, and what kind of tools you use to reduce the images, the approaches will vary slightly.
This blog will examine and clarify the various approaches to reducing image file size with a few simple instructions. But before discussing those approaches, let's quickly review some more benefits and drawbacks of this technique.
Data Loss
During compression, you may lose some data in the image file. Because of this, you should always have an uncompressed copy on hand if you miss any important file information.
Size Reduction
Image compression enables to Shrink of the image until it is the required size. The image will preserve its overall size while using less storage space.
Quality Degradation
The quality of an image might often suffer when you compress it. Furthermore, whether you save your new file as a GIF or PNG makes no difference. Compression is, therefore, not a wise choice if you need high-resolution pictures with a strong zoom-in feature for your website.
Slow Devices
Large uncompressed pictures may take a while to load on some devices. With image resizing, however, your website will load more quickly because smaller pictures won't take up as much space on the storage.
How to Resize Images on Windows?
There are two ways to resize an image when you use Windows-compatible devices.
Photos App.

Step 1 - If you're using a Windows PC and want to know how to reduce the size of an image using the Photos app, follow these instructions:
Step 2 - Open the image in "Photos" when you've found the image you want to compress. In the Photo's Window's upper right corner, click the '...' option in the Photo's window's upper right corner. There will be a drop-down list.
Step 3 - A pop-up window is enabled by choosing "Resize." Decide on a size. There are two sizes available: M or S. (medium). A "Save As" window will appear once you click on size.
Step 4 - Give your image a title in the "File Name" section. You can choose a file location by clicking on location in the left sidebar. In the bottom right-hand corner of the window, click "Save." This is where it will save the compressed file.
Paint App
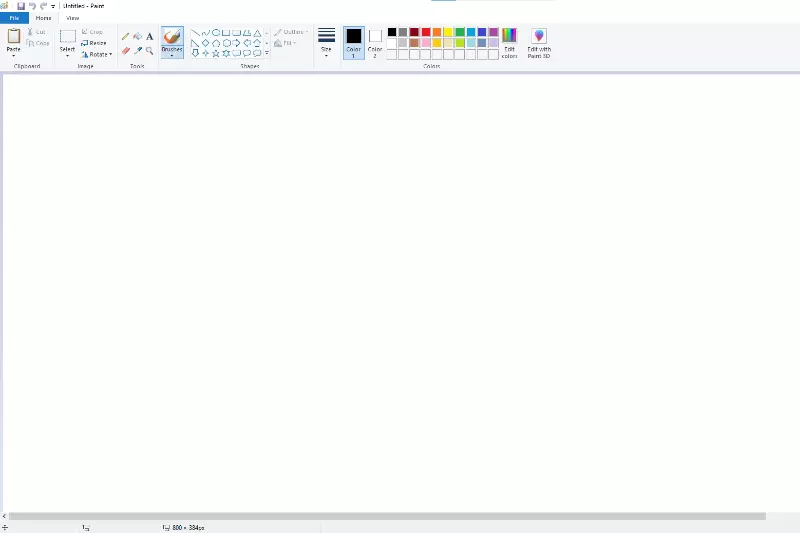
When you're using a Windows PC and want to know how to reduce the size of an image using the Paint app, follow these instructions:
Step 1 - Select the image you want to reduce the size of, right-click on the image and then select "Edit."
Step 2 - Click the "Resize" button.
Step 3 - Specify the app and how many pixels or percentages you want to resize your image in the app.
Step 4 - Click "OK" once when you finish it.
Step 5 - Click the "Save" button to save your resized image.
How to Resize Image on Mac
Here are the instructions on image resizing for individuals who use Mac-compatible devices:
The Preview App

Step 1 - Select the image, right-click it, click the "Open with" button and select "Preview."
Step 2 - Select the Tools section in the top toolbar, then select the Adjust size button.
Step 3 - Adjust the image's height and width, then click "OK" to confirm your selection.
Step 4 - Select "File" from the top toolbar and click the "Save" button to save your updated version of your image.
Reduce Image Size using Online Tools
Pixels stored on your device or computer make up digital pictures. There are more pixels in some photos than in others. Digital photos of some types can be incredibly large since they contain thousands of pixels. These pictures require a large amount of storage space, which makes it difficult to email them or move them to another system or device.
The solution is to reduce image sizes. You can use several online tools to reduce image file sizes. To use these tools, you do not require to install anything on your computer. They operate on your web.
How to Reduce kb of an Image using Shrink.media?
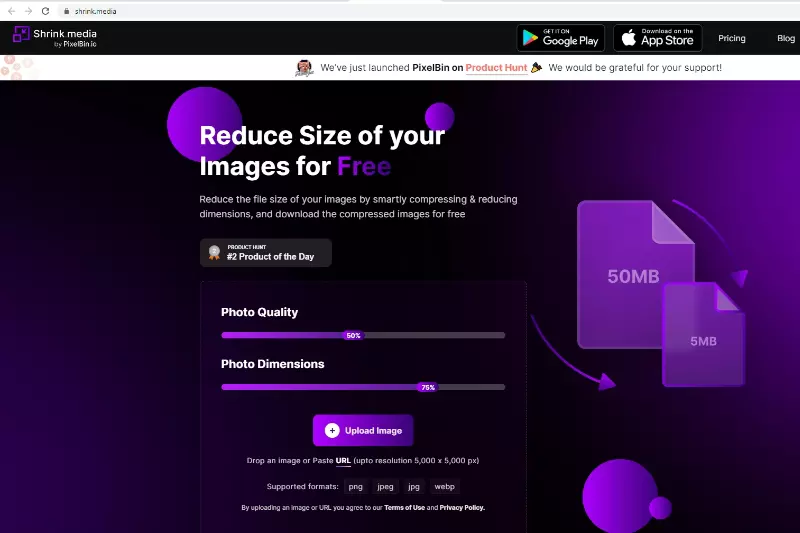
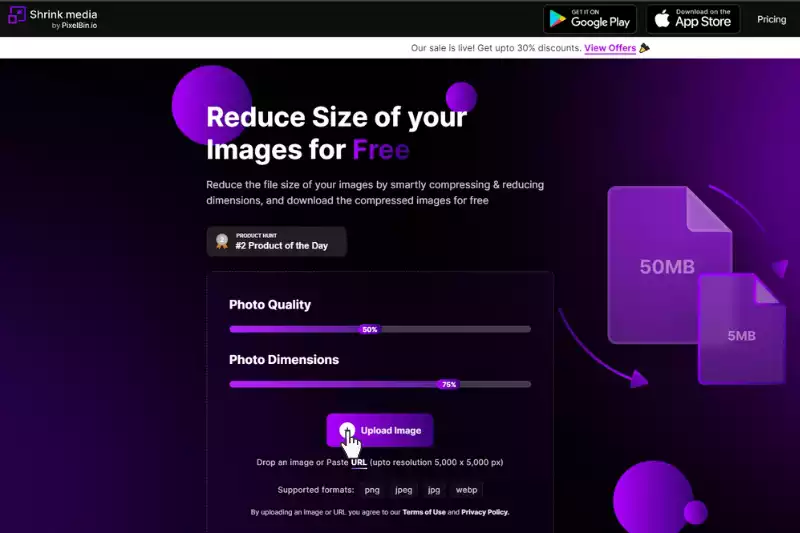
Shrink.media is an online tool that you can use to reduce the file size of your images by intelligently Shrinking & reducing dimensions. It allows you to download the reduced images for free. Shrink.media supports jpeg, png, jpg, and webp formats.
You can also download Shrink.media app on Google Play and Apple stores. Follow the below instructions for using the online tool Shrink.media to reduce the size of image files:
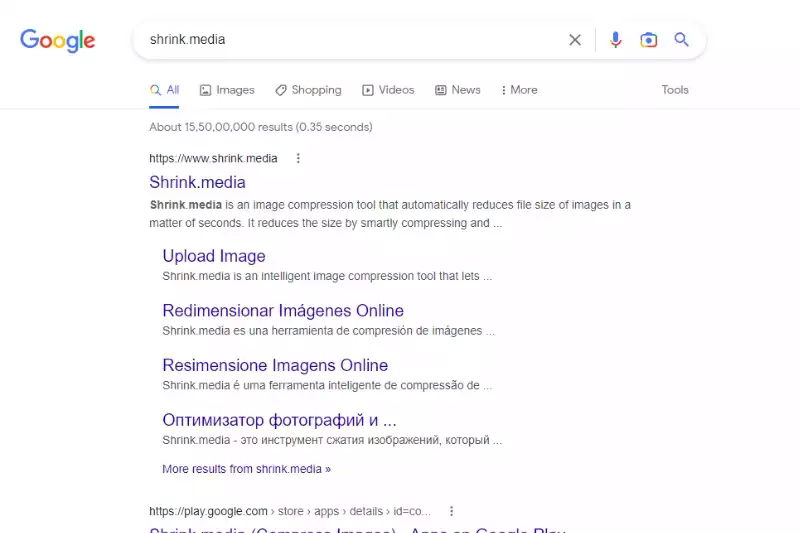
Step 1 - On your computer, open a web browser and go to the Shrink.media site.
Step 2 - To add your images, click the upload icon at the top right of the page after it loads.
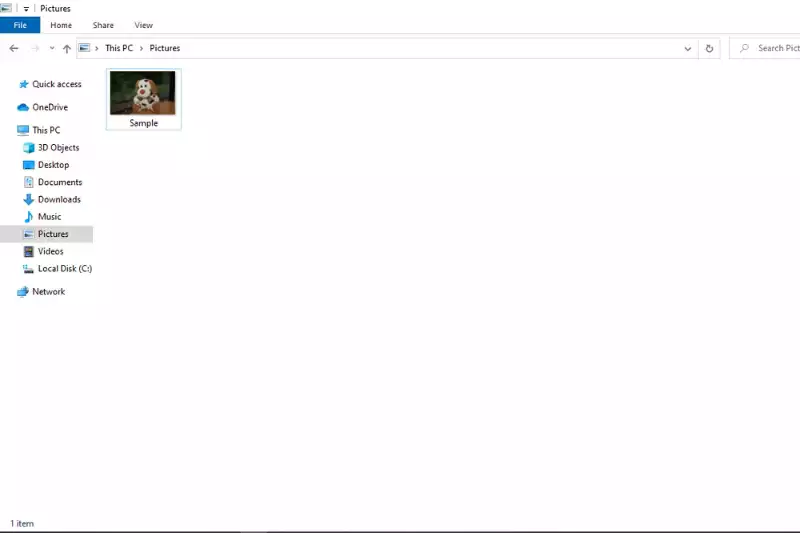
Step 3 - Upload the image you want to reduce the size. Remember, you can upload only one image in one go.
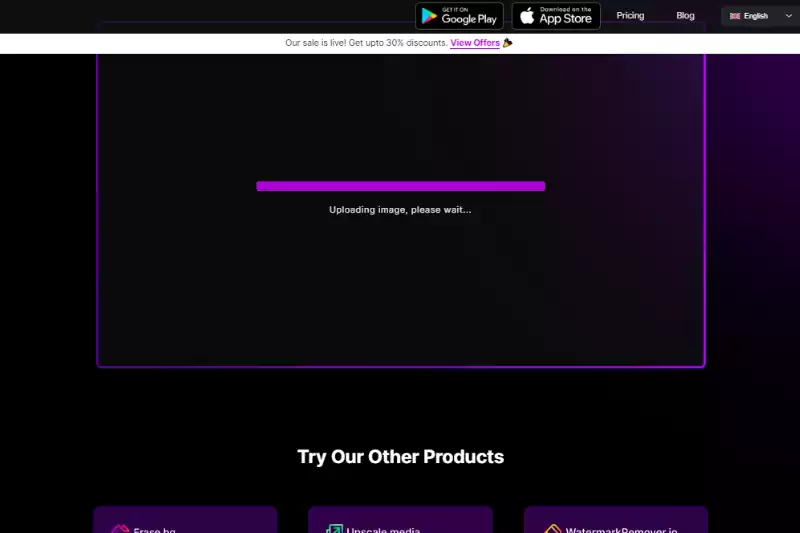
Step 4 - When you upload the image, Shrink.media will start compressing it.
Step 5 - On the left side, it will show the original image and the options of how much height and width you want to maintain or up to what kb you wish to reduce the image.
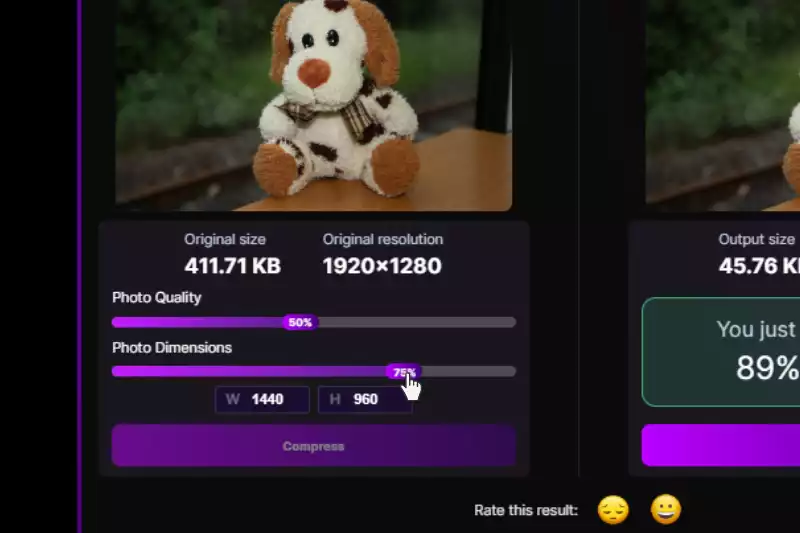
Step 6 - Once you choose the options on the right side, it shows the compressed image on the right side.
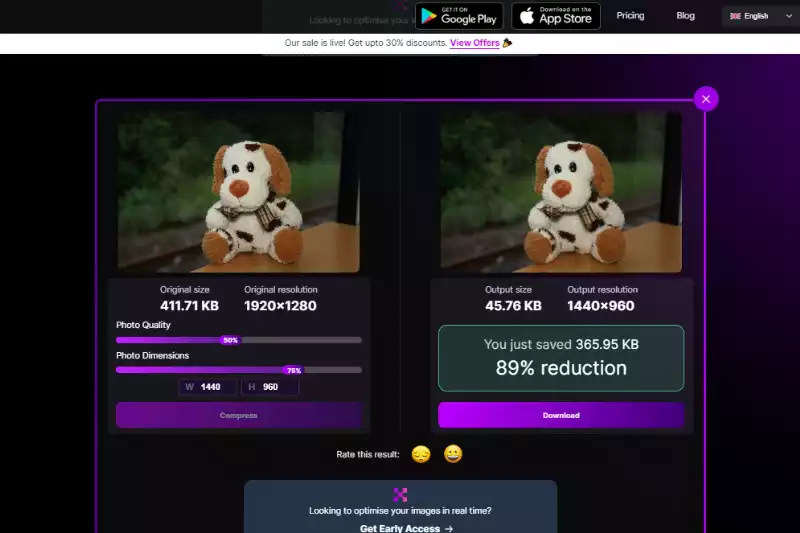
Step 7 - It shows a download icon at the bottom right. From there, you can easily download your compressed image.
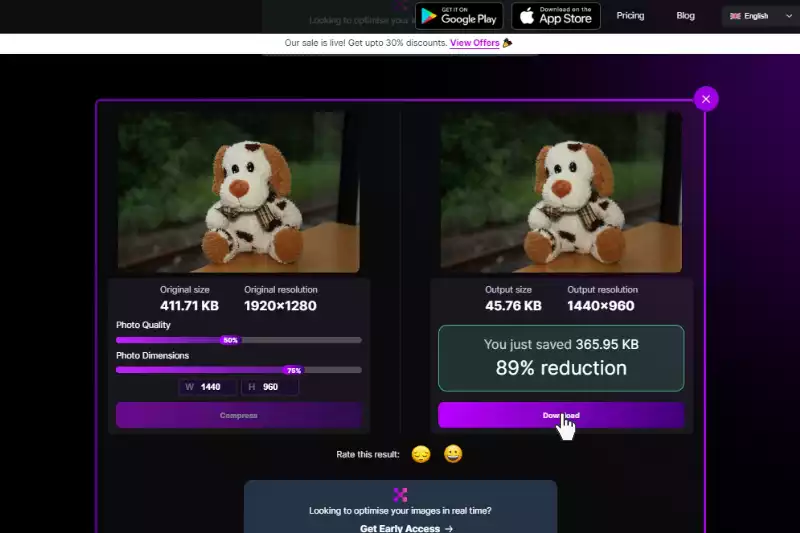
Step 8 - The final download comes as a Image file.
Few Other Tools Used For Reducing the Size of Images
Image Smaller
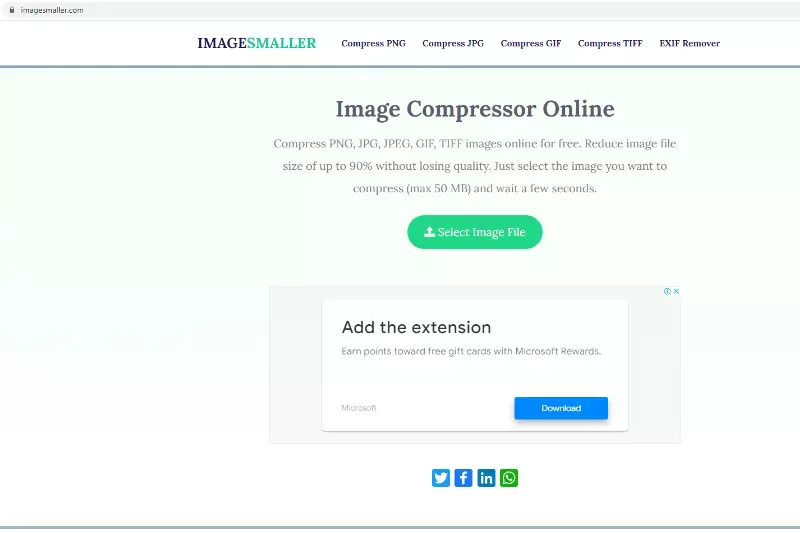
Another tool that enables you to reduce the size of your images is image Smaller. This tool supports JPG, PNG, GIF, and TIFF image formats. You can upload images up to 50MB in size. Open a web browser on your PC and go to the "Image Smaller" site.
Step 1 - Choose the image or images you want to compress by selecting "Image File" on the site.
Step 2 - Allow the site to reduce the size of your image.
Step 3 - Select "Download" to download the reduced image after it has been reduced.
Step 4 - Your image's original and reduced size is displayed on the download page.
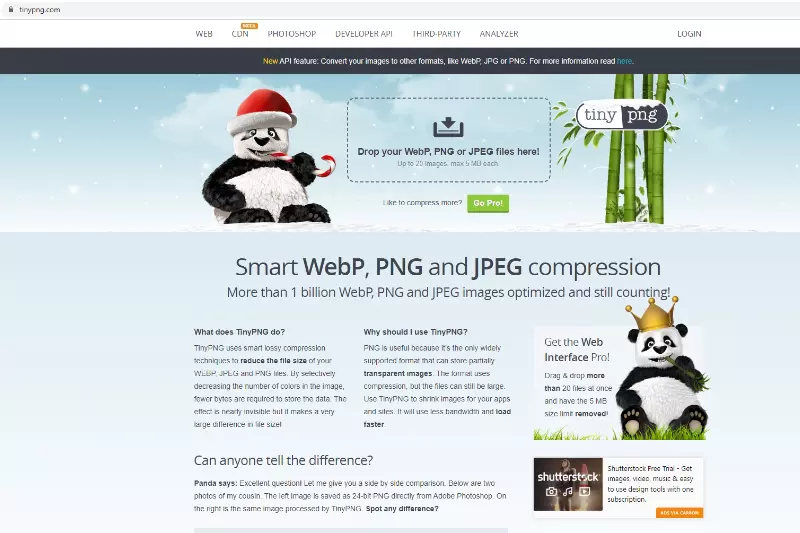
TinyPNG
TinyIMG provides an app and an online tool to assist you in improving and ranking your Shopify store on Google. For example, the titles and ALT tags for the pictures in this TinyIMG tool are generated automatically.
Step 1 - Open your web browser and open TinyIMG.
Step 2 - Drag and drop the image files whose sizes you need to reduce. But no file can be larger than 3MB in size.
Step 3 - After the image has finished being reduced, download it.
Step 4 - You will be informed about the change in file sizes between the original and the reduced image.
Kraken
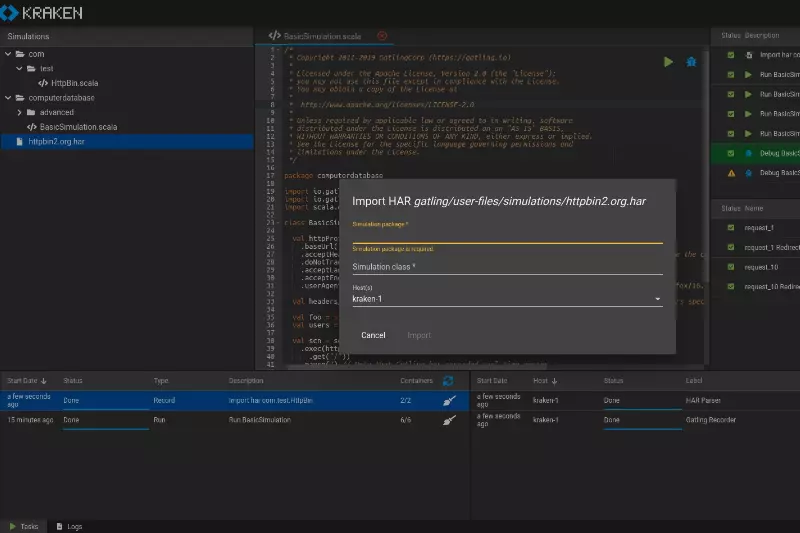
Kraken's picture resizer can be used for free with some configurations, even though most of its offerings are paid. These cost-free options are sufficient to reduce the size of your pictures efficiently.
Step 1 - Open your web browser and go to the Kraken site.
Step 2 - Choose “Lossless” under the "Select optimization mode" section. This will guarantee that your image gets resized without significantly affecting the image's quality.
Step 3 - Upload the image you want to reduce by selecting the “upload” icon.
Step 4 - Your image will begin to be reduced by Kraken. The progress bar will be shown at the site's bottom.
Step 5 - Once your image has been completely reduced, click “Download File” to save it to your computer.
Resizing.app
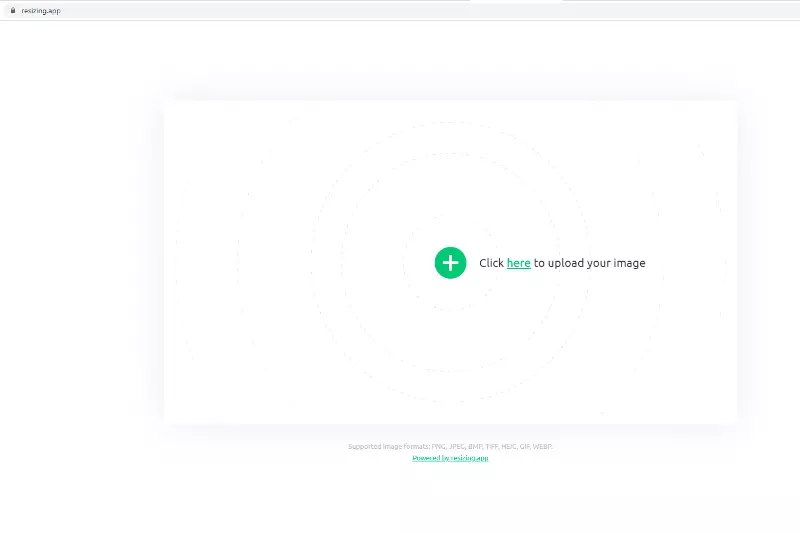
A free image editing tool called Resizing.app has a straightforward user interface. The image's dimensions can be changed using the width, height, largest side, percentage, or a customized value.
The image can be converted and adjusted with the sliding scale after being resized. The drawback of this tool is that it does not display the file size as you reduce it. Because of this, it may be challenging to determine when to stop moving the scale.
Step 1 - Open your web browser and go to resizing.app site.
Step 2 - Upload the image you want to reduce by selecting the "click here to upload your image" icon.
Step 4 - Once your image is uploaded, it shows a window where you can resize it by width or height and optimize its size using a sliding scale.
Step 5 - Once it completely reduces your image, select the image format and click "save Image" to save it to your computer.
PicResize
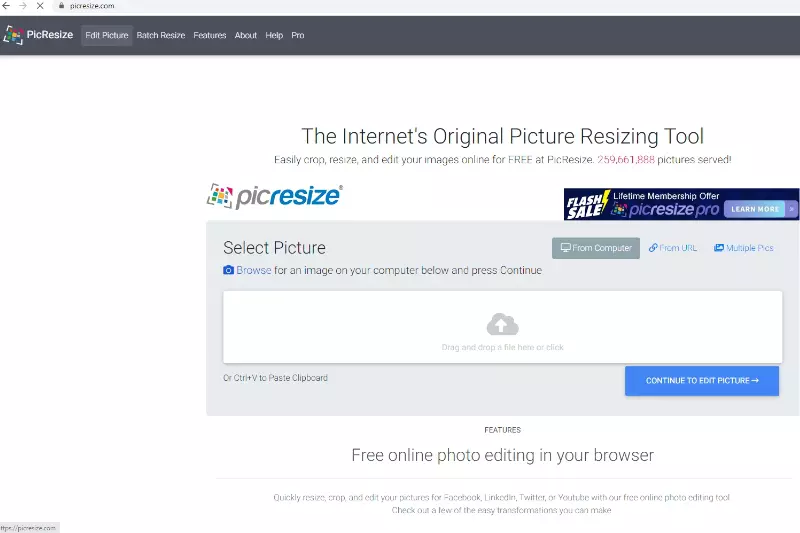
You may quickly resize, crop, and edit your pictures with PicResize. Adjusting the width and height in pixels or reducing the picture by pre-set percentages are two ways to do this. It's essential to keep in mind these two things.
You can only use PicResize's free version to reduce the size of images; to increase their size, you must buy PicResize Pro. It can compress only JPG file formats, and a dropdown menu with the choices "good," "better," and "best" is available in place of a slider. You can specify a maximum file size even though you can not view the picture's size.
Step 1 - Open your web browser and open PicResize.
Step 2 - Drag and drop or upload the image file whose size you need to reduce.
Step 3 - Select the percentage and dimensions of how much you want to reduce your image.
Step 4 - Select the image format and click resize image button.
Step 5 - Once it reduces your image, you will get a new window, and you can view it, save it or edit it.
Image Resizing Dimensions
You have the relatively simple choice of altering the image's dimensions. It can guarantee that your image quality meets the necessary standards. This drawback is that it can be more difficult to control whether the image file size increases, which might slow your website down.
You can utilise software-based or online editing tools to change the size of an image. However, you must be aware of a few aspects you should keep in mind when using this strategy.
Resizing your image
After selecting your image and the appropriate format, you should consider the size issue. Your image's size may change depending on where you intend to upload it and how you will use it. Because of this, you must decide what parameters the image must contain.
Most essential, after you have adjusted image dimensions, do not forget to compress a file. By doing this, you can be sure your new image won't slow down your website.
Choose correct picture
It could be challenging to decide how to resize an image if it has many things. You might need to remove some parts sometimes. Additionally, reducing the image's dimensions could make it challenging to highlight its features.
For this reason, use a photo with lesser details when Shrinking it. For example, photos with unblurred sections, huge areas of a single shade, and a limited choice of colors.
Choose the correct format
Every file format may perform better according to the image you're using. We have listed the top three below:
- For logos, graphics, icons, and solid shapes, PNG is preferred.
- When using an image file, choose JPEG.
- GIFs are animated pictures that can only carry up to 256 colors. Therefore they must be brief and precisely crafted to express your idea effectively.
Conclusion
Whether you run a website, work as a social media marketer, blogger, or anything else, resizing images without losing quality is crucial. Fortunately, the process is simple because there are numerous free and paid online tools. You can speed up your website, resize your pictures quickly, and satisfy your visitors.
Using Shrink.media, you can quickly reduce the size of your images and other numerous tools described above. You can either utilise web-based tools or downloadable tools to compress your pictures. As we suggest, Shrink.media is the best online tool to reduce the size of your image. That's all because of the item's efficiency, usability, and user-friendliness
FAQ's
How to reduce the kb of a picture?
To reduce the KB of a picture, one of the most manageable steps is to use a tool like Shrink.media. Simply upload the picture to Shrink.media, let the tool compress it, and then download the reduced file size, effectively reducing the KB size of the picture while maintaining image quality.
How to make smaller kb pictures?
Here are the most straightforward steps to make smaller KB pictures using Shrink.media:
Step 1: Visit the Shrink.media website in your web browser.
Step 2: Click the "Upload" button to select the picture you want to make more minor from your computer.
Step 3: After uploading the picture, adjust the compression setting, and Shrink.media will automatically start the compression process.
Step 4: After completing the compression, click the "Download" button to save the smaller KB picture to your computer.
Following these simple steps, you can easily make your pictures smaller in KB size using Shrink.media.
How to minimize the size of photo in kb?
To minimize the size of a photo in KB, the best approach is to utilize Shrink.media. Visit the Shrink.media website, upload the photo you want to minimize in size, and let the tool compress the photo to reduce its KB size.
How to make an image less kb?
To make an image less KB in size, using Shrink.media is the recommended option. Simply visit the Shrink.media website, upload the image you want to reduce in size, and let the tool compress the image to achieve a smaller KB size.
How to shrink kb of pictures?
Here are the easiest steps to shrink the KB size of pictures using Shrink.media:
Step 1: Go to the Shrink.media website using your web browser.
Step 2: Click the "Upload" button and select the pictures you want to shrink from your computer.
Step 3: Once the pictures are uploaded, Shrink.media will automatically start the compression process.
Step 4: After the compression is complete, click the "Download" button to save the shrunken pictures with reduced KB sizes to your computer.
By following these simple steps, you can quickly shrink the KB size of your pictures using Shrink.media.
How to change the kb of an image?
To change the KB size of an image, Shrink.media is an excellent tool to use. Simply visit the Shrink.media website, upload the image you want to modify, and let the tool compress the image to achieve the desired KB size. Shrink.media is known for its efficiency in changing the KB size of images while maintaining acceptable image quality.
How to reduce the kb of a picture?
To reduce the KB of a picture, one of the most manageable steps is to use a tool like Shrink.media. Simply upload the picture to Shrink.media, let the tool compress it, and then download the reduced file size, effectively reducing the KB size of the picture while maintaining image quality.


