
How To Reduce Image Size To Speed Up Your Website?


Are you losing valuable customers because your website takes more time to load? Are you tired of seeing your slow-loading web pages? If so, it might be when you need to look into “Image Optimization”.
Your website’s images are vital in delivering an engaging & informative experience for viewers. Photos are an important part of a website design, from displaying data to showing off portfolio work. However, great visuals sometimes have a bad impact on your website. Higher resolutions come with larger image file sizes, which could slow loading times and result in poor web performance.
So, how to balance a website’s performance with visual designs? Here are a few tips & techniques that help you reduce an image’s file size and keep them appealing enough to display on a website. Keep reading to know:
What is Image Optimization?
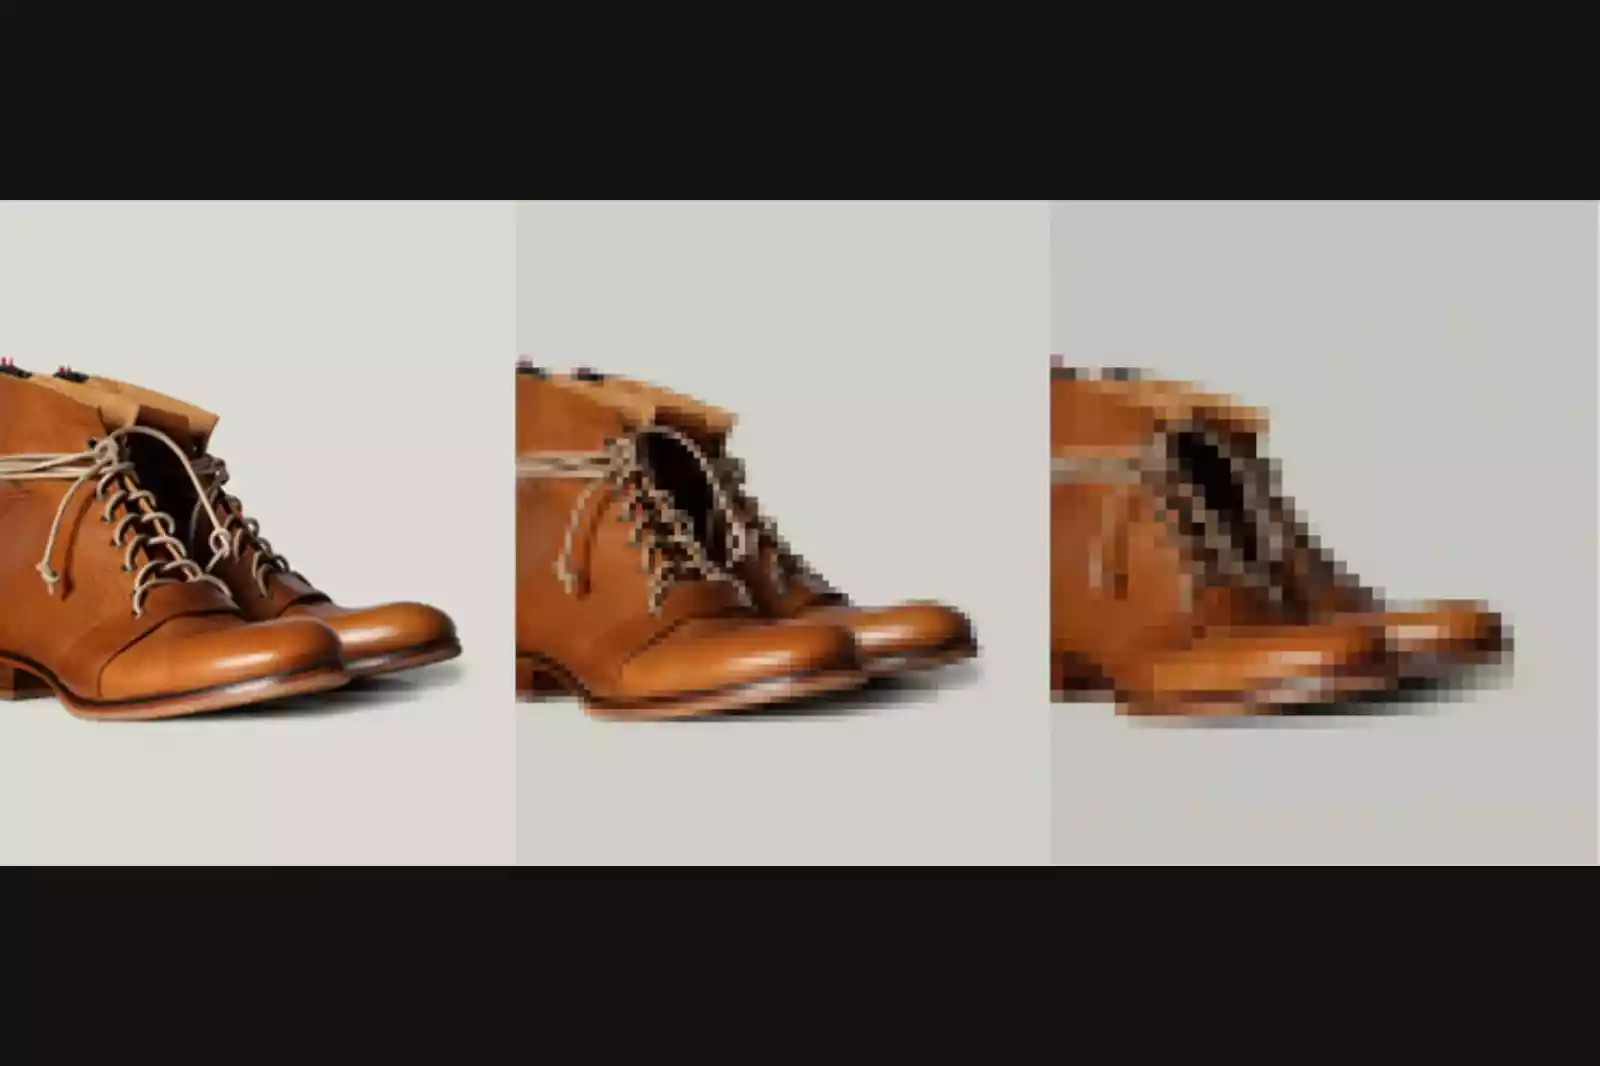
Image Optimization simply reduces an image’s file size to a desired extent without sacrificing quality so that a web page loads faster. It helps deliver high-quality images in the right format, dimension, size, and resolution while keeping the smallest possible size.
Several image compression tools & plugins can be used to convert & encode an image file into a smaller size. It is a process applied to an image file to reduce its size without destroying the quality.
Why is Image Optimization Important?
Nowadays, people have a short attention span when it comes to web browsing, which is why it is essential to make your website load in two seconds or less. One of the prime reasons slowing your website down is your images.
By practising image optimisation, you can keep your file size small, load web pages faster, and create a better visitor experience. By reducing the file size, one can save & store more images in a given amount of disk or memory space.
How to Optimize Images for the Web?
The key to successful image optimisation for sound web performance is to establish a perfect balance between the smallest size and acceptable image quality. Here, three things play an important role:
- Image File Format
- Compression
- Image Dimensions
By getting the right combination of these three, one can reduce an image size up to 80%. Let’s take a look at each of them:
1. Choose The Right Image File Type
If you use images on your website, make sure you select the right file type before starting to resize your image. The most common image file types are:
- JPEG - Also known as JPG, this old image file type is mostly used for simple web designs & low-quality images. It uses lossless & lossy optimisation. You can adjust the quality level for a good balance of quality & file size.
- PNG - PNGs support more colours than GIFs and don’t degrade with re-saves like JPEGs over time. It produces higher-quality images but has a larger file size. PNG is lossless, but it can also be lossy.
- GIF - This file type uses only 256 colours, making it the best choice for animated images. It only uses lossless compression.
2. Image Compression
The next thing is image compression which plays a huge role in Image Optimization. Different levels of image compression are available, which can be adjusted depending on the image resizing tool you use.
Lossless compression can reduce an image file size without removing the critical data or hurting the image quality to restore it to its original state with no quality degradation or distortion. On the other hand, Lossy compression reduces an image file size by permanently removing less important information.
3. Image Dimensions
Usually, when you shoot an image from your phone or digital camera, they contain high resolutions and large file dimensions. Though high-quality photos are good for print or desktop publishing, their large size makes them unsuitable for website posts.
Reducing image dimensions is another way to decrease image file size significantly. You can use image editing software on your system. For example, if your maximum display size is 500 X 250, you may resize them to 1000 X 500 using Photoshop or any other software.
4. Use The Best Image Optimization Tools
There are a variety of online image resizing tools available, both premium & free, that can be used to optimise images for the web. We recommend using Shrink.media to optimise images easily, automatically & hassle-free. Let’s find it about in detail:
Shrink.media - An Online AI-Based Image Compression Tool
Shrink.media is a web-based free, lightweight, and AI-based (Artificial Intelligence) image compression tool that lets you reduce or resize an image file size within seconds. We often consider the most convenient & popular solutions, such as Photoshop, when editing images. But often end up with lots of time consumed & expenses.
But with Shrink.media, you only need to upload the image you want to reduce the size and get instant results without degrading the quality. It doesn’t require any technical skills & hours of manual editing like Photoshop, making it a preferred choice for beginners & pros.
The browser-based Shrink.media is also available on the Play Store & App Store, where you can download it for free. It is a time-efficient, automatic, and easy-to-use image resizing tool.
Here are the steps for using Shrink.media to reduce or compress image file sizes within seconds. Take a look:
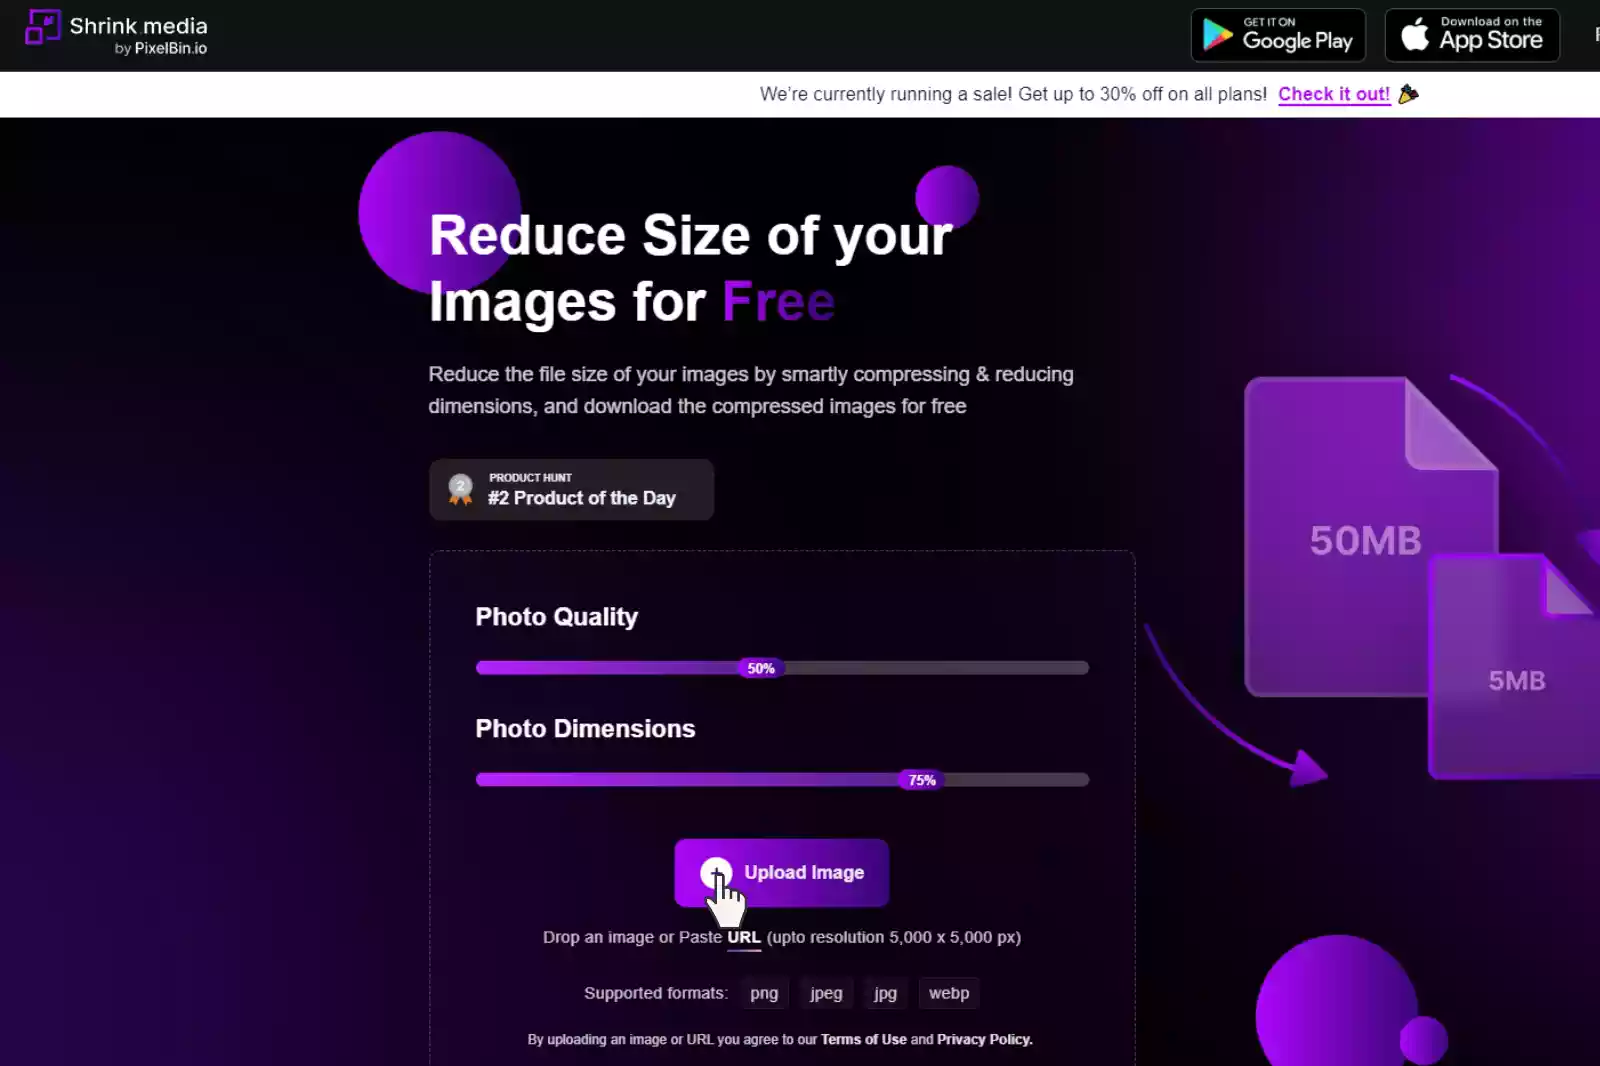
Step 1 - Run the official "Shrink.media” website in your web browser. You can also download its app for your Android/iOS devices.
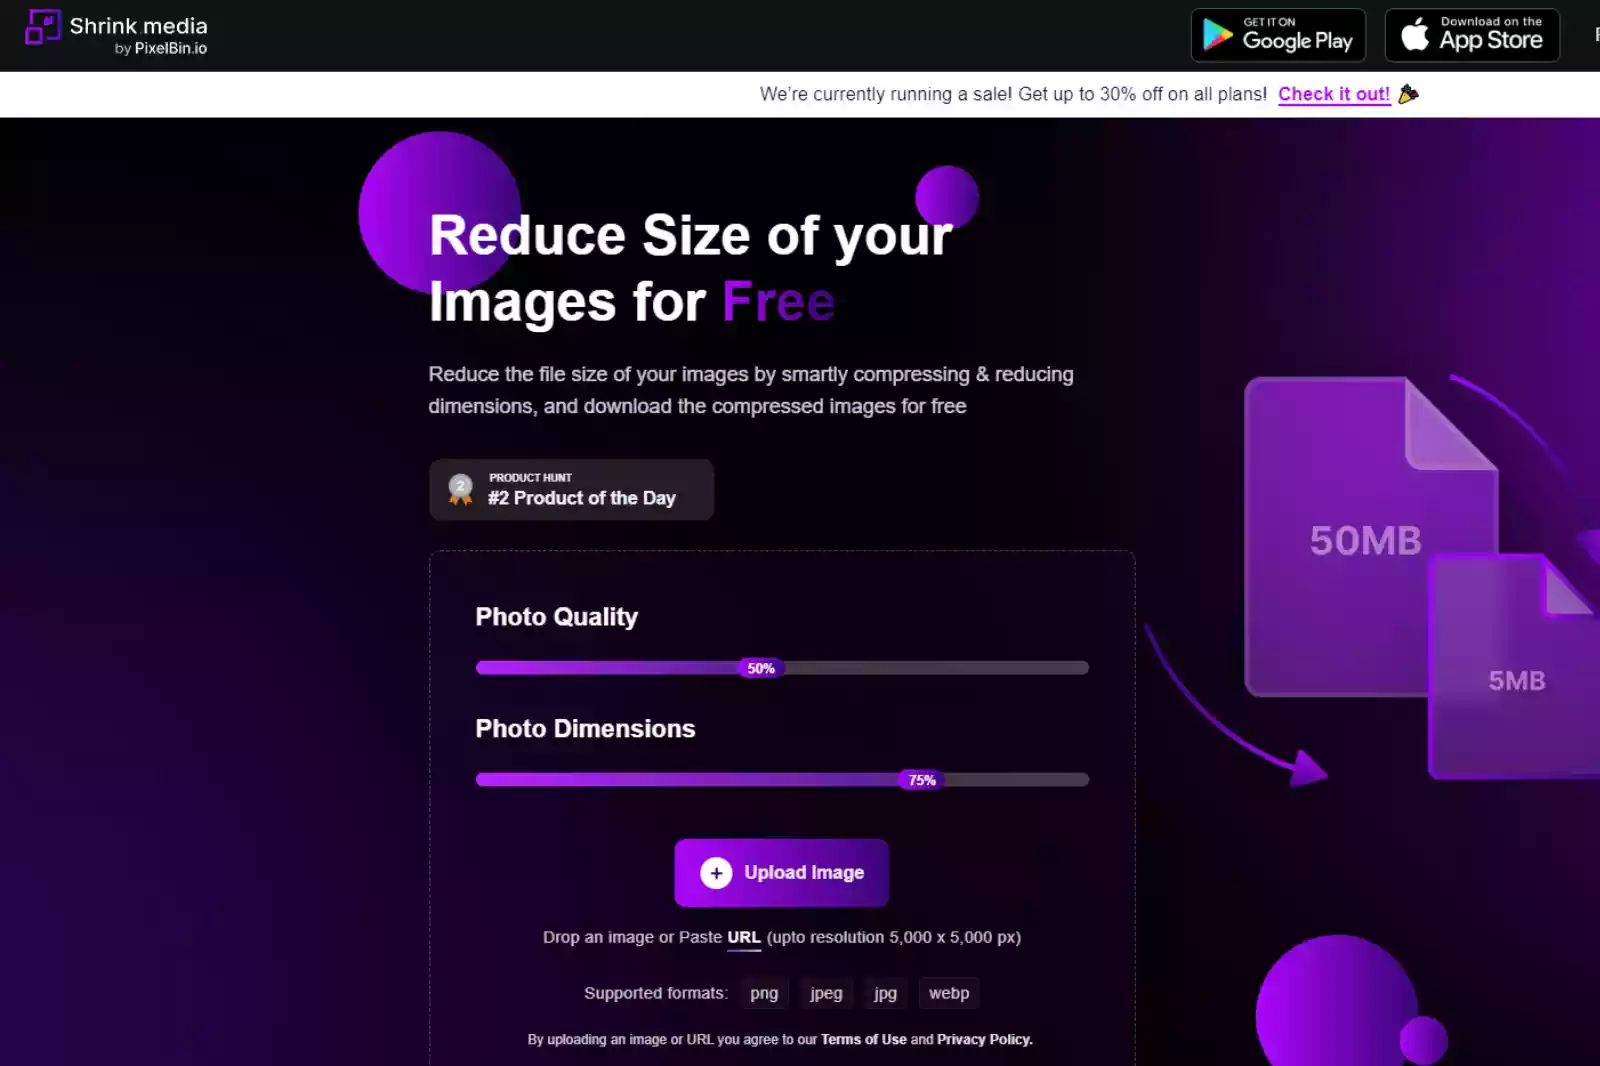
Step 2 - Visit the website. Adjust the Photo Quality and Photo Dimensions percentage according to your image priorities. It scales from 1% to 100%.
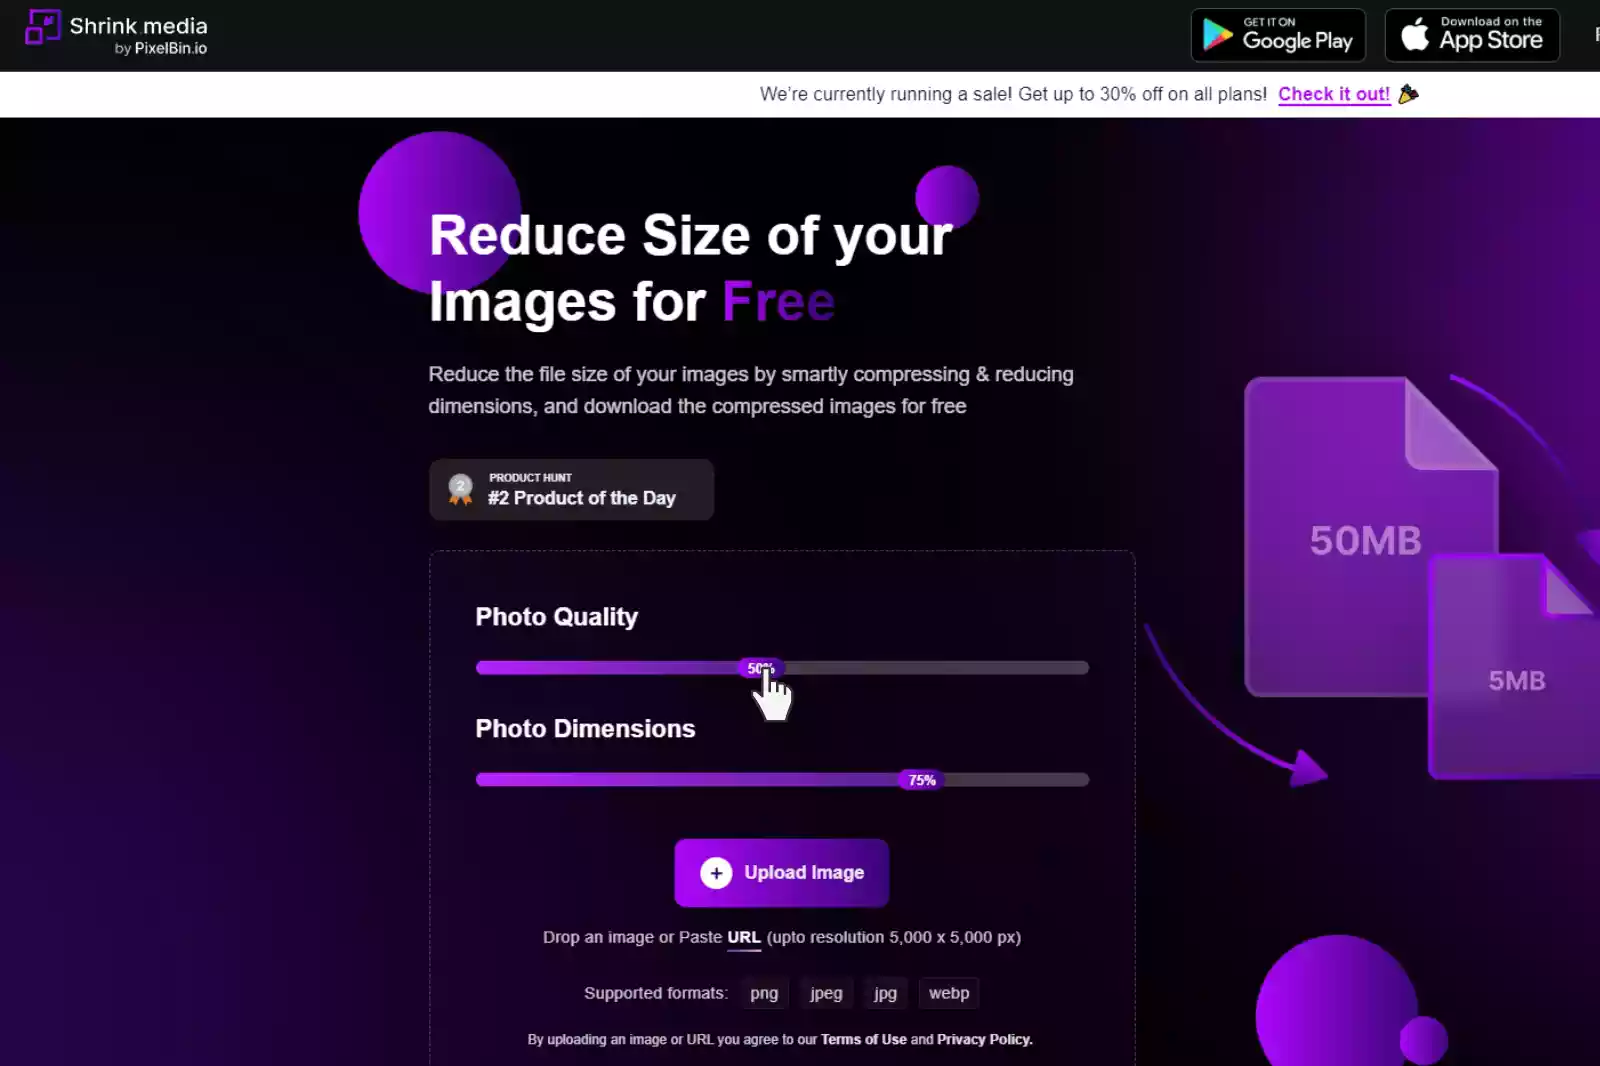
Step 3 - Click on the “+ Upload Image” button. Select an image from your system and import it to the website. The tool also allows you to paste the image address or simply “Drag & Drop” the image.
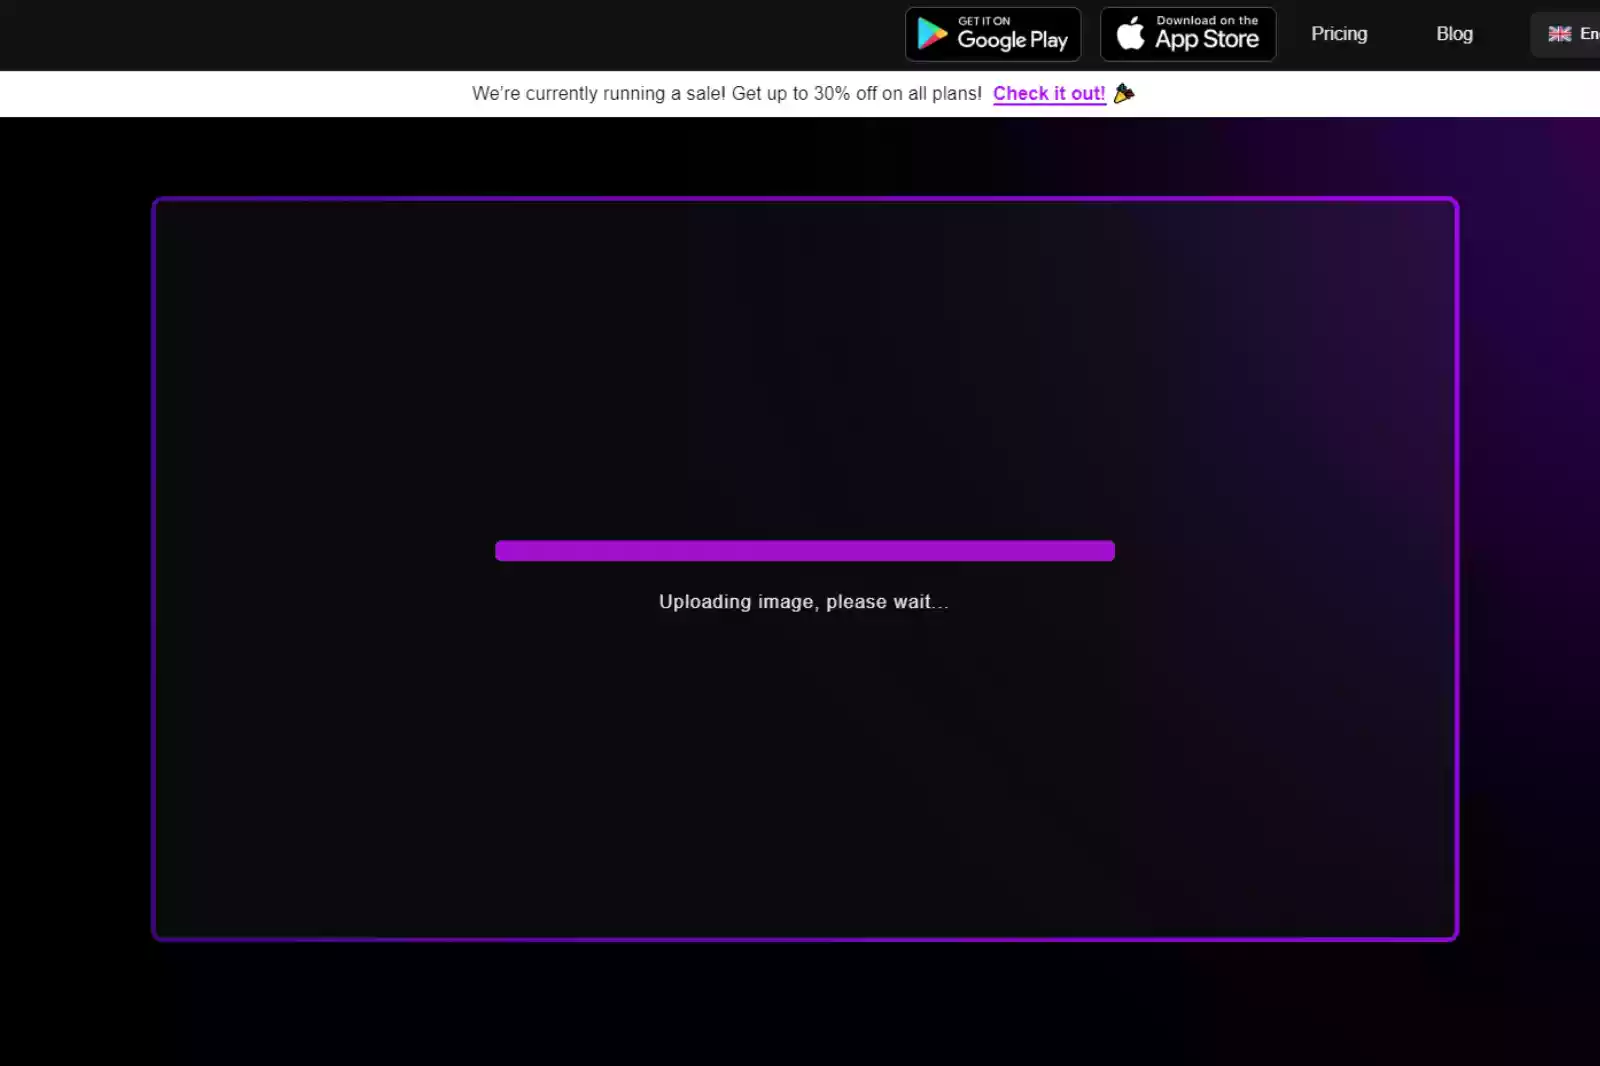
Step 4 - Press the “Submit” button after uploading the image. The AI algorithms of the tool will start compressing the image. It will only last for two to three seconds. During the procedure, a message will reflect on your screen: "Processing image, please wait”.
Step 5 - When the processing is complete, it provides you with the compressed version of the image and the original one to compare output size & resolution. It also informs you about the total percentage of reduction.
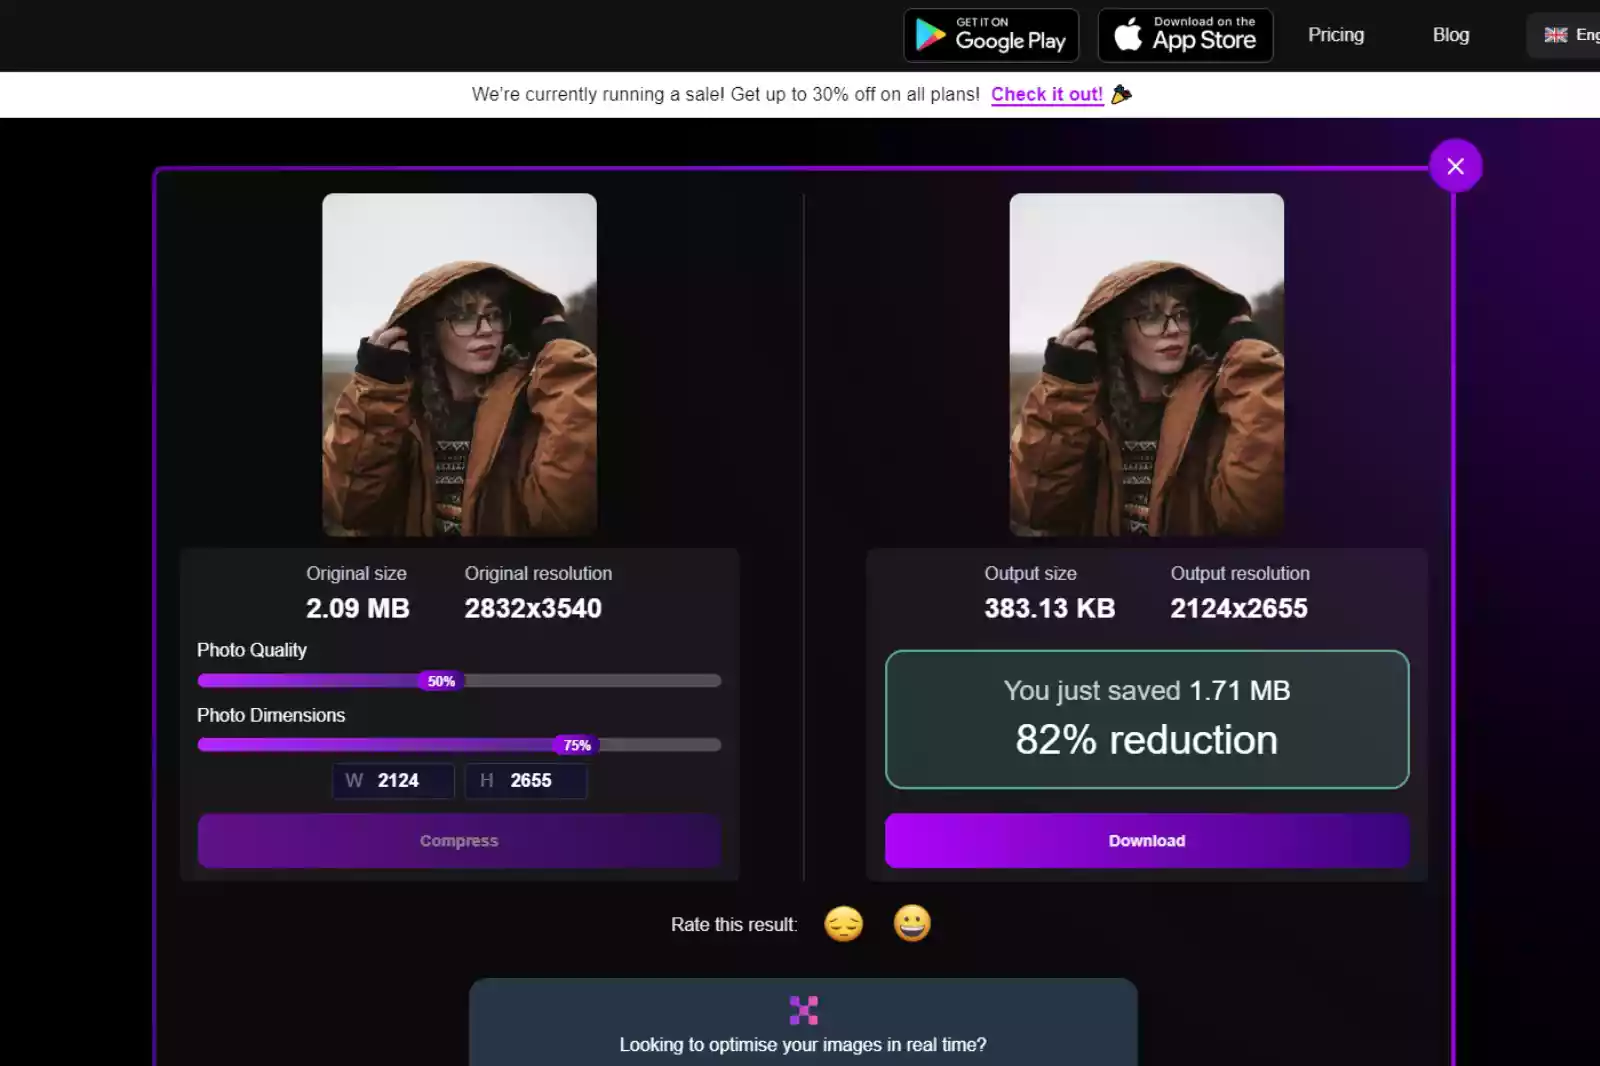
Step 6 - Download the image. You can also re-adjust the percentage of Photo Quality and Photo Dimensions. Click on the Compression button and then, finally, download the image.

Now you know Shrink.media is an easy, faster & AI-powered tool that lets you eliminate heavy image files within seconds. You don’t need to edit the image manually.
Features of using Shrink.media:
1. Free to download & install from the Play Store/App Store.
2. No sign-up requirements in the free version. In premium plans, signing up is necessary.
3. Easy-to-understand user interface.
4. Faster & quality results etc.
5. AI-based automated tool.
6. No manual editing.
7. Allows up to 50 images per month in its free version.
8. Supports batch processing if paid.
9. Supports images up to the resolutions of 5000 x 5000 pixels or 25 MB in a range of image formats, including PNG, JPG, JPEG, WEBP, etc.
Shrink.media is an easy, lightweight, and time-effective image compression tool that automates tasks and provides faster quality results. You aren’t required to have any coding skills or Photoshop knowledge or need to hire professional designers. Just download the Shrink.media app and get instant quality results.
5. Lazy Load Your Website Images
One more trick you can adopt to make your web pages load faster is activating Lazy Loading. Typically, when visitors visit your website, all media files load simultaneously, resulting in slower page speeds. With lazy loading, your images on the website will load as the users scroll down them. It is a great technique to make your content load faster.
6. Use Cashes & CDNs
Cashing is a technique used to serve content quickly to visitors by storing the image files in a proxy server or a browser cache. It eliminates the requirement for any future downloading efforts. Images are good for the cache as they are large and don’t often change. Browser-side caching can help reduce application requests.
You can also reduce web page load times using content delivery networks or CDNs. A CDN can help you deliver your images to special cashing servers positioned near each user. The closer the server is, the faster the response time. CDNs are now widely used as they are easy to implement and great for improving image performance.
7. Run Load Tests
Most businesses prioritise the importance of web performance to ensure an ideal user experience and improved rankings on search engines.
Google PageSpeed Insights is a good idea for detecting issues with a website or application. After inserting the URL, you can see the key performance metrics & get advice to make significant improvements.
Conclusion
These are a few strategies that individuals can incorporate to get improved page loading speed & user experience via optimising images. Image optimisation is often a neglected aspect of web designing & development, but as we’ve seen here, it is an important factor in ensuring page speed & performance. If you aren’t optimising images for the web, you need to start doing it now
FAQ's
How to reduce image size for website?
To reduce image size for a website using Shrink.media, follow these simple steps:
Step 1: Visit Shrink.media in your web browser.
Step 2: Upload the image you want to compress, select the desired compression level, and click the "Compress" button.
Step 3: Once the compression process is complete, download the optimized image with a reduced file size, ready to be used on your website without compromising visual quality.
Which is the best jpg to webp free converter?
Convertfiles.ai is considered one of the best free converters for converting JPG to WebP format. It provides a user-friendly interface and efficient conversion capabilities, allowing you to convert your JPEG images to the WebP format easily.
How to reduce photo size for website?
To reduce the size of a photo for a website, follow these simple steps:
Step 1: Use an image editing tool or an online image compressor like Shrink.media.
Step 2: Upload the photo you want to reduce in size, adjust the compression level or dimensions if necessary, and click the "Compress" button.
Step 3: Once the compression process is complete, download the optimized photo with reduced file size, suitable for faster loading times and improved website performance.
What image format is faster for website?
The WebP image format is generally considered faster for websites. It offers superior compression, resulting in smaller file sizes than JPEG or PNG formats. Smaller file sizes lead to faster loading times, reducing bandwidth usage and improving website performance.
Is PNG better than JPEG for website?
The choice between PNG and JPEG for a website depends on the use case. PNG is generally better for images with transparency or crisp graphics, while JPEG is more suitable for photographs or images with complex color variations. The decision should consider factors such as the image content, desired file size, and the balance between image quality and loading speed.
Is JPEG good for websites?
JPEG is a widely used image format for websites due to its efficient compression and support for millions of colours. It suits photographs and images with complex color variations, balancing file size reduction and acceptable visual quality, resulting in faster loading times and improved website performance.
How to reduce image size for website?
To reduce image size for a website using Shrink.media, follow these simple steps:
Step 1: Visit Shrink.media in your web browser.
Step 2: Upload the image you want to compress, select the desired compression level, and click the "Compress" button.
Step 3: Once the compression process is complete, download the optimized image with a reduced file size, ready to be used on your website without compromising visual quality.


