
How to Compress Image Size Simple Steps Without Quality Loss


In today's digital world, the size of images can often pose a challenge when loading them on websites or sending them via email. Large image files can significantly slow down loading times and hinder user experience, harming businesses.
However, effective solutions, such as utilising AI-powered tools like shrink, are available to address this issue. media for image compression. Image compression plays a crucial role in optimising digital images, whether it involves discarding some data (lossy compression) or preserving everything (lossless compression).
Compressed image formats make sharing, storing, and loading images easier across various devices. Before diving into the compression process, it's important to understand the trade-off between image quality and compression.
Excessive data from images can consume significant device storage space, leading to slower loading times. To tackle this, compressing image data becomes essential. By reducing the size of images, file loading speed can be significantly improved, resulting in a smoother user experience.
In this blog post, we will explore four practical methods for effectively compressing images. Additionally, we will introduce Shrink.media, an AI-powered tool designed specifically for reducing image size. With these insights and techniques, you can optimize your digital images for faster loading times, improved storage efficiency, and enhanced user experiences.
Join us as we delve into the world of image compression, providing you with valuable knowledge and actionable steps to make your images more accessible and efficient in today's fast-paced digital landscape.
What Is Image Compression?
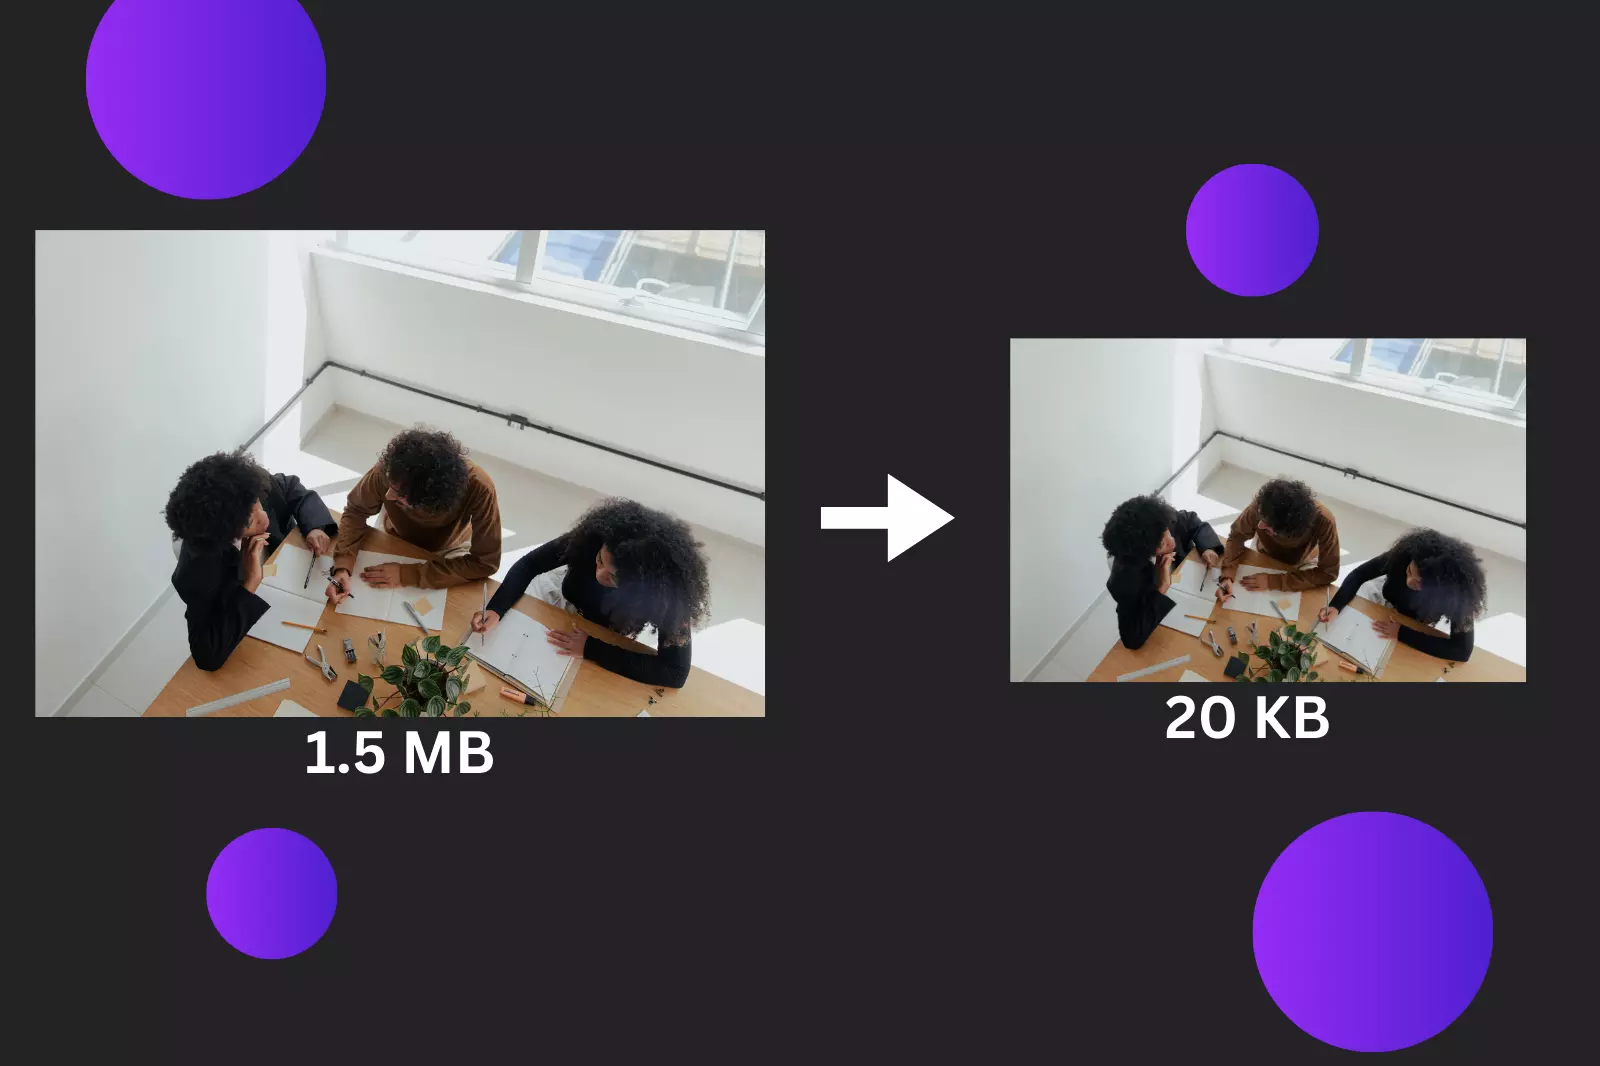
Image compression refers to reducing the file size of digital images while attempting to maintain their visual quality. It involves using various algorithms and techniques to eliminate redundant or unnecessary data from the image file.
The primary objective of image compression is to decrease the storage space required for images, improve transmission efficiency, and enhance loading speeds. There are two main types of image compression: lossless and lossy.
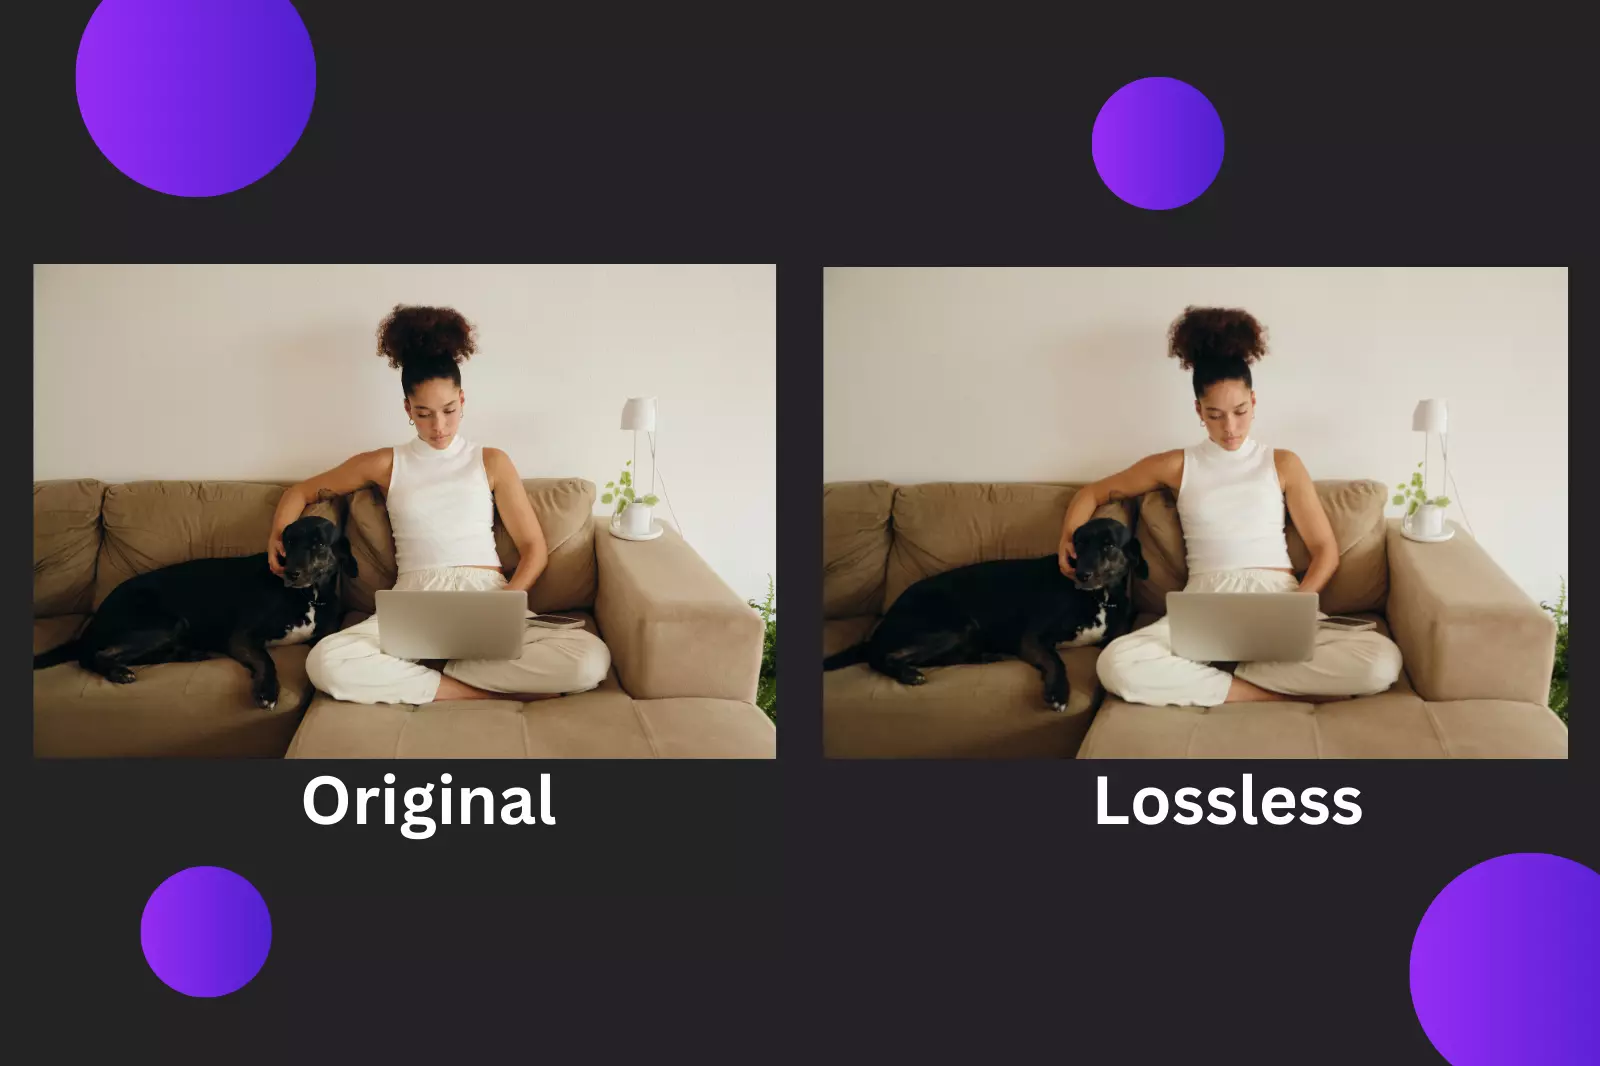
Lossless compression algorithms reduce the file size without sacrificing any image data, allowing for the exact reconstruction of the original image. Lossy compression, on the other hand, selectively discards certain image details to achieve higher compression ratios.
This can result in a small loss of image quality, which may or may not be noticeable depending on the compression level and the viewer's perception. Image compression is widely utilized in various domains, including web design, graphic design, digital photography, and multimedia applications.
It enables efficient storage and transmission of images across different platforms, such as websites, social media, and mobile devices. Compressed images facilitate faster loading times, reduce bandwidth usage, and optimize the overall user experience.
Businesses and individuals can effectively manage and share their image files without compromising quality by employing image compression techniques. It allows for more efficient storage, transmission, and presentation of visual content in today's digital era.
How Does Image Compression Works?
Image compression works by applying various algorithms and techniques to reduce the file size of digital images while minimizing the impact on image quality. The process involves analyzing the image data and identifying redundancies or patterns that can be exploited for compression.
There are two main approaches to image compression: lossless and lossy.
Lossless Compression:
Lossless compression techniques aim to reduce the file size without sacrificing any image data. They achieve this by exploiting redundancies in the image data, such as spatial redundancies (repeated patterns) and statistical redundancies (predictable data).
Examples of lossless compression algorithms include Run-Length Encoding (RLE), Huffman coding, and Lempel-Ziv-Welch (LZW) compression. Lossless compression allows for the exact reconstruction of the original image from the compressed file.
Lossy Compression:

Lossy compression techniques achieve higher compression ratios by selectively discarding certain image details considered less important or less noticeable to the human eye. This results in some loss of image quality, which can be controlled by adjusting the compression level.
Lossy compression algorithms utilize various methods such as quantization, transform coding (e.g., Discrete Cosine Transform - DCT), and perceptual modeling to remove or approximate less significant image information. Popular lossy compression formats include JPEG (Joint Photographic Experts Group) and MPEG (Moving Picture Experts Group).
The compression process typically involves the following steps:
Step 1 - Image analysis to identify redundancies and patterns.
Step 2 - Transformation of the image data using mathematical techniques.
Step 3 - Quantization or approximation of the transformed data.
Step 4 - Encoding and storage of the compressed data.
When an image is decompressed, the reverse process occurs, reconstructing the image data based on the compression algorithm.
By employing these compression techniques, image files can be significantly reduced, allowing for efficient storage, transmission, and rendering of images in various digital applications while balancing the trade-off between file size and image quality.
The Benefits of Image Compression
Image compression offers several benefits in the digital world, enabling efficient storage, transmission, and rendering of images. Compression techniques optimize resource utilization and enhance user experiences across various platforms and applications by reducing the file size of images.
1. Reduced File Size: Image compression significantly decreases the file size of images, resulting in more efficient storage and reduced bandwidth requirements. This benefits both users and businesses by optimizing storage space and reducing data transfer costs.
2. Faster Loading Times: Compressed images load faster, improving website performance and user experience. By reducing the size of image files, compression allows for quicker rendering, minimizing the time users spend waiting for images to load.
3. Bandwidth Optimization: Compressed images require less bandwidth for transmission. This is particularly advantageous for websites, apps, and platforms that handle large amounts of image data, as it helps reduce data usage and optimize network resources.
4. Improved User Experience: With faster loading times, users can access visual content more quickly and seamlessly. This leads to enhanced engagement, increased user satisfaction, and improved retention rates.
5. Cross-Platform Compatibility: Compressed images are easier to share and display across various devices, including smartphones, tablets, and desktops. The reduced file size ensures efficient rendering on different platforms, allowing users to view images without compromising quality.
6. Better SEO Performance: Image compression is vital in search engine optimization (SEO). Optimized images lead to faster page load times, positively impacting website rankings and user engagement. Search engines prioritize websites that offer a faster and smoother user experience.
By leveraging the benefits of image compression, businesses can enhance their online presence, deliver high-quality visual content efficiently, and provide users with an optimized browsing experience.
1. How to Compress Images in Windows
Compressing images in Windows is a straightforward process that allows you to reduce the file size of your images without compromising their quality. By compressing images, you can optimize storage space, improve loading times, and make them more easily shareable. Windows provides built-in tools and third-party applications that make image compression simple and accessible.
Steps to Compress Images in Windows:
1. Using Windows File Explorer:
Step 1 - Locate the image you want to compress in Windows File Explorer.
Step 2 - Right-click on the image file and select "Properties."
Step 3 - Click the "Advanced" button under the General tab in the Properties window.
Step 4 - Check the box that says "Compress contents to save disk space" and click "OK."
Step 5 - Click "Apply" and "OK" to confirm the changes. Windows will compress the image file, reducing its size.
2. Using Paint:
Step 1 - Open the image you want to compress in Paint.
Step 2 - Click the "File" menu and select "Save As."
Step 3 - In the Save As dialogue box, choose a file format such as JPEG or PNG that supports compression.
Step 4 - Adjust the image quality or resolution if desired.
Step 5 - Click "Save" to save the compressed image file.
3. Using Third-Party Applications:
Step 1 - Several third-party applications are available for image compression in Windows, such as Adobe Photoshop, GIMP, and IrfanView. Download and install the application of your choice.
Step 2 - Open the image in the application and look for options related to image compression or file size reduction.
Step 3 - Follow the application's instructions to adjust the compression settings and save the compressed image.
By following these simple steps, you can easily compress images in Windows, enabling efficient storage, faster loading times, and easier sharing of your image files. Experiment with different methods and settings to find the right balance between image quality and file size for your needs.
2. How to Resize an Image in PhotoShop
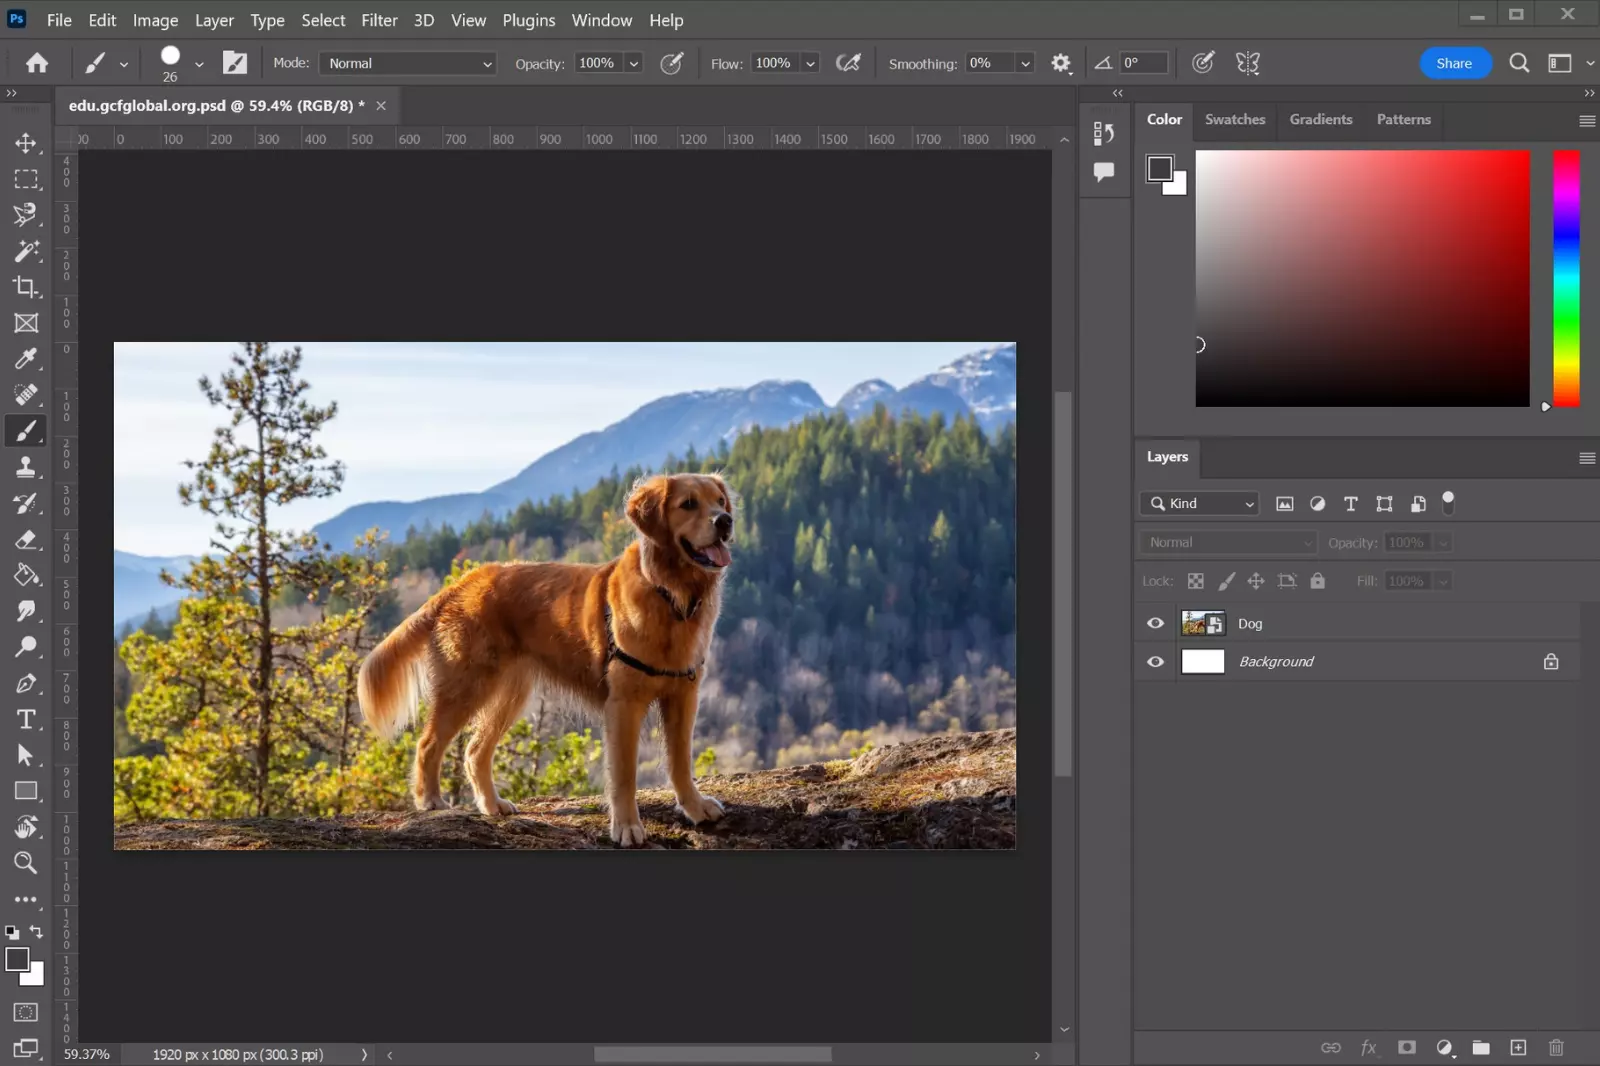
Resizing an image in Photoshop allows you to adjust its dimensions to fit your requirements better, whether for web use, printing, or any other purpose. Here is a guide on how to resize an image using Photoshop:
1. Open the Image in Photoshop:
Step 1 - Launch Adobe Photoshop on your computer.
Step 2 - Go to "File" and select "Open" to locate and open the image you want to resize.
2. Select the Image Size Option:
Step 1 - Once the image is open in Photoshop, navigate to the top menu and click "Image."
Step 2 - From the drop-down menu, select "Image Size." A dialog box will appear.
3. Set the New Dimensions:
Step 1 - In the Image Size dialogue box, you will see the current dimensions of the image in width and height.
Step 2 - Enter the desired dimensions for the image. You can specify the width or the height, and Photoshop will automatically adjust the other dimension to maintain the aspect ratio. Alternatively, you can enter values for both width and height to set a specific size.
4. Choose the Resampling Method:
Step 1 - Select the appropriate resampling method under the "Resample" section in the dialogue box. The options include "Bicubic," "Bilinear," or "Nearest Neighbor." Bicubic is usually the recommended option for general resizing.
5. Preview and Confirm:
Step 1 - As you adjust the dimensions and resampling method, you can see a preview of the resized image in the dialogue box.
Step 2 - Once satisfied with the settings, click the "OK" button to apply the changes.
6. Save the Resized Image:
Step 1 - After resizing, you can save the resized image by going to "File" and selecting "Save As."
Step 2 - Choose the desired file format, provide a name and location for the resized image, and click "Save."
Following these steps, you can easily resize an image using Adobe Photoshop, allowing you to adjust its dimensions to suit your specific requirements.
3. How to Compress Images on Mac
Compressing images on a Mac is a simple and effective way to reduce their file size without compromising quality. This process helps optimise storage space, improve loading times, and make images more shareable. Here's a guide on how to compress images on a Mac:
1. Using the Preview App:
Step 1 - Locate the image file you want to compress on your Mac.
Step 2 - Right-click on the image file, select "Open With", and then "Preview."
Step 3 - In the Preview app, go to the top menu and click on "File," then select "Export."
Step 4 - In the Export dialogue box, choose a file format such as JPEG or PNG that supports compression.
Step 5 - Adjust the image quality or resolution if desired.
Step 6 - Click "Save" to save the compressed image file.
2. Using the Preview App (Alternative Method):
Step 1 - Locate the image file you want to compress on your Mac.
Step 2 - Right-click on the image file, select "Open With", and then "Preview."
Step 3 - In the Preview app, go to the top menu and click on "Tools", and then "Adjust Size."
Step 4 - In the Adjust Size dialogue box, specify the desired width and height or adjust the percentage scale.
Step 5 - Check the box for "Resample Image" to maintain the aspect ratio.
Step 6 - Click "OK" to resize the image.
Step 7 - Finally, go to the top menu and click "File," then select "Export" to save the resized image with a reduced file size.
3. Using Third-Party Applications:
Step 1 - Various third-party applications are available for image compression on Mac, such as Adobe Photoshop, ImageOptim, or Squash. Download and install the application of your choice.
Step 2 - Open the image in the application and look for options related to image compression or file size reduction.
Step 3 - Follow the application's instructions to adjust the compression settings and save the compressed image.
By utilising these methods, you can easily compress images on your Mac, enabling efficient storage, faster loading times, and easier sharing of your image files. Experiment with different techniques and settings to find the right balance between image quality and file size for your needs.
4. How to Compress Images Online
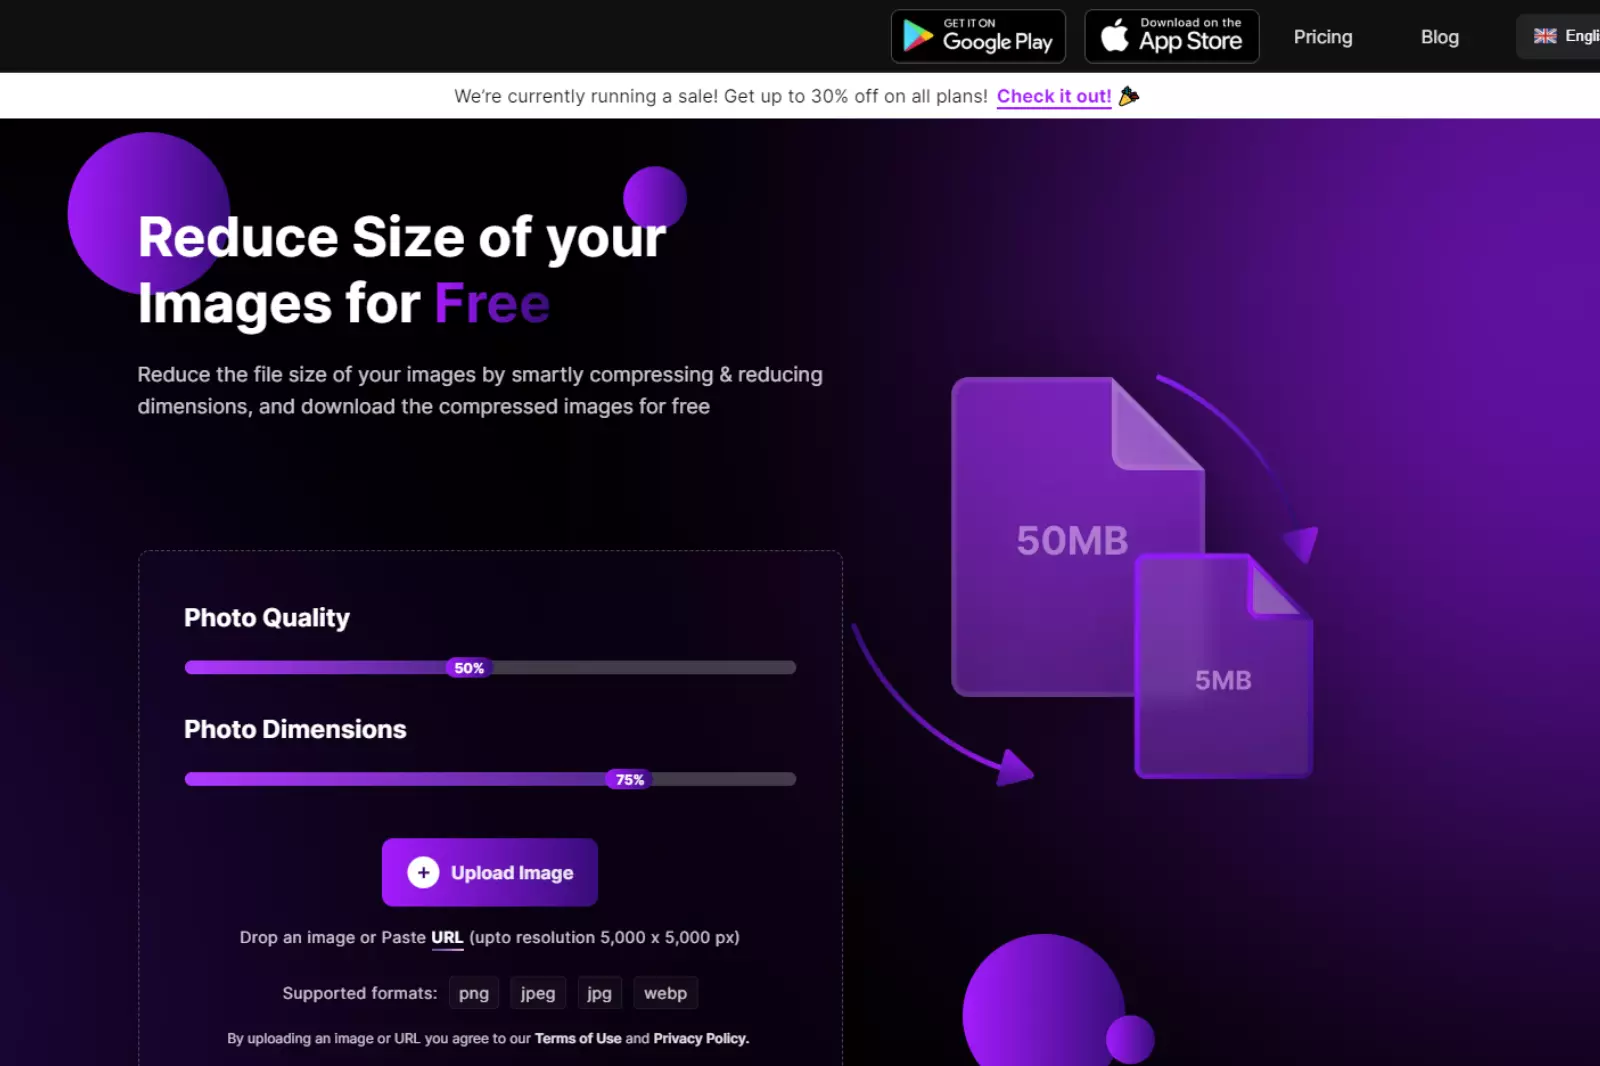
To compress images online, you can use various web-based tools and platforms that offer image compression services. One such platform is Shrink.media, which specializes in reducing image sizes while maintaining optimal quality. Here's a guide on how to reduce image size using Shrink.media:
1. Visit the Shrink.media website:
Step 1 - Open your preferred web browser and go to the Shrink.media website (shrink.media).
2. Upload your image:
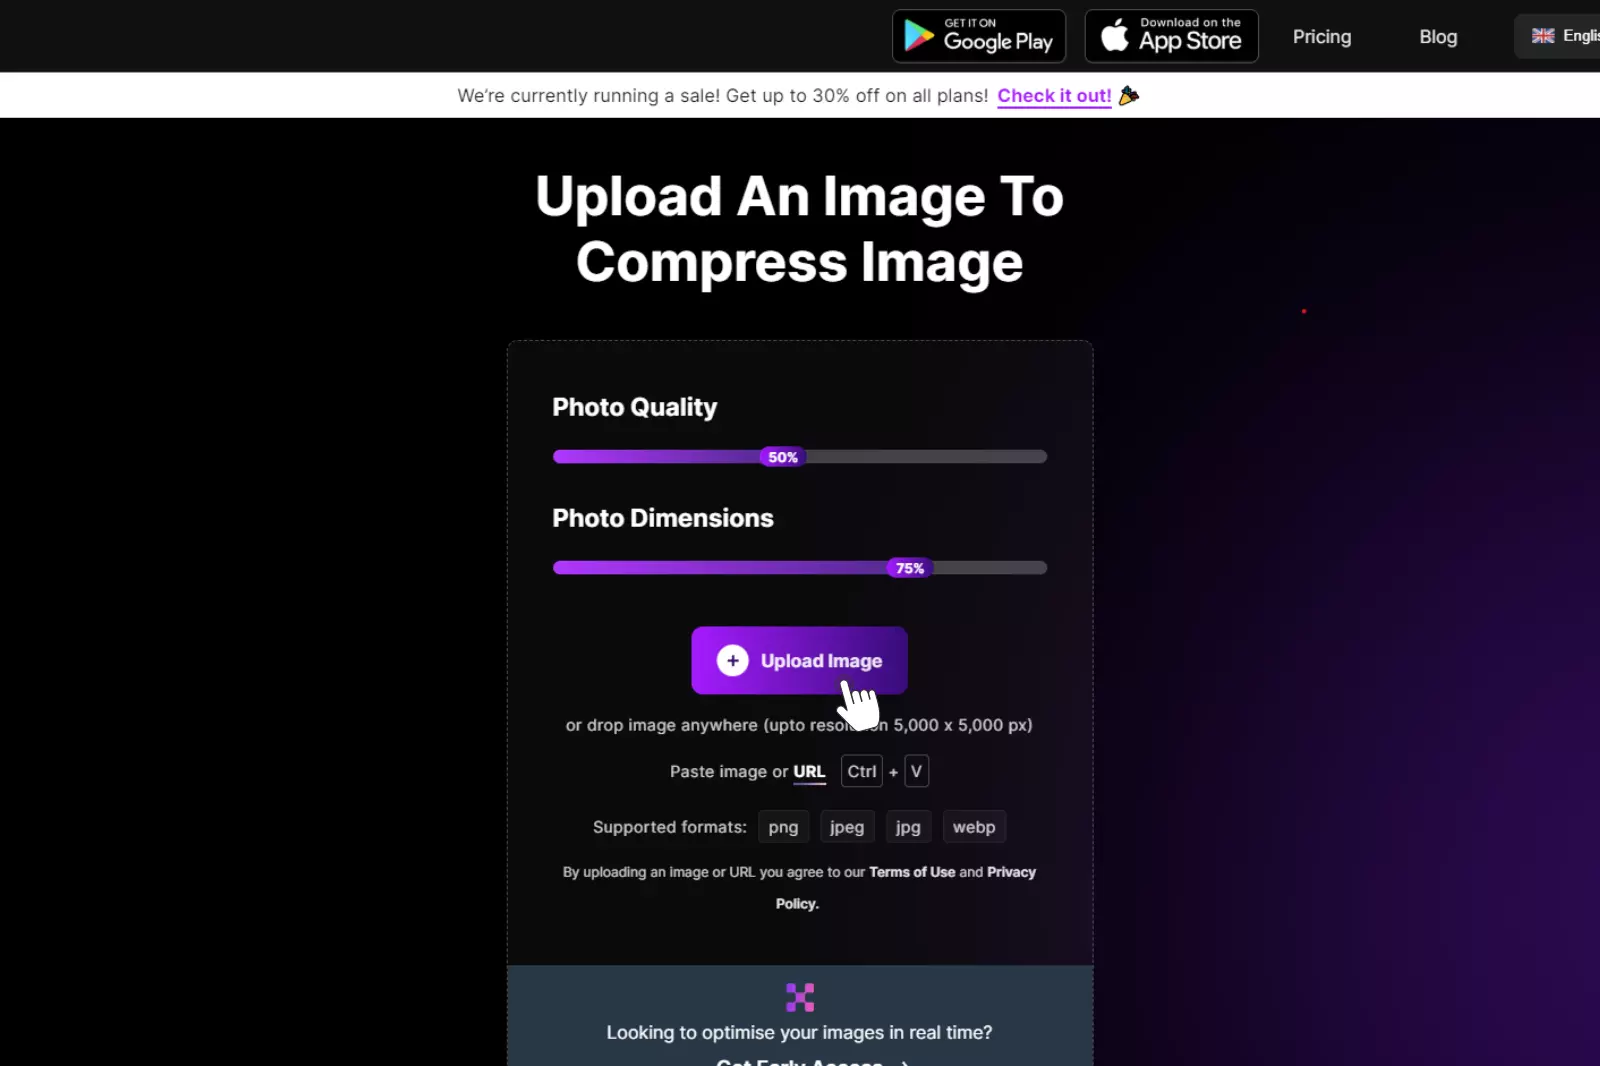
Step 1 - Click the "Choose File" or "Upload" button on the Shrink.media homepage.
Step 2 - Select the image file you want to compress from your computer's local storage.
Step 3 - Shrink.media supports various image formats, including JPEG, PNG, GIF, and SVG.
3. Adjust compression settings:
Step 1 - Once the image is uploaded, you can see a preview and the original file size.
Step 2 - Use the compression options provided by Shrink.media to adjust the compression level. These options might include a quality slider, percentage reduction, or specific target file size.
4. Start the compression process:
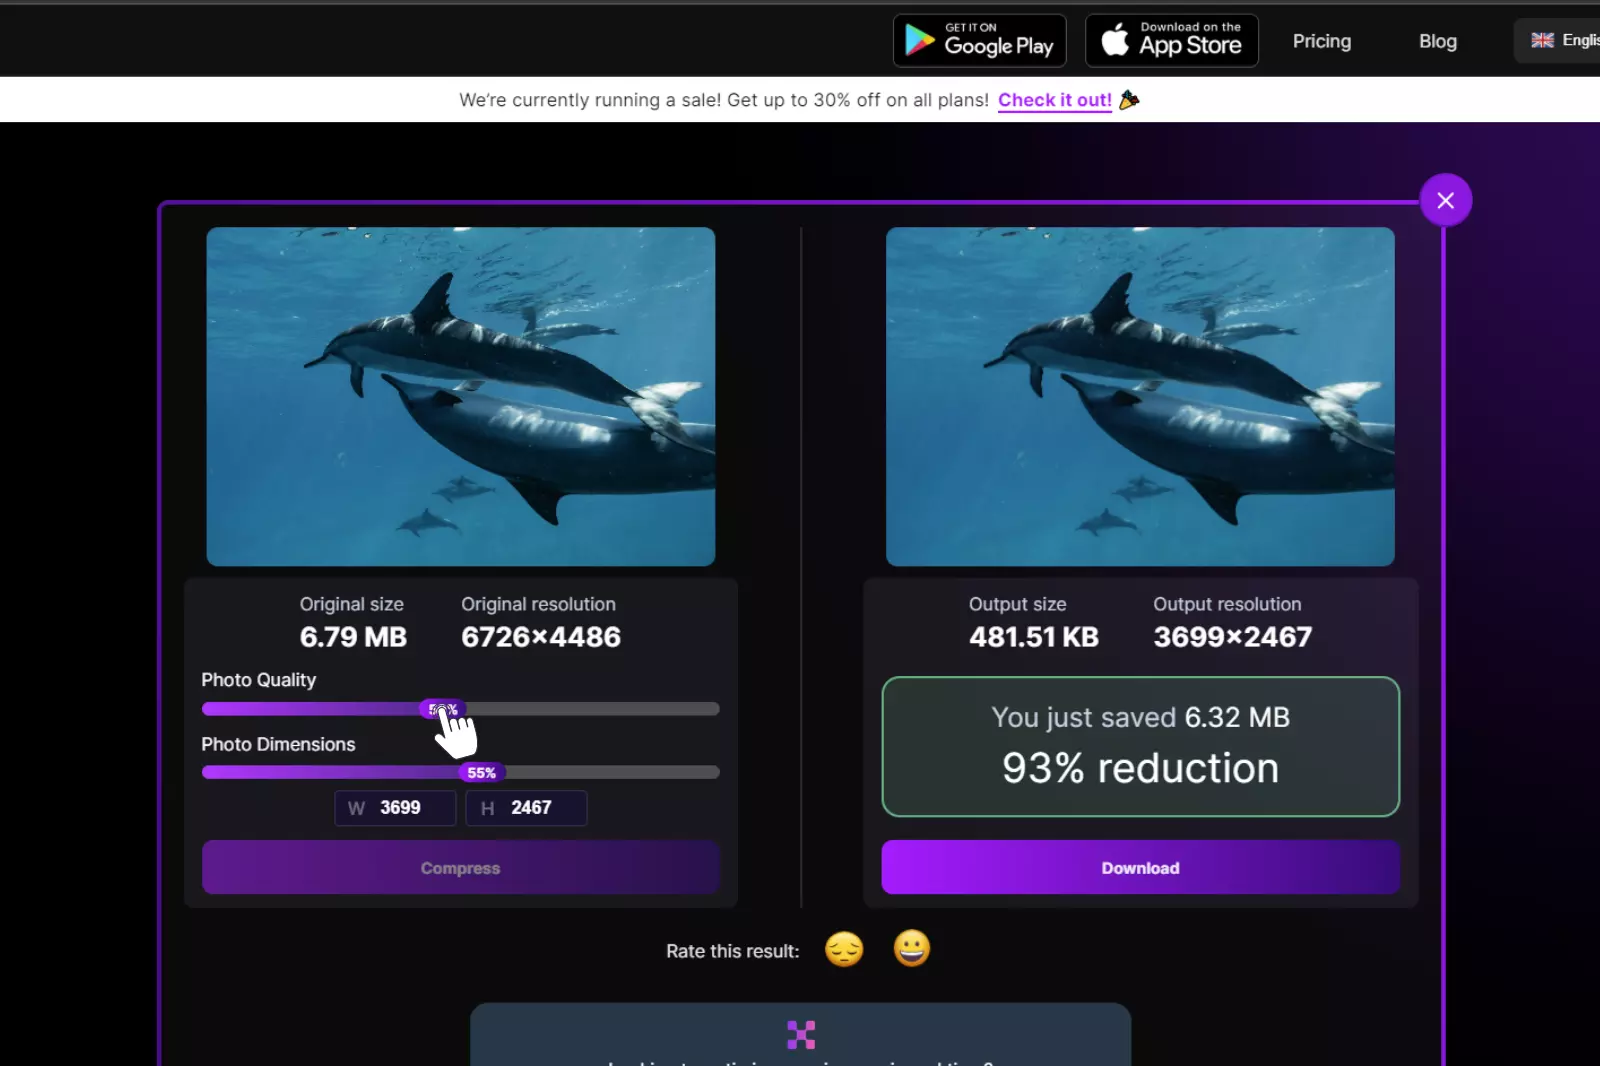
Step 1 - After selecting your desired compression settings, click on the "Shrink Image" or "Compress" button.
Step 2 - Shrink.media will begin processing the image and apply the chosen compression settings.
5. Download the compressed image:
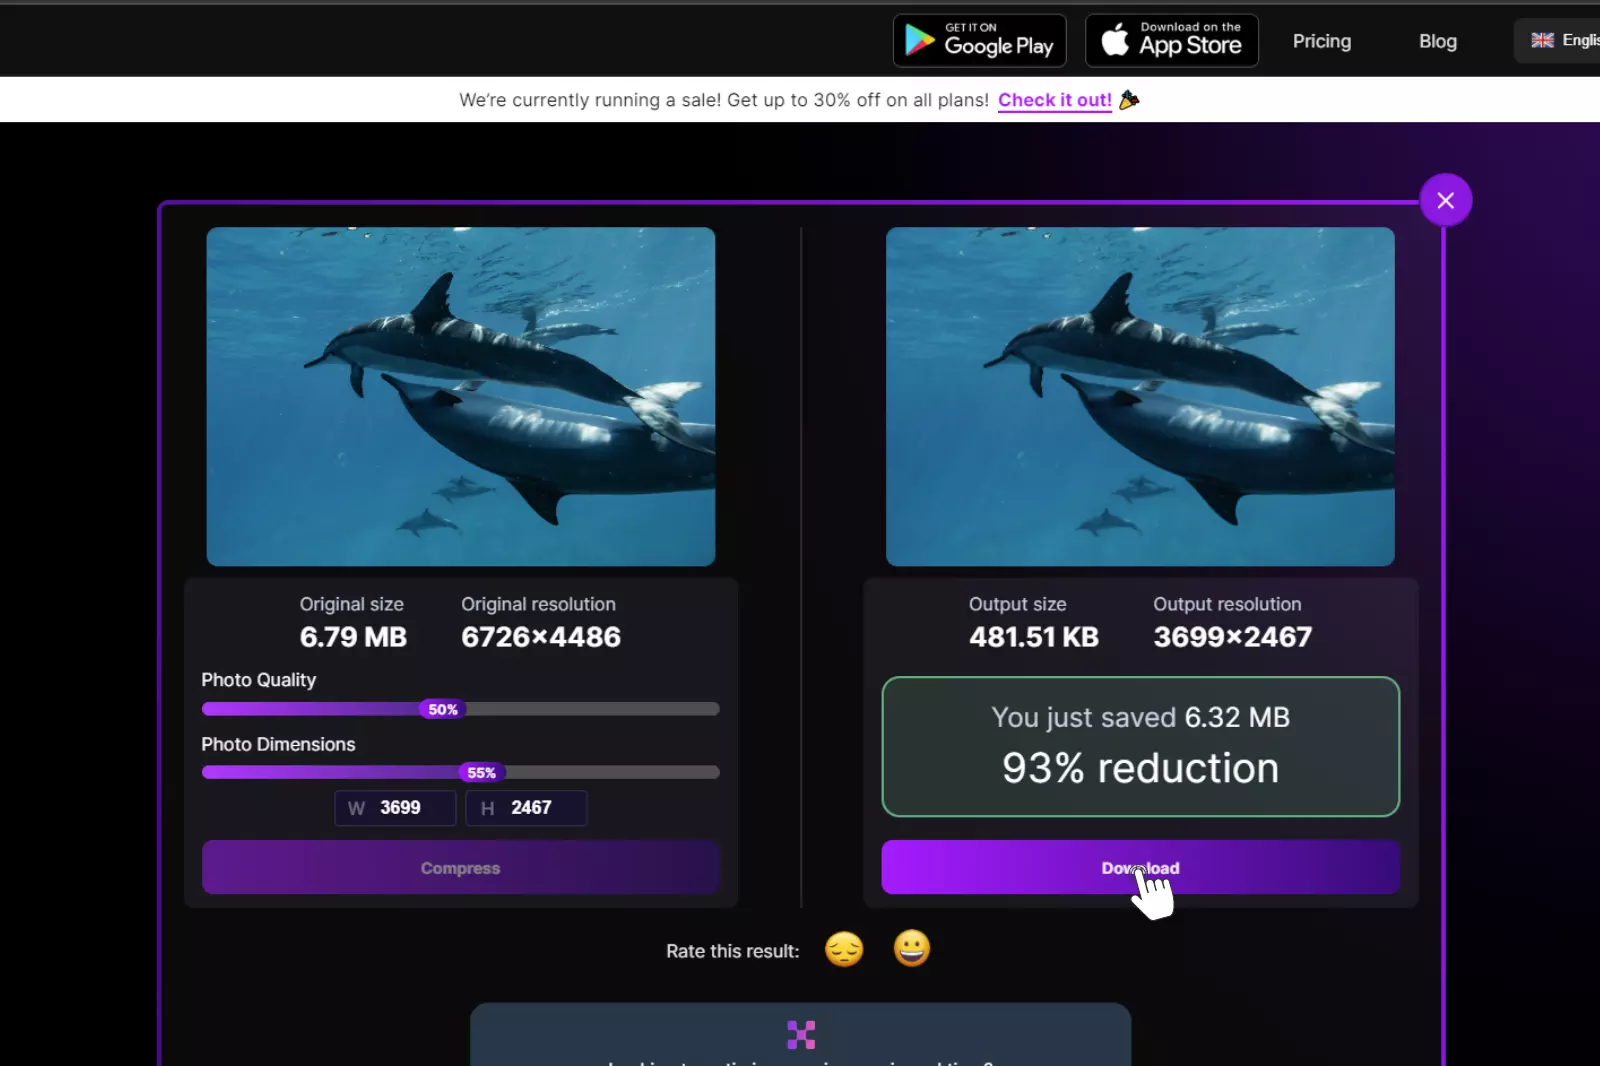
Step 1 - Shrink.media will provide you with a download link or button once the compression process is complete.
Step 2 - Click the download link to save the compressed image to your computer.
Shrink.media simplifies image compression by offering a user-friendly interface and efficient compression algorithms. It reduces the image file size while striving to maintain image quality. Remember to always keep a backup of your original images before compressing them online, and experiment with different compression settings to find the balance between file size reduction and image quality that suits your needs.
Why Compress Images?
Compressing images is important for several reasons:
1. Reduced File Size: Compressed images have smaller file sizes, saving storage space and improving resource efficiency.
2. Faster Loading Times: Smaller image files load faster, enhancing user experience and reducing website bounce rates.
3. Bandwidth Optimization: Compressed images consume less bandwidth, making them easier to transmit and share online.
4. Mobile Optimization: Compressed images are crucial for mobile devices, where limited storage and slower network speeds are common.
5. Improved SEO: Fast-loading websites with optimised images rank higher in search engine results, increasing visibility.
6. Easier Sharing: Compressed images are quicker to upload and share via email, social media, or messaging.
Overall, image compression improves efficiency, enhances user experience, and improves performance across various digital platforms.
Conclusion
Image compression is vital in optimising digital resources and enhancing user experiences. By reducing file sizes, compressed images enable faster loading times, improved bandwidth utilisation, and efficient storage management.
Whether for websites, mobile applications, or online sharing, compressing images offers reduced storage requirements, optimised network usage, and enhanced user engagement.
Additionally, compressed images contribute to better search engine rankings, making them more discoverable and accessible to a wider audience. Embracing image compression techniques ensures efficient utilisation of resources while maintaining visual quality, resulting in a seamless and optimised digital environment.


