This article will provide several useful tips for resizing the images with just a right-click menu in Linux, like for Ubuntu. Ubuntu is an open-source and modern operating system on the Linux platform.
The various tools that are being used as Image Resizers in Ubuntu are Shrink.media, GIMO, ImageMagick, Coverseen, gThumb, Shotwell and Darktable. These tools have proved to be effective Image Resizers for Ubuntu.
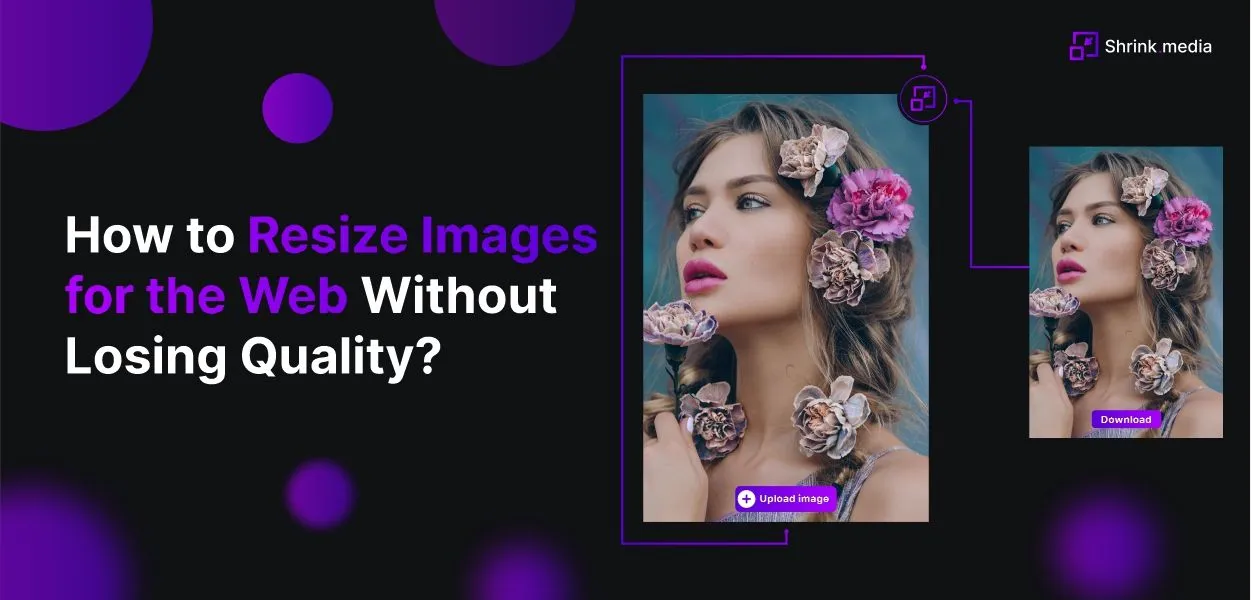
The most preferred and user-friendly app is Shrink.media, which can be operated without special technical knowledge. This app can be used to reduce the size of the images by reducing and compressing the dimensions. Then, you can download these compressed images without paying a single penny.
GNU 2.10 App As A Resizer for Ubuntu
GNU 2.10 is an image manipulation tool that can be downloaded for free. This can prove to be a great application as it works well, is user-friendly and is safe to download. To download GNU 2.10, you must search the same in the Ubuntu Software Center. This application’s size is 400 MB, and once installed, you can launch this from the App Launcher.
This is a very powerful application for photo editing and resizing images. So, we can easily call this an alternative to Photoshop. GIMP is an open-source photo editor, and this is available on Windows, Ubuntu (Linux) & macOS. You can use this very fruitfully for photo editing.
Now, I will divide the major steps required for resizing the images into pre & post. The Pre steps apply to those steps used for successfully resizing the file sizes. In the post steps, this is all about successfully exporting those files. So, let us begin with the pre-steps.
Steps Used In Successfully Resizing The Size Of The Images (Pre)
Once you open the GNU Image Manipulation Program, the following steps will be conducted.
Step 1 - First, you need to click from the menu on File & then press Open. Alternatively, you can press Ctrl+O.
Step 2 - Now, navigate to the File from the Places section and click on Open.
Step 3 - A dialogue box will appear, prompting whether you want to Convert to RGB Working Space. You can easily choose Rendering Intent with Relative colourimetric, Perceptual, Saturation or Absolute colourimetric. If you like the colours already in the original image, you need to choose and click the Keep button at the bottom.
Step 4 - Your original uploaded photo will appear in front of you. To resize this photo, you need to click right on the Image tab & then select the option of Scale Image.
Step 5 - In this step, after selecting the Scale Image, you have to select the px if you are planning to upload the images on the website. Now, you will have to choose the size in height and width. You can resize the images for your website or blog post.
The maximum width of a picture can be 800 px. You should keep in mind that the lower the pixel of an image, the image size will be lesser accordingly. The height of the image will be adjusted in a perfect ratio automatically.
Similarly, in case the image is in portrait form, the lessening of the height should be preferred. Usually, the height that you should pick is 300 or 400 px. Once you have finally selected the value of px (either height or width), you should click on the px button so that the other values get adjusted in a proper aspect ratio. Usually, the values are 800px for width, and the height is 600px.
Step 6 - In this step, you will see a small preview of the resized image. However, this is not the final image size. You can change the value from 25 -100 per cent.
Steps For Successfully Exporting The Resized Image (Post)
Step 7: By now, 80 percent work is completed. Now, it is time to press on the File tab & then press the tab Export As. Then youwill have to name the File or leave it as it is and replace it with a larger one; if you do not wish to use the same as the original size & then click on export.
Step 8: You can make changes if you like playing with the given settings. Using the first Quality tab, you can lower the image size, etc. Once you click on this Export button, your exported File will reach the mentioned location.
If you follow the above-discussed eight steps successfully, you will face no issues. The steps shared here will work effectively on Windows, Linux and Mac.
Popular Tools Used As Image Resizers For Ubuntu
Several popular tools are being used extensively as image resizers for Ubuntu. Some of them are discussed here for your reference:
1. Shrink.media
Shrink.media is a popular tool that reduces the size of the images and can be availed free of cost. This app can be used to reduce the size of the images by reducing and compressing the dimensions.
Then, you can download these compressed images without paying a single penny. This mobile app is now popularly used as an image resizer for Ubuntu. This app can bring many benefits with its image resizer services. The major benefits are loading the web pages faster, lesser utilization of bandwidth and a much better user experience.
2. ImageMagick
ImageMagick is an open-source app for image editing to view, edit & convert any image file. This can be easily installed via the Ubuntu official PPA with the apt-get command.
3. gThumb
This software can be used as an effective image viewer, editor, browser & organizer. This is well-designed for integrating well with the GNOME 3 desktop. This can be easily installed via the Ubuntu Software Manager from the Ubuntu-bionic-universe repository.
You can run a designated command, “$ Sudo apt-get install gthumb,” to install the software via the Ubuntu command line. To remove this particular software, you must go to Ubuntu Software manager and use the command “$ Sudo apt-get remove gthumb”.
4. Coverseen
Coverseen is a cross-platform batch image processor that allows you to convert, resize, rotate and flip many infinite images with a click of a mouse. Francesco Mondella developed this, which the Ubuntu Software Manager can easily install.
If you wish to remove this particular software, you can go to Ubuntu Software Manager and remove the same or use the Terminal “$ sudo apt remove conversion” command.
5. Shotwell
Shotwell is a user-friendly and faster-processing image organizer that is well-designed for managing images. This always allows the users to import images from a disk or camera and then organize them by subject, date, or ratings.
This software offers the facility of basic editing of the photos like red-eye correction, cropping, straightening and colour adjustments. This can safely be concluded as a non-destructive photo editor that can be used to alter the master photos. This is a perfect tool for experimenting & correcting the errors in the images.
6. Darktable
Darktable is a photography workflow app with open source and a RAW developer. This acts as a virtual darkroom and light table for the photographers. This can manage the digital negatives in an organized manner in a specific database.
This lets you view through the zoomable lighttable & enables you to develop the raw images & enhance them. Darktable can easily be installed via the Ubuntu Software Manager from Snap Store or the repository of Ubuntu bionic universe.
Conclusion
This article discusses many tools and applications that can be effectively used as image resizers for Ubuntu. All of these tools have their specialities and can be helpful in image resizing.
Shrink.media is a mobile app that can be very helpful as an image resizer for Ubuntu and can be used without any specialized coding or technical knowledge.
Here, we have listed some of the commonly asked questions from the community. If you do not find the information you need, feel free to reach out to us at support@pixelbin.io
How to resize an image in Ubuntu?
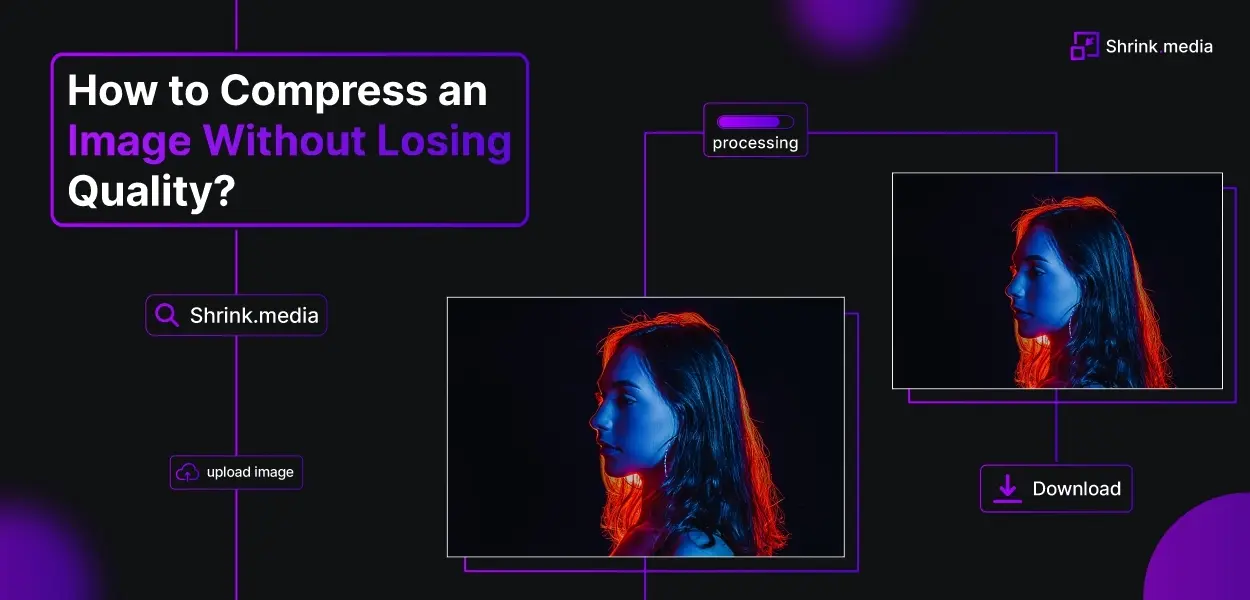
You can use an online tool like Shrink.media to compress an image in Ubuntu. Follow these steps:
Step 1: Open a web browser on your Ubuntu computer.
Step 2: Go to the Shrink.media website.
Step 3: Click on the "Upload image" button to select the image.
Step 4: Once the image is uploaded, you will see options to adjust the Photo quality and dimensions.
Step 5: After setting the desired size, click the "compress" button to start the process.
Step 6: Once done, you can download the resized image by clicking the "Download" button.
Using Shrink.media is a convenient way to compress images in Ubuntu without needing to install any additional software, as it is an online tool that can be accessed through a web browser.
How do I reduce the size of a JPEG in Ubuntu?
To reduce the size of a JPEG image in Ubuntu, you can use an online tool like Shrink.media. This web-based tool can help you compress the JPEG image without installing any software on your computer. Shrink.media is a convenient and easy way to reduce the size of a JPEG image in Ubuntu without needing to go through complex steps or install additional software.
Which software reduce the size of image?
Shrink.media is an online tool that can compress and reduce the size of an image without requiring any software installation. Simply upload the image to Shrink.media, which will automatically compress the image to a smaller size and then download.
Will resizing an image affect its quality on Ubuntu?
Resizing an image can affect its quality, as it may result in a loss of image details and clarity. However, when using Shrink.media to resize images on Ubuntu, there is no loss in quality as it employs advanced image compression techniques to reduce the image size while maintaining image quality.
What is an image resizer?
An image resizer is a tool or software that allows you to change the size of an image. It can either increase or decrease the dimensions of an image, which can be useful for various purposes, such as resizing images for web uploads, and social media or creating thumbnails for websites, blogs, or other digital media.
What are some popular image resizer tools for Ubuntu?
Shrink.media is a widely used online tool known for its efficient image compression capabilities, making it a popular choice for compressing images on Ubuntu and other platforms.