
How To Resize Images Without Losing Quality (A Quick Guide)


When you’re writing blog posts or adding a profile picture on a social media site, you need to reduce the image size to get accepted in the size dimension of the social media platform. At such times, you need to reduce the image size to fit in the frame. However, the major concern is when the image size reduction makes you lose quality.
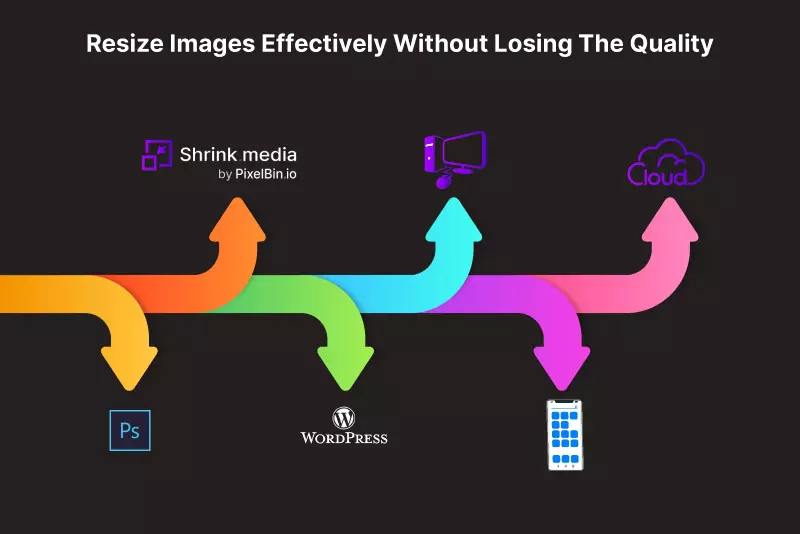
Methods to Resize image without losing quality
1. Image Dimension resizing
To resize the image dimension, you need to change the pixels of an image (i.e. width and height). The aftermath of changing an image's size can make the image's output distorted. It also looks unprofessional in appearance, which is not easy to fix.
For such purposes, I use shrink.media, online image resizer, and reduced images. It maintains the quality of the image even when I Change the width and height of the image from 2000 px to 1000 px.
The image remains the same, only its size appears smaller to fit a particular webpage or social media post handles of the recommended size.
2. Compressing images
It is a process in which the file size is reduced by bytes—this help to reduce the disk memory space and maintains the image's threshold level.
It is performed with the help of a codec or data compression algorithm. A tool helps maintain the image's high quality even after reducing the byte size of the image. It is a highly trustable tool for the compression of images easily and effectively.
How to Reduce image size without losing quality
Many in-demand resizing image tools will help you. Here are few of them:
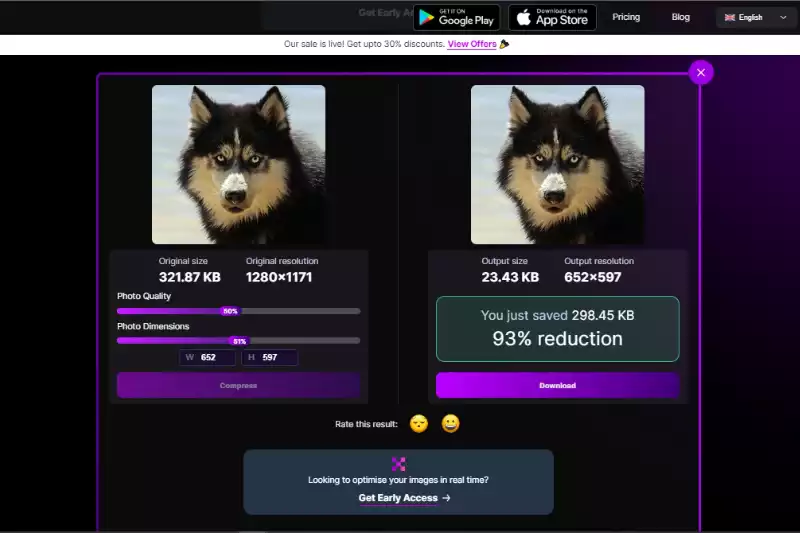
1. Resizing Images on Shrink.media

It is a tool used for compressing and resizing an image without losing quality for free. Steps to resize images with a Shrink.media are as follows -
Step 1 - Click on the Upload Image button on the top right side of the page.

Step 2 - My Computer window will open, where you can select the image of your choice from your folders.
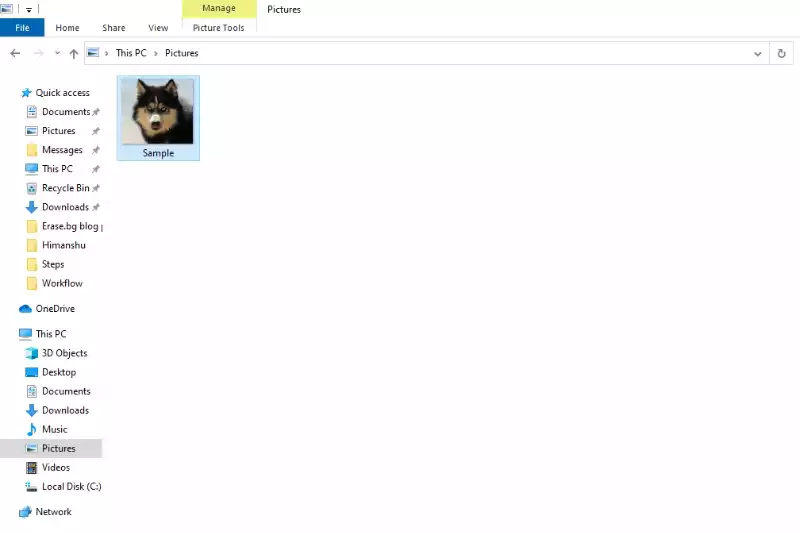
Step 3 - After selecting an image, click on open.
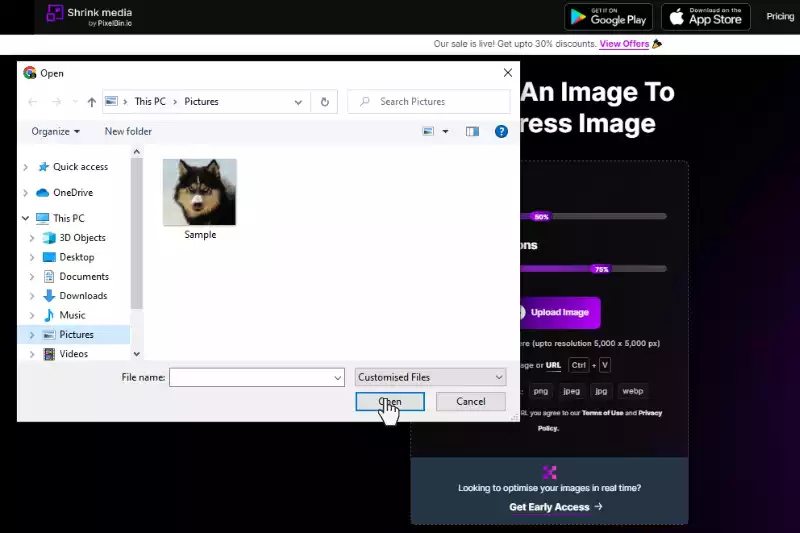
Step 4 - The image will be uploaded on Shrink.media tool

Step 5 - After uploading an image on a tool, you can set the photo quality and photo dimension of the image in Percentage(%).
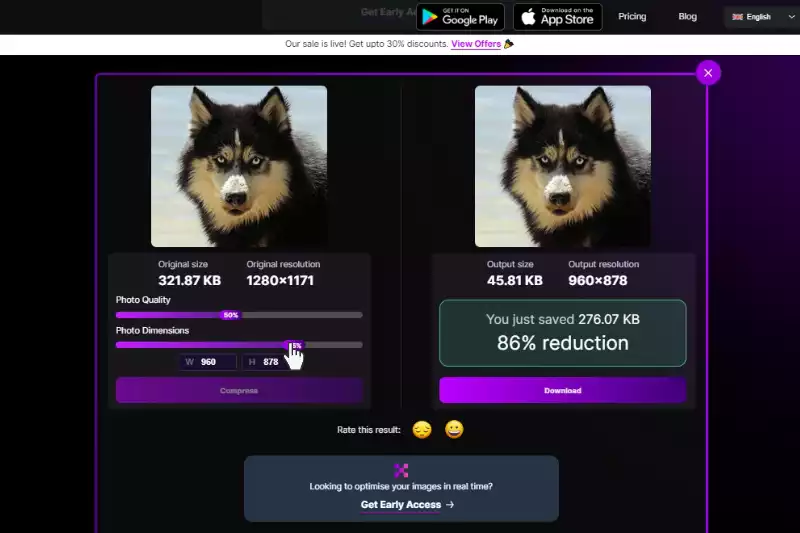
Step 6 - It will automatically shrink an image's size and reduce the image's output size and resolution based on the quality and dimension percentage you've set.
2. How to resize an image in Photoshop without losing quality

Resizing images in photoshop is very easy. You must follow certain steps to get the best-resized image with superior quality. They are as follows :
Step 1 - Upload the image in photoshop
Step 2 - Click on the Image menu at the top
Step 3 - Select Image size, and a window will open
Step 4 - On the window, you need to enter your desired pixel measurements
Step 5 - Enter the resolution of the image in pixels/inches
Step 6 - Check Scale Style when you want to layer the style of images. Slide the scaler based on your choice, and a percentage column will be shown to you for applying the layer style effects.
Step 7 - Check Constrain Proportions when you want to change the image's aspect ratio. You can now change the image width and height based on your preference.
Step 8 - Check Resample Image to keep the image dimensions intact without any unnecessary adjustments.
3. Resizing Images on WordPress
WordPress site images need to be resized for website optimization. The website performance can be improved when images are well structured, and the web content appears on screen in seconds for the viewers.
These will happen only when the byte size on particular blog posts is less. It will also reduce the server space creating more memory storage for the bulk of blog posts without hindering the website's performance.
Images that are not cropped and of full size require more time to load. Therefore, images are resized to reduce the resolution and pixels of images. You must be wondering whether these will decrease the quality of the image.
Not resizing images only reduces the resolution and pixels to improve the page speed and the site's performance. It will not affect the quality of the image to any extent. To keep the website user-friendly, you need to resize the image quality of the website on WordPress, which will also help your site rank on google. Steps to resize images on WordPress -
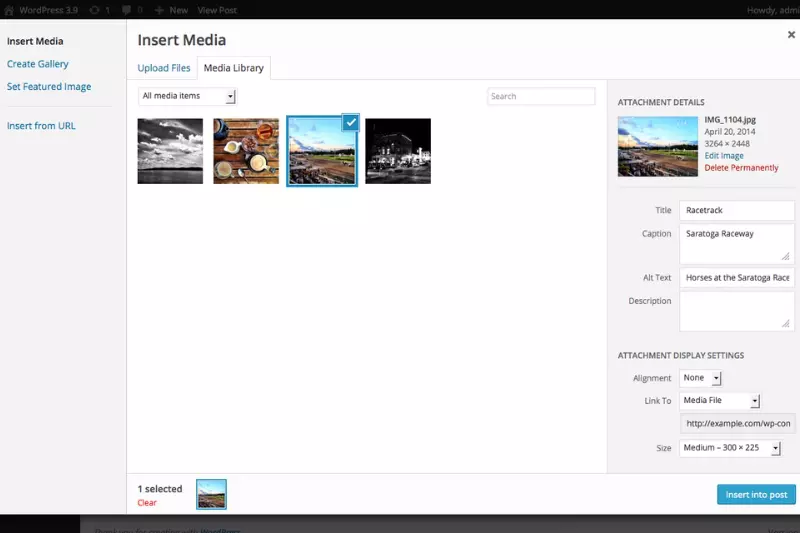
Step 1 - Open your WordPress account and go to the WordPress dashboard. Hover over the media tab and click on the library section.
Step 2 - This library section stores all the images of the website. You can also upload new photos here.
Step 3 - Click on the image you want to edit. You can add alt text, description, etc., for the images.
Step 4 - Search scale image. In this section, you can see the image's original dimension, which you can edit and scale the dimension of your choice to improve the site's performance.
In just 4 easy steps, you can resize your images and improve your page speed.
4. Resizing Images on Desktop
A. Gimp
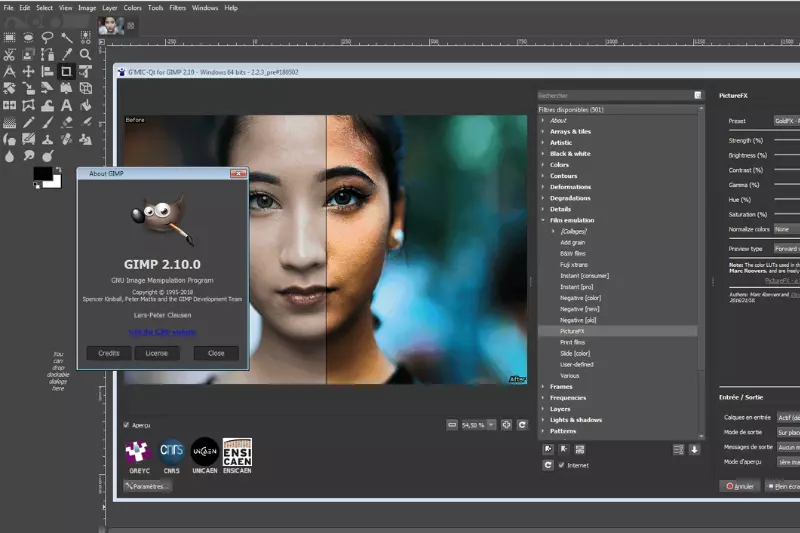
Resizing images can be easily done with this photo editing software. You need to install the software on your desktop. It doesn’t matter if you’re using Windows, Mac, or GNU/Linux.
Gimp is trustworthy software that reduces the image size without cropping it so it can easily fit on your social media platforms. For this process, the dimension of the image is increased or decreased without losing the quality of the image.
The steps you need to follow to reduce the image size on Gimp are as follows -
Step 1 - Click on the File Tab
Step 2 - Hover and Click on the Open section in File Tab
Step 3 - Open the Image Dialog box will appear
Step 4 - Select the image from My Computer and Click on the Open button
Step 5 - The selected image will be inserted into the Gimp software
Step 6 - Click on the image tab
Step 7 - Select the scale image section in the image tab
Step 8 - The scale image dialog box will open
Step 9 - Change the width and height of the image as per your preference
Step 10 - Change px to inches or vice-versa by clicking on the drop-down
Step 11 - You can change the quality of the image from drop-down options
Step 12 - Click on the scale button to put your changes into effect
Step 13 - After finalization, you can click on the File tab and select Export as and the folder path will be prompted to save your image.
Step 14 - Unsatisfied with the output? Repeat the process from Step 1 and then export and save your image.
B. Preview
This is a built-in software on Mac. You can access the software by clicking on finder and then on applications. You’ll find a bunch of apps, scroll and find the Preview app.
Step 1 - Click on it, and an application window will open on your screen.
Step 2 - Click on File - Open - Select the photo you want to resize.
Step 3 - Next, Click on the Tools tab and click on Adjust size and adjust the width and height based on your needs.
Step 4 - Tick on the Scale proportionally. It will adjust the width and height of the photo.
Step 5 - You can also choose if you want to resize images in pixels, centimeters, inches, percent, millimeters and so on…
Step 6 - Click on Ok.
C. The Paint App
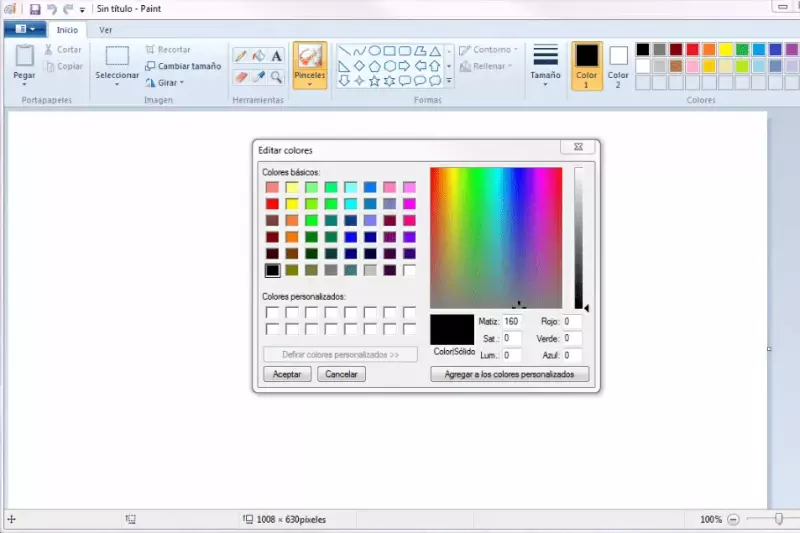
Using Microsoft paint built-in software on your PC or laptop, you can easily reduce image size without losing quality. Steps to resize images in Microsoft Paint :
Step 1 - Open Paint from the Start Menu
Step 2 - Click on File - Open and select the photo you want to resize, and the image will be added to Microsoft paint.
Step 3 - From the Home tab, select Resize option.
Step 4 - A window will appear with the name Resize and skew
Step 5 - Enter the size in percentage or pixels. In percentage, you’ve to enter the nos from 1 to 100, and in pixels, enter the exact dimensions.
Step 6 - Click OK, and your new resized image will appear
Step 7 - Once you’re satisfied with the resized image, click on the File - Save option
In this way, you can resize the images on the desktop through built-in software offered by Windows.
D. The Photos app

Photos app is another built-in software that helps resize photos without much effort and time.
Step 1 - You need to double-click on the photo of your choice from My Computer.
Step 2 - The photo gets opened in the photo app.
Step 3 - Click on the 3 dots on the top right side of the window.
Step 4 - Select the resize option from the menu section.
Step 5 - A resize window will appear that contains 4 options to opt
Step 6 - The three options on top show the preset size if you don’t want to enter the size manually.
Step 7 - Last option is to define custom dimensions. If you select this option, you can customize the size and determine the quality as well as the size of the image.
Step 8 - In custom dimension, if you tick maintain aspect ratio, you only need to change the width and height of the image. The app will make other relevant changes.
Step 9 - Lastly, click on a resized copy, and your new image will get saved in My Computer.
5. Resizing Images on Android
A lot of times, people need to edit photos for their social media handles. Not many people have access to a laptop all the time for editing photos with online software. Nowadays, though google play store offers a wide variety of options for almost every task right in your hands.
Also, these apps are user-friendly and much more convenient than the software available on websites. Let’s have a look at all the best options available for resizing photos on android -
ShortPixel
Shortpixel android app reduces image sizes by 90%, which helps to reduce the disk space on your android mobile. There are 3 methods for image compression.
Lossy: This method is a great choice when you want your images to be slightly optimized. The page speed, quality of the image, and optimization are more essential than choosing lossy optimization.
Glossy - Glossy method is a great choice when you want a high-quality image. It cares about Google Page Speed Insight and GTmetrix a lot. However, if you don’t care much about page speed and the high-quality image is the choice, then choose this option.
Lossless: The images are optimized based on pixels. It offers a smaller size reduction, but not much. If you want your original image to be optimized but cannot compromise on the size reduction and quality of the image, then lossless is an option for you.
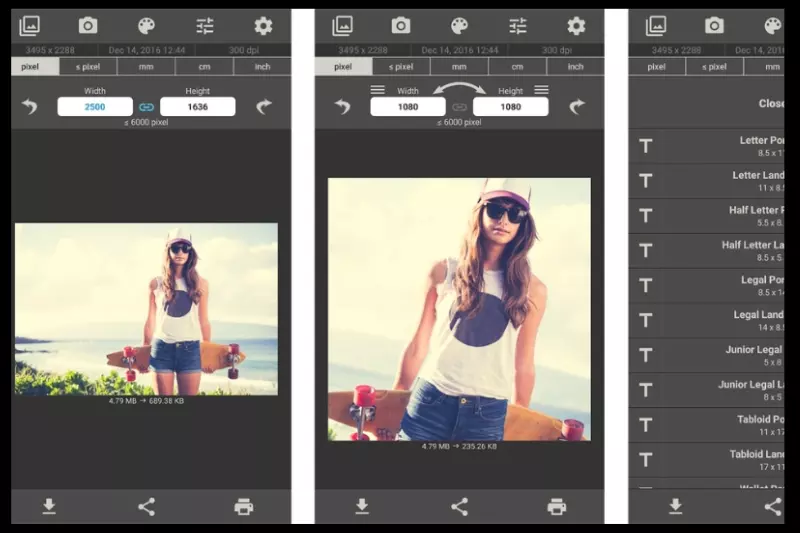
Pixlr
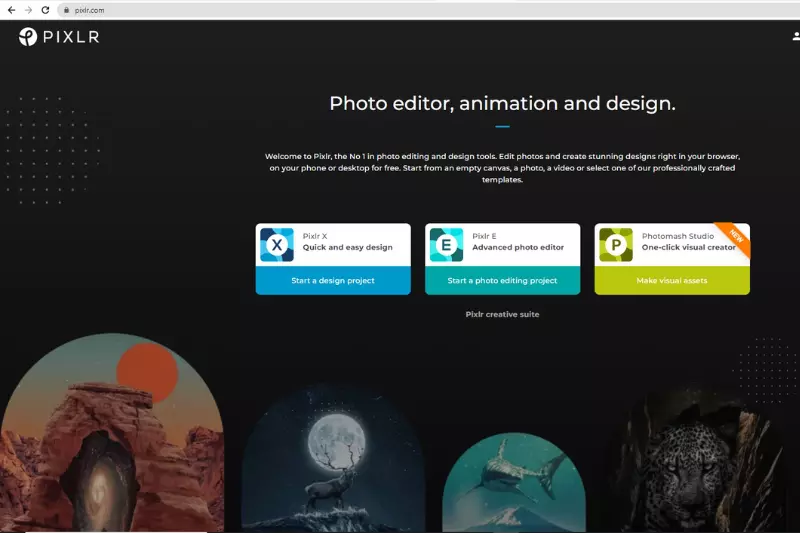
Pixlr is a photo editing app that also offers great resizing of image options on the android app. It has an awesome UI for doing the task efficiently and with ease.
Step 1 - Open the pixlr app on your android phone.
Step 2 - Click the open image button a window will appear where you can browse and select the image file.
Step 3 - Click on the image tab and select the image size section.
Step 4 - A new resize window will open where you can change the constrain proportions for the desired file size.
Step 5 - Click on Apply button.
Step 6 - Click on File and select the save option for saving the resized image file on your android device.
Photo & Picture Resizer
This is another great app for Photo and Picture resizers. It has easy interfaces and provides high-quality images, too, after resizing.
Step 1 - Open the Photo & Picture Resizer app.
Step 2 - Click on the Menus and Select the Photos option.
Step 3 - Select the photo you want to resize. It will appear on the screen along with its original dimension.
Step 4 - Select Resize option, and the Select Dimension window will open
Step 5 - In the select dimension, you can choose the option of width x height (i.e. 800 x 600, 1024 x 768, 1280 x 960, 1600 x 1200, and so on….). It also offers a Custom Size option for entering your choice's width and height size.
Step 6 - After preserving the aspect ratio, click the OK button.
Step 7 - Your resized version of the image will appear on the screen.
Step 8 - Click on the share and save option, and your resized image will get saved on your android device.
Instasize
Instasize is a photo editing app that helps edit photos with features such as Photo Filters, Photo Editor, Photo Resizer, Collage Maker, Background Remover, Photo Border, and Face Editor.
The steps for resizing photos in InstaSize are simple -
Step 1 - Open InstaSize
Step 2 - Click on the + button icon
Step 3 - These will take you to My Gallery, where you can select the photo or video of your choice.
Step 4 - Click the Next button, and the image will be uploaded to the app.
Step 5 - Select image size and enter the aspect ratio of your image
Step 6 - Click on Save
Image Size - Photo Resizer
It is an app that easily resizes an image. You can resize the photos based on these four units pixels, millimeters, centimeters, and inches.
Step 1 - Open the ImageSize app.
Step 2 - Select the pixel option, go to My Gallery, or click on Camera.
Step 3 - The image will be uploaded, and then you can set the width and height of the image based on the units you’ve selected from pixel to inches.
Step 4 - Once you’ve customized the units, the image will appear based on the resolutions entered in the width and height section.
Step 5 - Download the photo by clicking on the download icon below.
Step 6 - You can also share the photo through the sharing icon available.
6. Reduce Image Size with Cloud-Based Tools
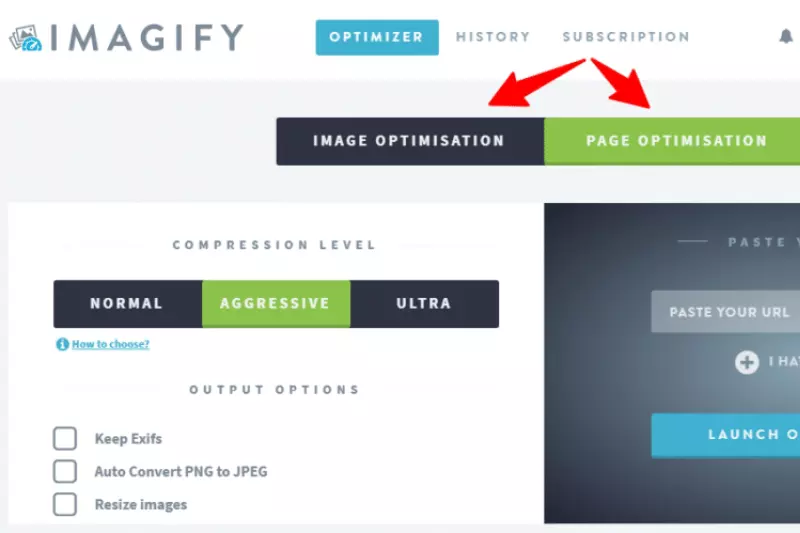
Cloud-based tools let you reduce the size of images through compression or resizing images. The easiest app to resize with a cloud based tool is the imagify web app.
It is also free and quite easy to use. It has two options: lossy and lossless compression while you’re resizing images in it. Here, you can also select bulk images together, and the tool will compress the file up to 80% for you.
Step 1 - Upload bulk or a single image on the imagify web app
Step 2 - Select the images you want to optimize
Step 3 - Click on the open button
Step 4 - The image will get uploaded on the web app
Step 5 - It will automatically start compressing the images in seconds
Step 6 - The compressed image will be shown on the web
Step 7 - You can download the image by clicking the download button.
Conclusion
We've tried to mention all the free basic and advanced resizing tools that provide the best resizing of images without losing quality. The best online tool with easy hands-on experience is Shrink.media, which reduces the image's size in percentage after you set quality preference.
No worries about entering the manual dimensions of width and height. It keeps the original size of the image intact and only reduces the file size of images fast in a matter of seconds. You can check out how bulging fast the image resizing happens via Shrink.media.
FAQ's
How to resize image in android without losing quality?
To resize an image in Android without losing quality, you can utilize the Shrink.media tool. It allows you to reduce the image size while maintaining its sharpness and clarity, ensuring a high-quality output suitable for various purposes.
How to resize image without losing quality?
When resizing an image without losing quality, Shrink.media is a reliable tool to consider. It employs advanced algorithms that minimize file size while preserving the image's details and resolution, resulting in a visually appealing and optimized image.
How to resize photo without losing quality?
Shrink.media is a go-to solution for resizing photos without compromising quality. By leveraging its features, you can reduce the image's dimensions and file size while retaining its original clarity and sharpness, making it ideal for web publishing or sharing on social media platforms.
How to reduce image file size without losing quality?
If you want to reduce the file size of an image without sacrificing its quality, Shrink.media is the tool for you. It employs efficient compression techniques to shrink the image while preserving the essential details, ensuring that your image remains visually stunning while occupying less storage space.
Why is it important to resize images without losing quality?
Resizing images without losing quality is crucial because it maintains their sharpness and clarity. This is especially important when publishing images online, as it helps preserve your content's visual integrity and professionalism.
How can I resize images without losing quality?
To resize images without losing quality, you can use specialized tools like Shrink.media. This tool employs advanced algorithms to compress the images while maintaining their visual details and resolution, resulting in high-quality resized images suitable for various purposes.
How to resize image in android without losing quality?
To resize an image in Android without losing quality, you can utilize the Shrink.media tool. It allows you to reduce the image size while maintaining its sharpness and clarity, ensuring a high-quality output suitable for various purposes.


